

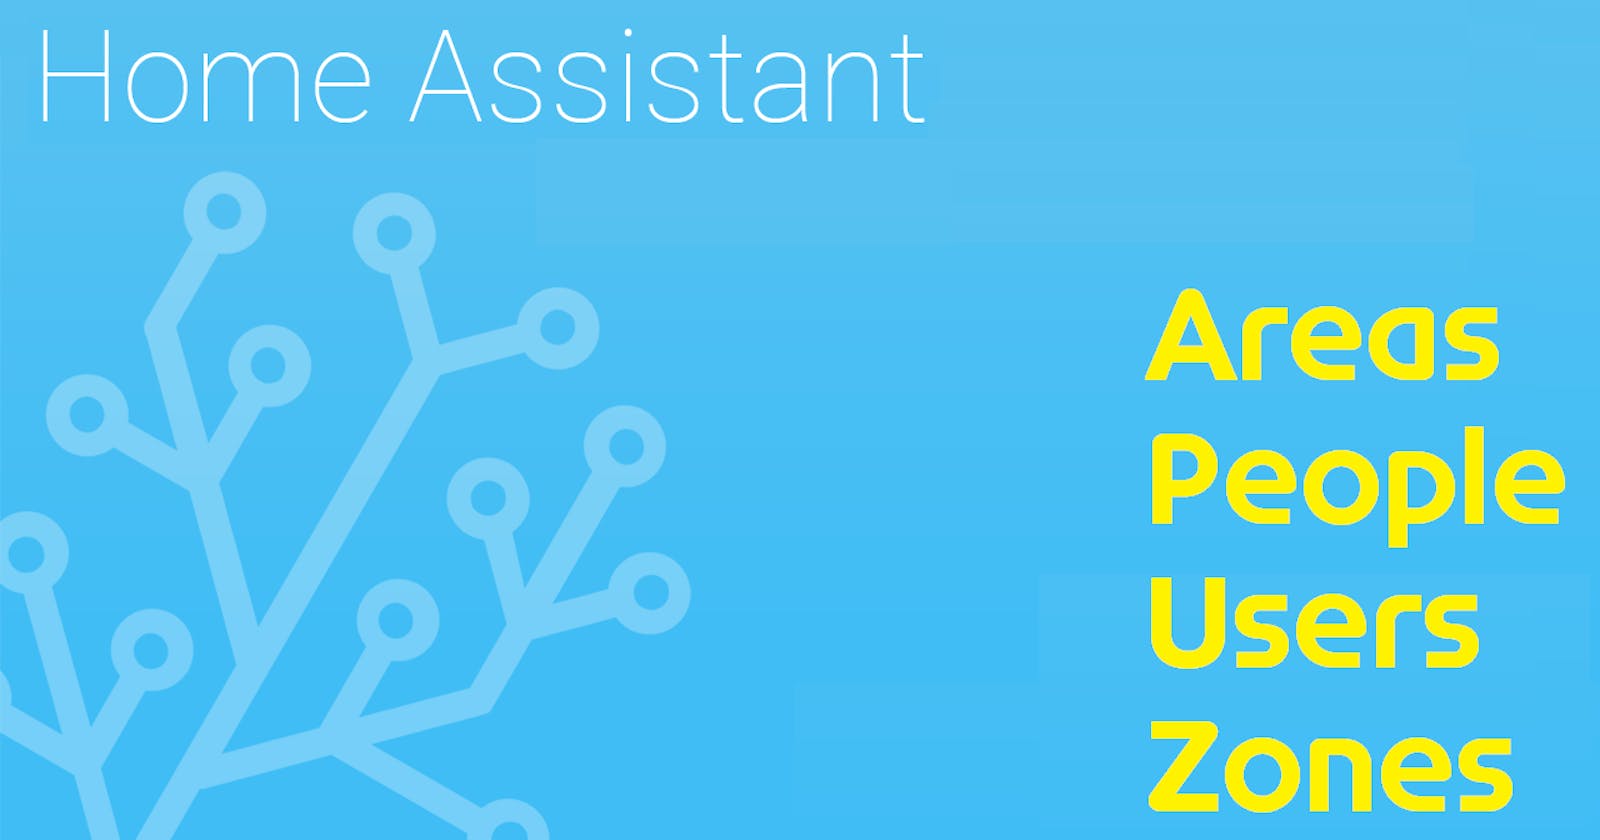
HowTo setup HAOS - Part 4 - Next steps following installation and initial configuration - Areas, People, Users & Zones Configuration
What are the next steps following Home Assistant initial configuration and login - enter Areas, People, Users & Zones configuration

If you have not been following my multipart series here is a quick summary and a short background.
All my guides are based on x86-64 HW architecture, because I do not consider RPi a viable platform, if your aim is to build a solid HA foundation you can rely upon. RPi is fantastic to experiment with, but not as resilient, if you aim for a long term, reliable, production worthy, HA platform. For cost effective lightweight option, HA Yellow is a better option when paired with an M.2 SSD.
On top of the x86-64 HW architecture I have Proxmox as the platform of choice for running both production and test/experiment environments side-by-side, some of which are complimentary to HA (e.g. Pi-hole). There are tons of reasons a virtualised environment is superior to a bare-metal environment, which I hope will cover in a future post.
So far we know how to install HAOS in Proxmox, complete the initial HA configuration, understand the HAOS architecture, the HA frontend/UI architecture, HA System configuration, and HA User Profile configuration.
This post is about Areas, People, Users and Zones and should ideally be completed prior to any device setup.
Areas
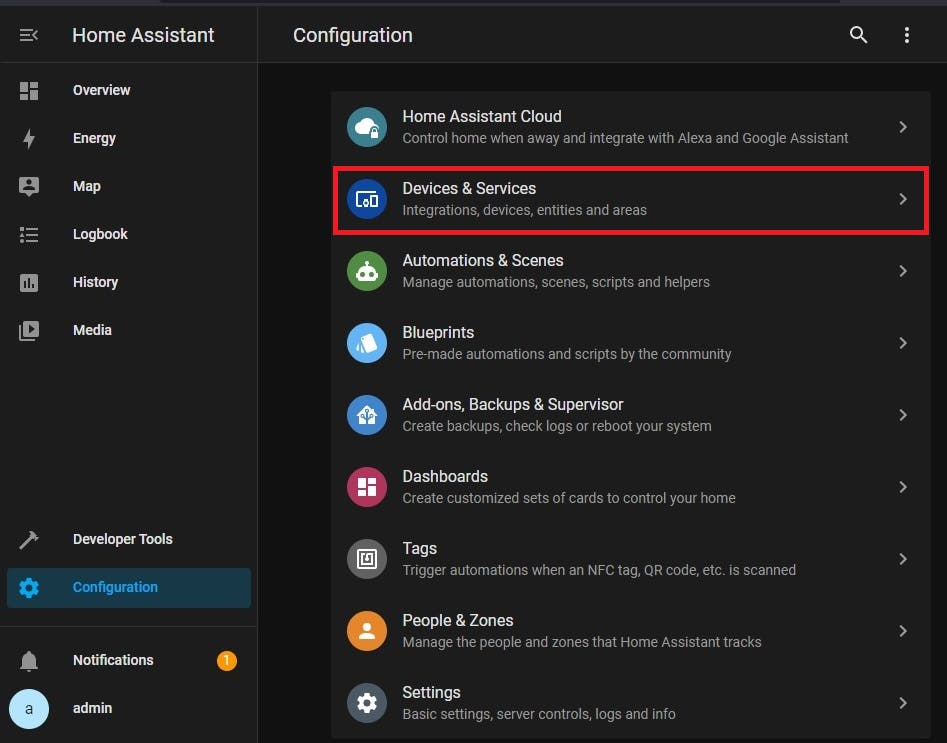
Configuration -> Devices & Services -> Areas
Areas are places in a house or building where you have controls and automations affecting it. It is not only rooms, as it can also be, for example, a corridor or the common areas of a floor, or anything else it is important you track independently. When you setup devices and entities you should always assign them to an area, because it will allow you to manage your system with ease, especially if you will be setting up lots of them.
I highly recommend you take the time to plan the areas carefully. It will save valuable time in the future as you grow your system.
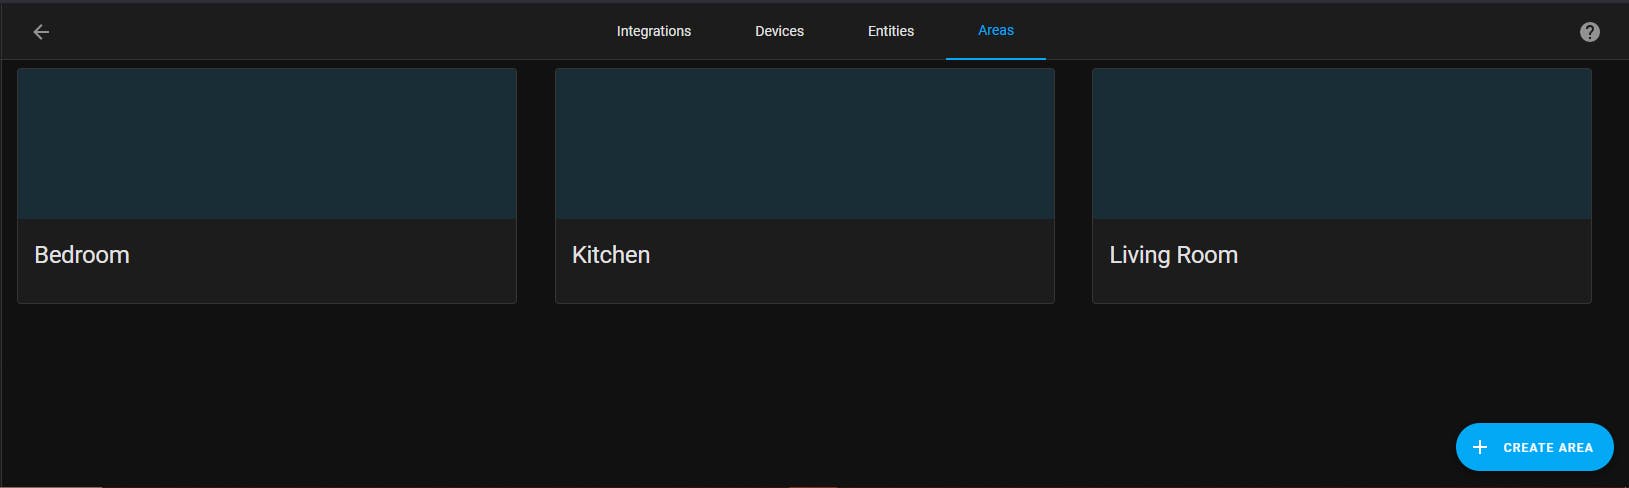
HA provides 3 areas by default:
Click on the CREATE AREA button to add an area.
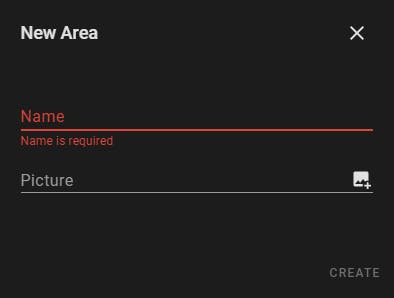
Name the area and optionally provide a picture, which can be an actual photo of the area you are setting up or a generic image you downloaded from the web. Pictures can be useful when setting up Dashboards. You can crop the image to your liking.

Click CROP when ready.
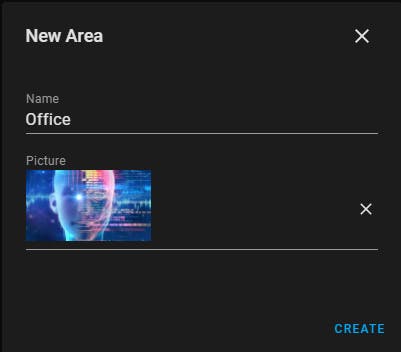
Click CREATE.

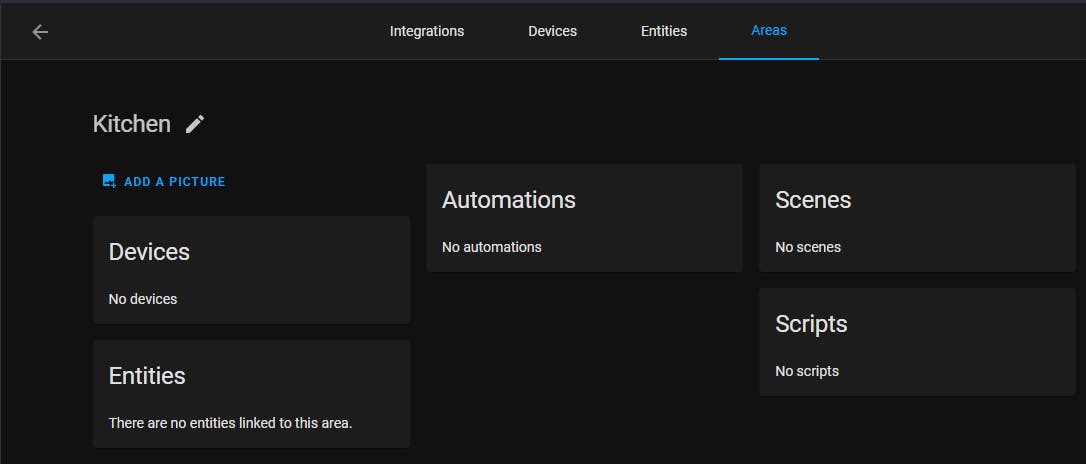
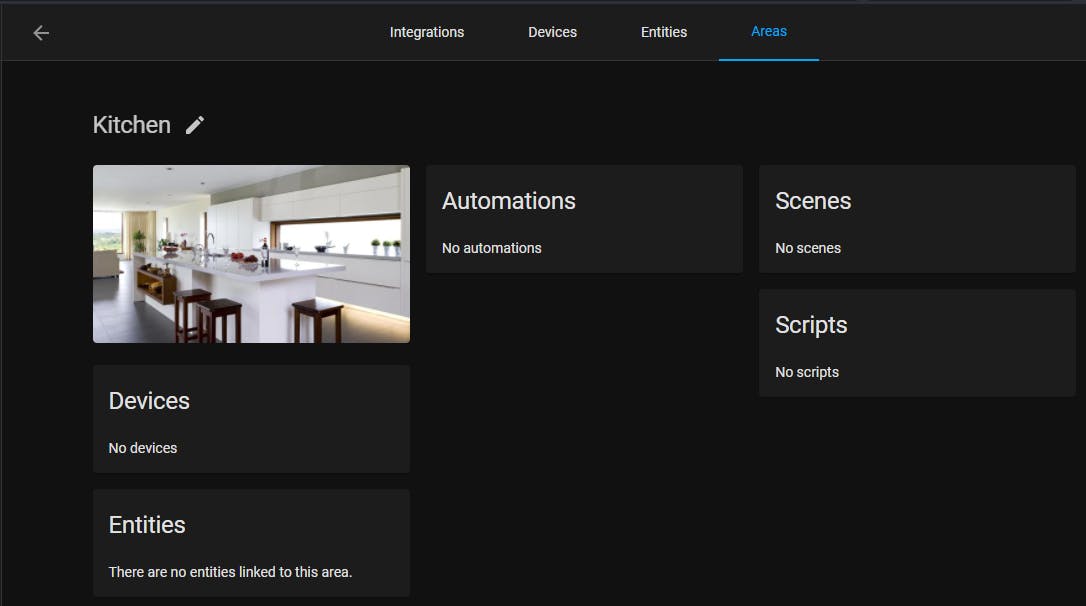
If you will use the default areas, I suggest at this point you assign a picture to each one. Click on any of the areas above, say Kitchen, and you are presented with the below information, knowing exactly what is in the Kitchen. This is why it is useful to assign devices, entities and everything possible to an area. It will make your life easier by saving you hours of unnecessary effort.
Click ADD A PICTURE.
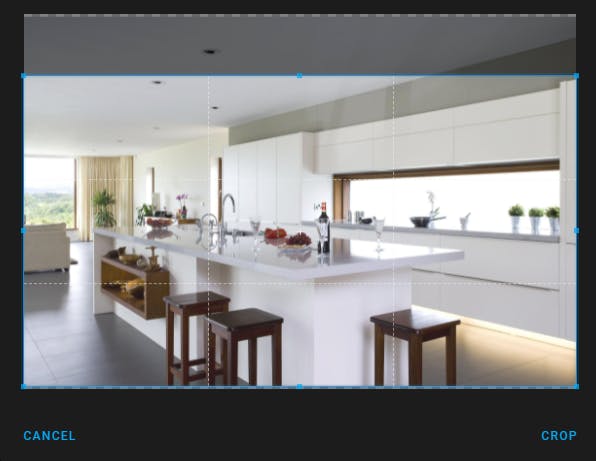
Click CROP when ready.
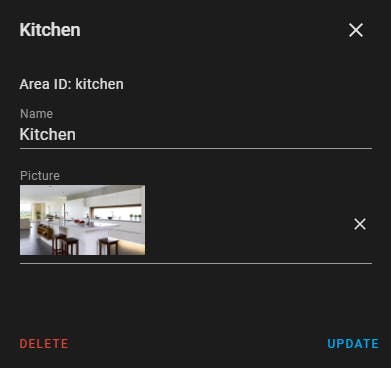
Click UPDATE.
Press the back arrow at the top left to go back to the Areas panel.
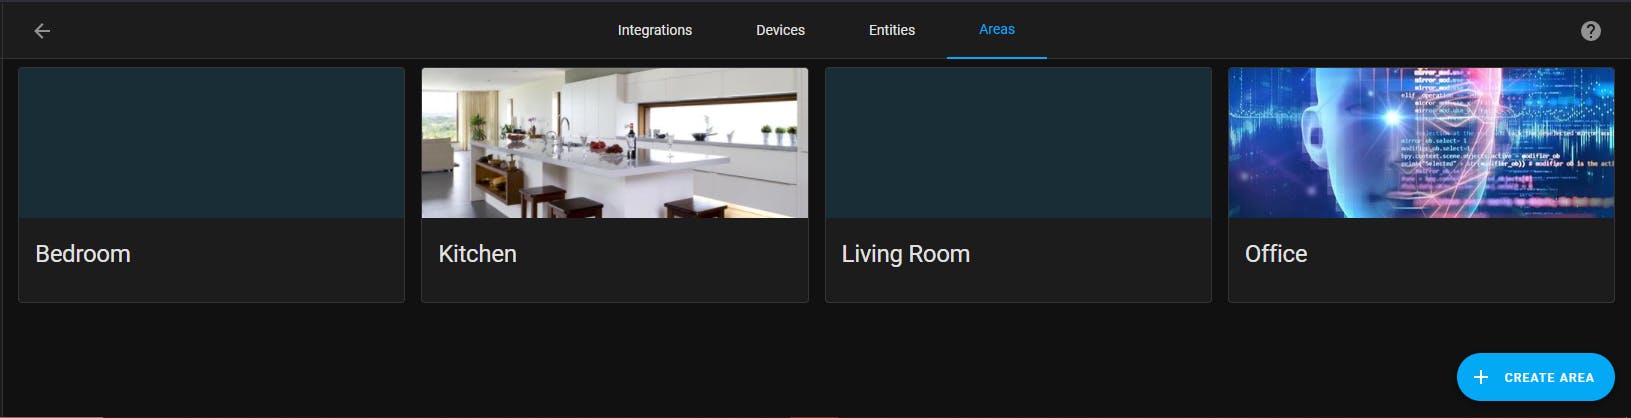
Repeat for all areas. Long term you will not regret the time you spend setting everything up with care.
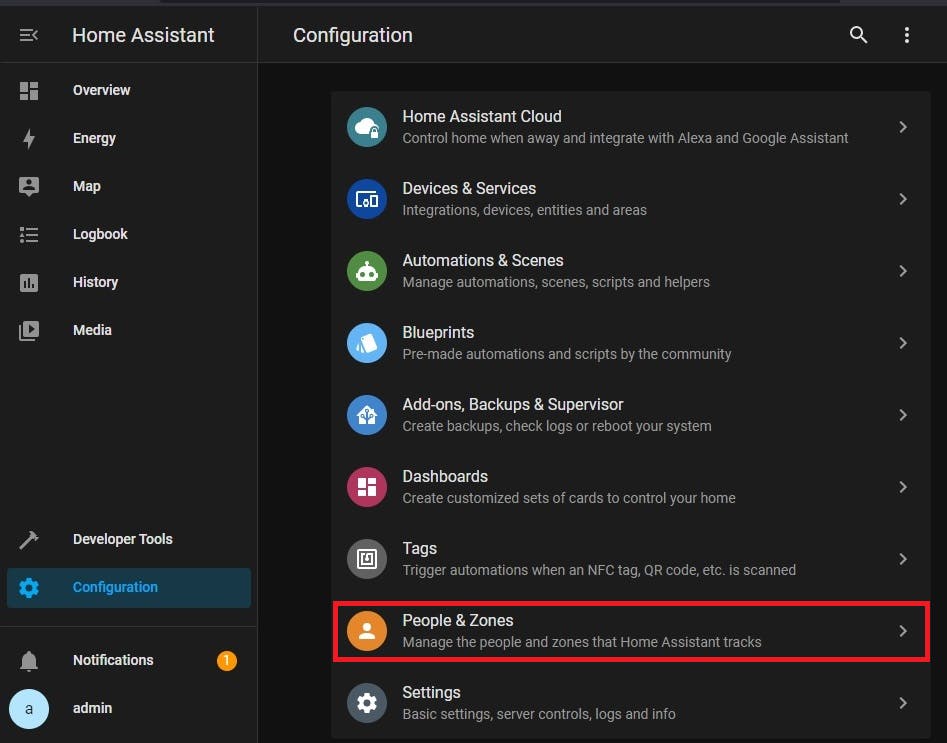
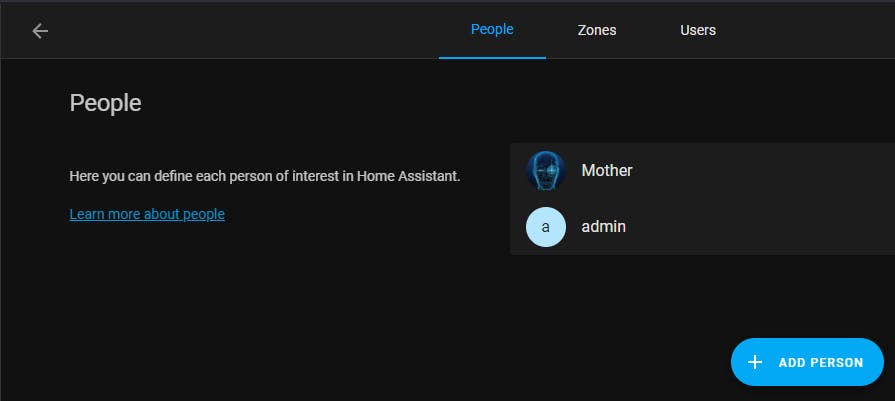
People
Configuration -> People & Zones -> People
People are named persons which we use to link to tracking devices, in order to use in automations and other event driven logic. For example, a smartphone or a smart-tag is associated with a person to ascertain presence or proximity and activate an action appropriately.
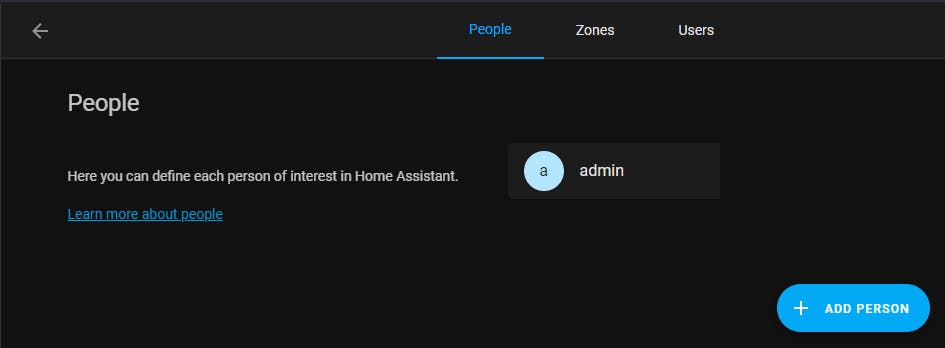
Click ADD PERSON.
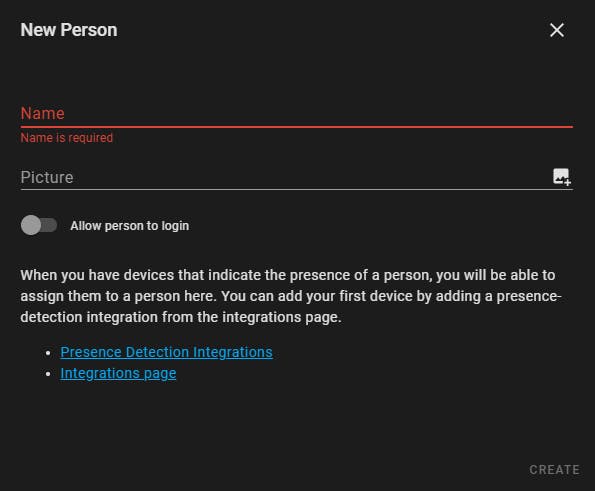
As an example we will add a person called Mother.
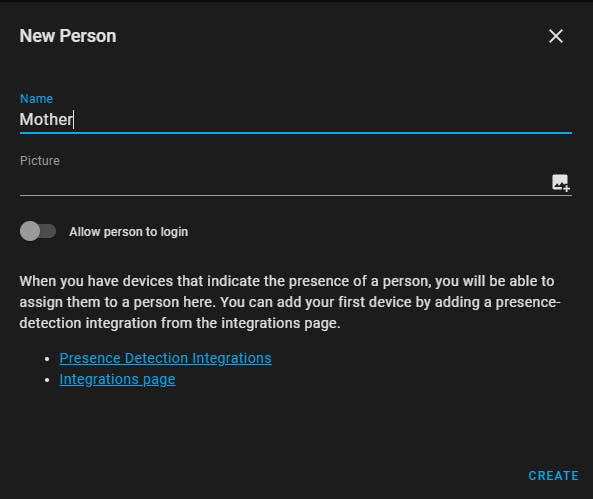
Click Picture icon on the right.

Select the picture, crop it and then click CROP.
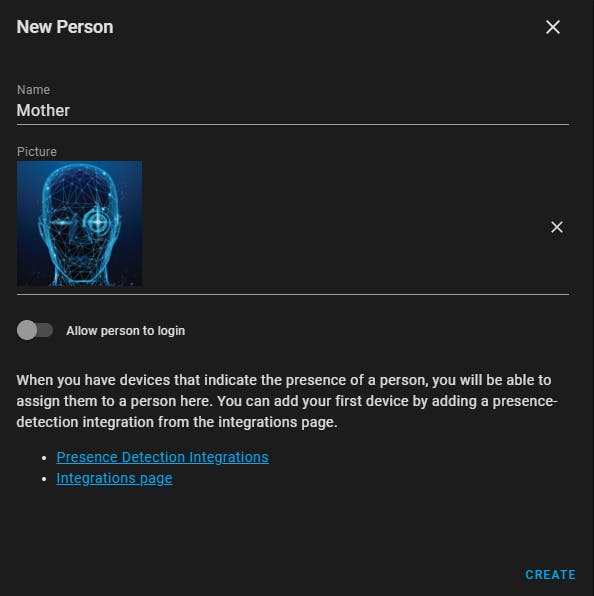
The Allow person to login should be enabled if this person is allowed to login to HA. A person who can login to HA is called a User and it is useful if you want for example to offer a specific customised Dashboard, or Sideboard, etc.
At this stage we will also skip setting up integrations, as we will do this later. For now we just want to setup the People who will be tracked by HA.
Click CREATE.
To assist you decide, here is an example of how to go about People and Users.
When we setup HA for the first time we add our first user. In our case this user is named admin.
Admin will be able to see everything and has been automatically setup as a person and a user (person with ability to login).
We can then setup another user named Resident, who can be associated with a dashboard available to the residents of the house, through the Resident user profile e.g. the dashboard can allow arming/disarming the alarm).
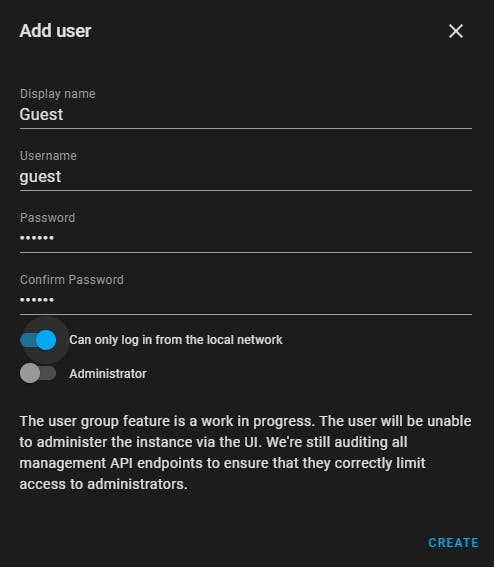
One more user named Guest, associated with a dashboard available to anyone who will sleepover for at least one night.
Additional user named Visitor, associated with a dashboard only available to visitors and therefore extremely restricted.
A Resident logged into HA, can be Dad, Mum, Son, Daughter, Grandpa, Grandma. To track them we can add them into HA as Persons, not as Users as all of them should access the same Dashboard. If we add them as Persons there is no need to enable the Allow person to login option (each person - dad, mum, etc - will login as Resident from the HA mobile apps).
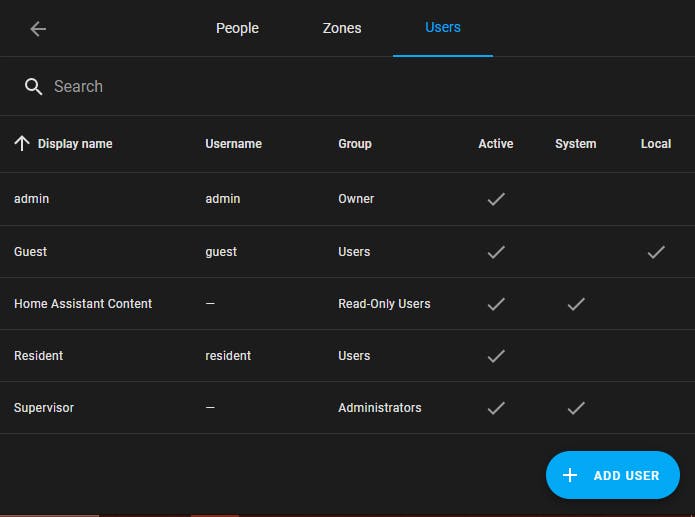
Users
Configuration -> People & Zones -> Users

There are two default users in HA (Home Assistant Content, Supervisor) plus the one we created during the initial setup of HA, in our case called admin.

Click ADD USER.
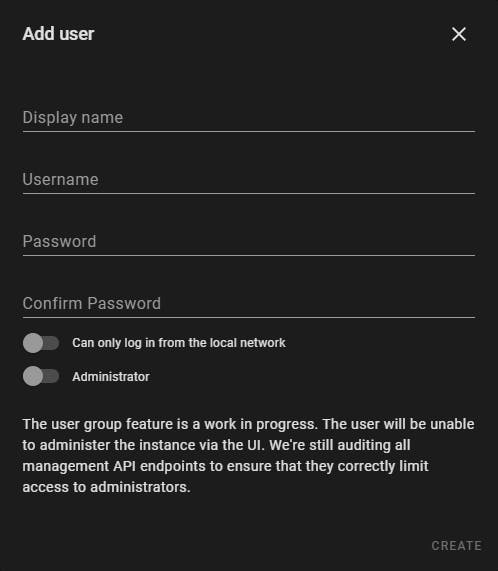
Fill in the details. The Display name can be different from the Username. You CANNOT add a user with an empty password.
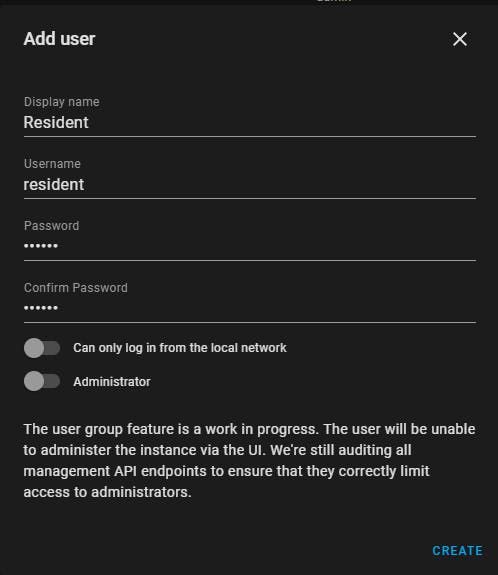
If you only want users to be able to login when they are at home (local network), enable Can only log in from the local network. If you do not enable this option someone can log in remotely (over the web) as well.
The enable/disable Administrator is self explanatory.
Click CREATE.
Let's create a Guest user as well.
Now we have all users added.
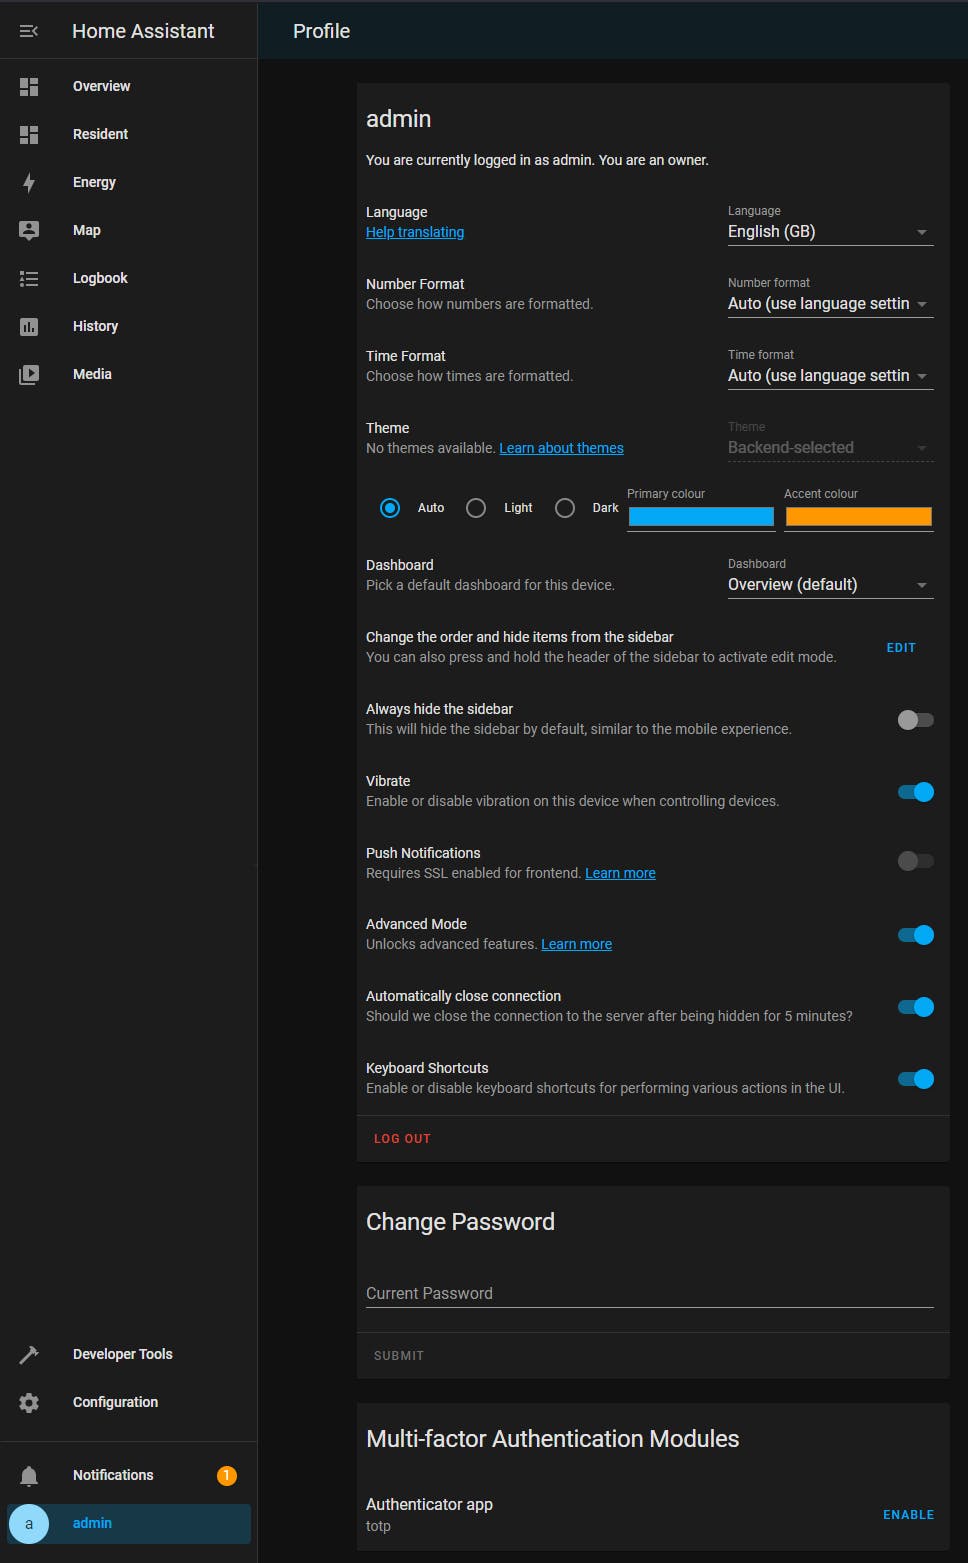
Users have profiles (user profile) and can login in HA. People do not have profiles and cannot login in HA. We setup People to associate them with tracking devices/services. We setup Users, to enable HA login, and associate them with user profiles which allow UI customisation (e.g. hide the sidebar, associate a default dashboard, hide dashboards, customise the sidebar, etc).
To access a user profile you need to login as that user. Let's take the example of the user called Guest.
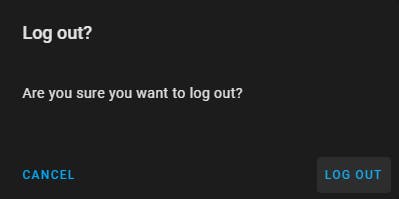
Logout from current user session. Click LOG OUT (in red).
Click LOG OUT.
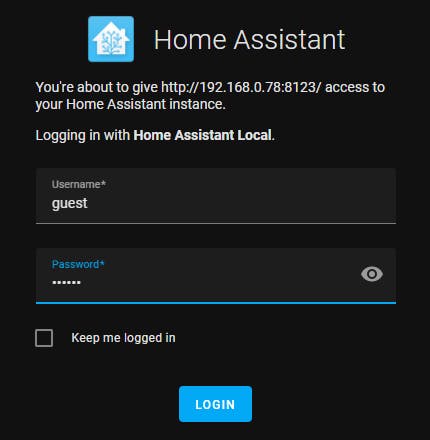
Login in HA with the username you want to change profile settings of, in our case Guest.
Select the Guest profile settings.
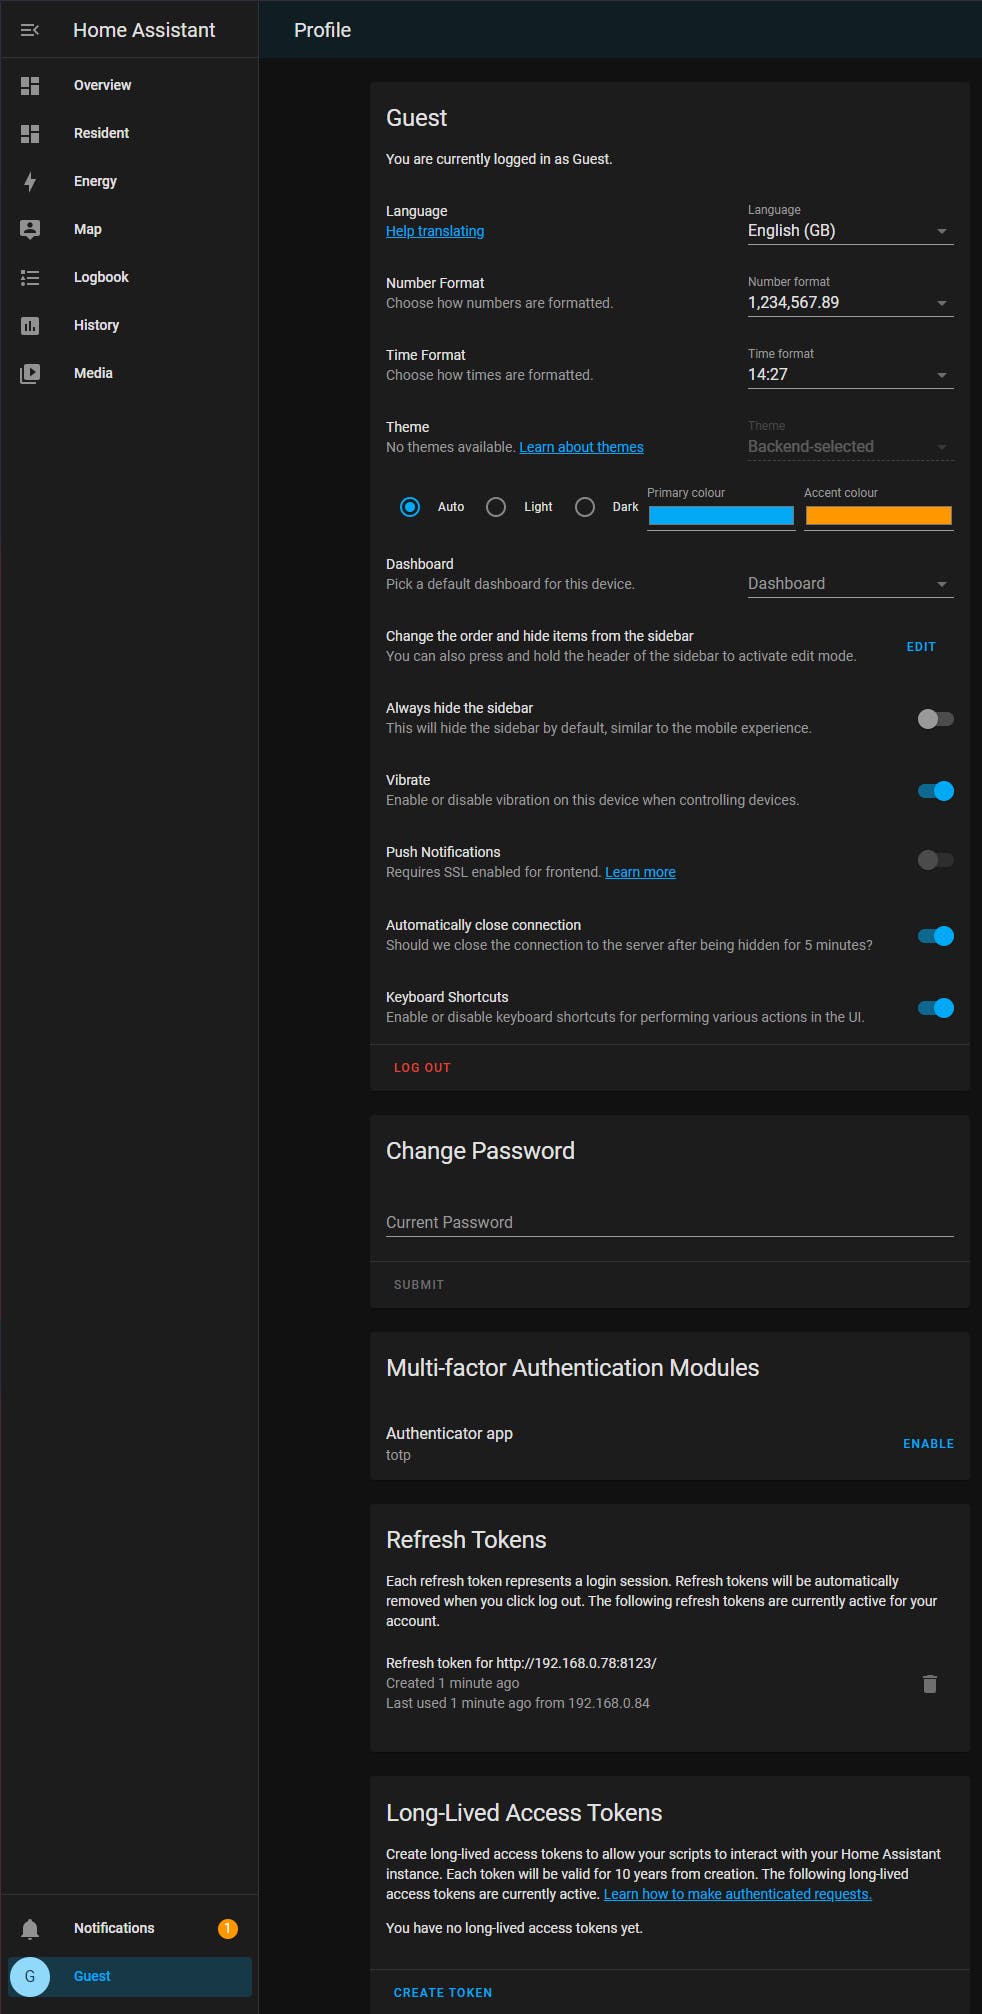
Notice, user Guest, not being an administrator, has restricted profile settings. However, we can still select a specific dashboard, hide the sidebar, customise the sidebar selections (EDIT), customise the theme, change language and number formats, etc. Notice also the Developer Tools and Configuration options are missing from the sidebar.
Log out of Guest and login as Admin (in your case use the username of your administrative account; note, you can setup multiple administrative accounts).
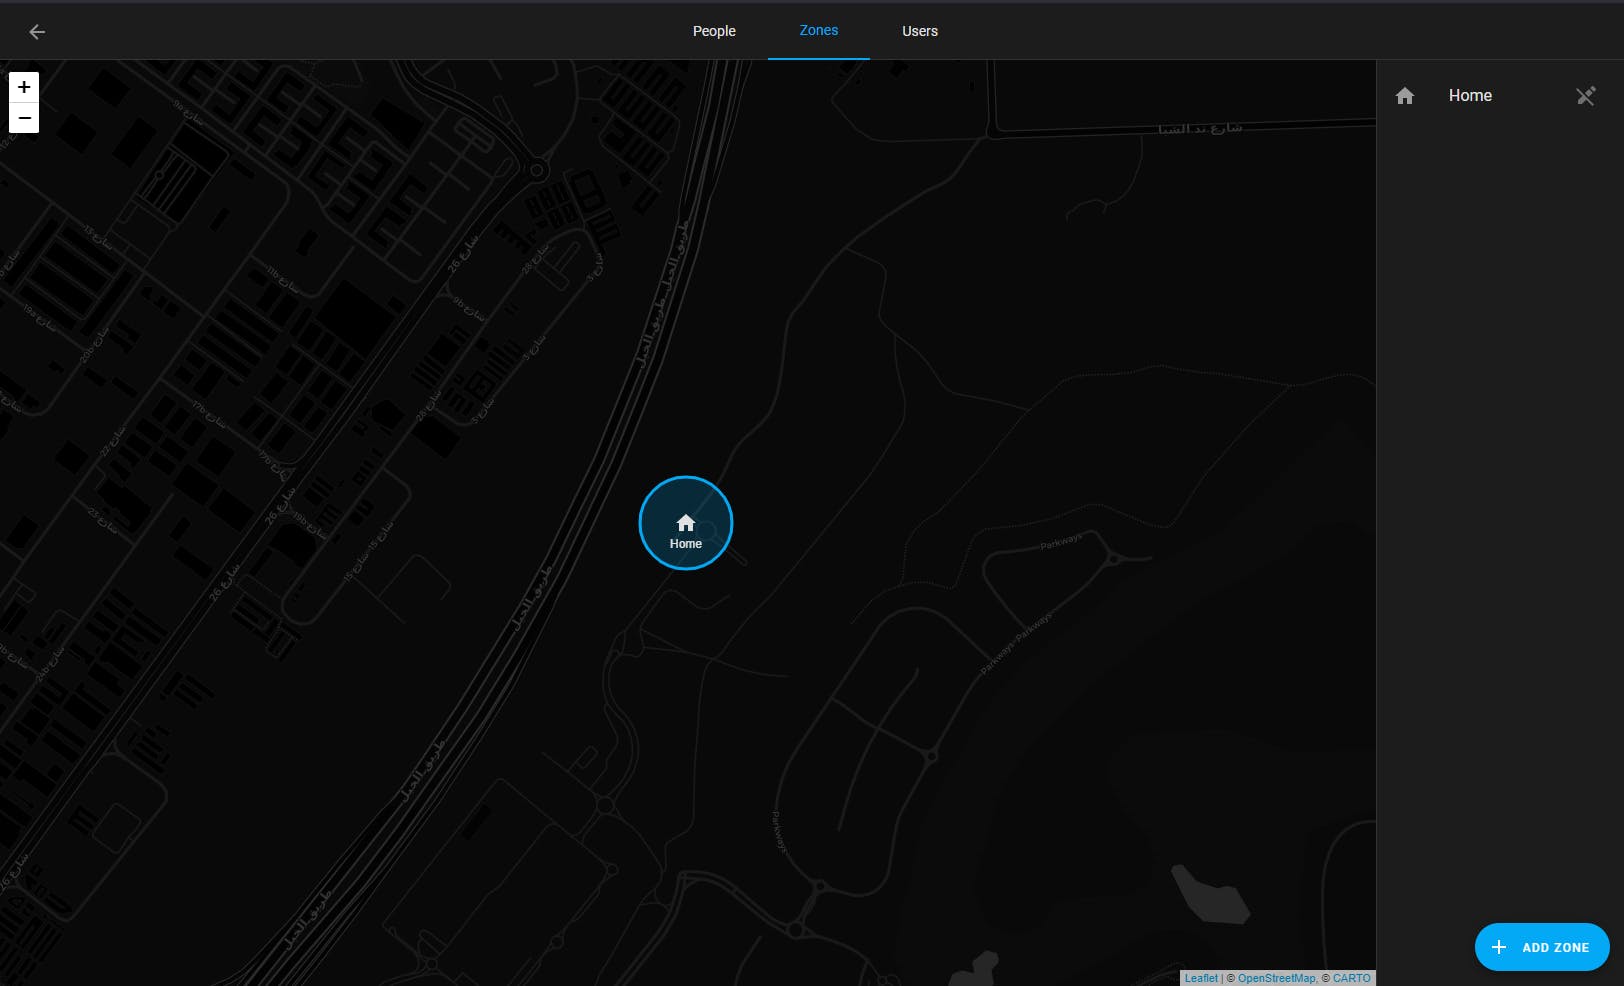
Zones
Configuration -> People & Zones -> Zones
Zones are geographical areas we setup to track people and use them in automations, triggers, etc.
The default Zone is called Home and it was setup during the initial configuration of HA.
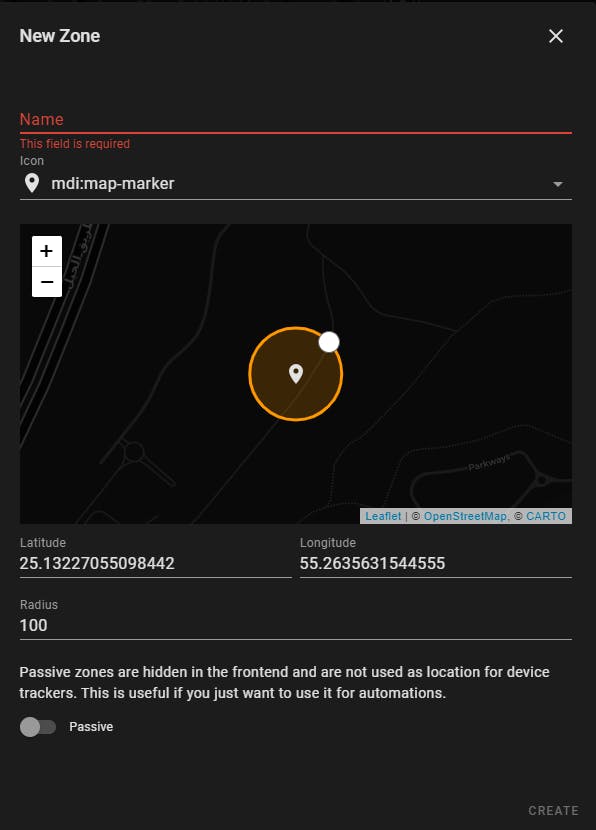
Click ADD ZONE.
Let's create a School zone.
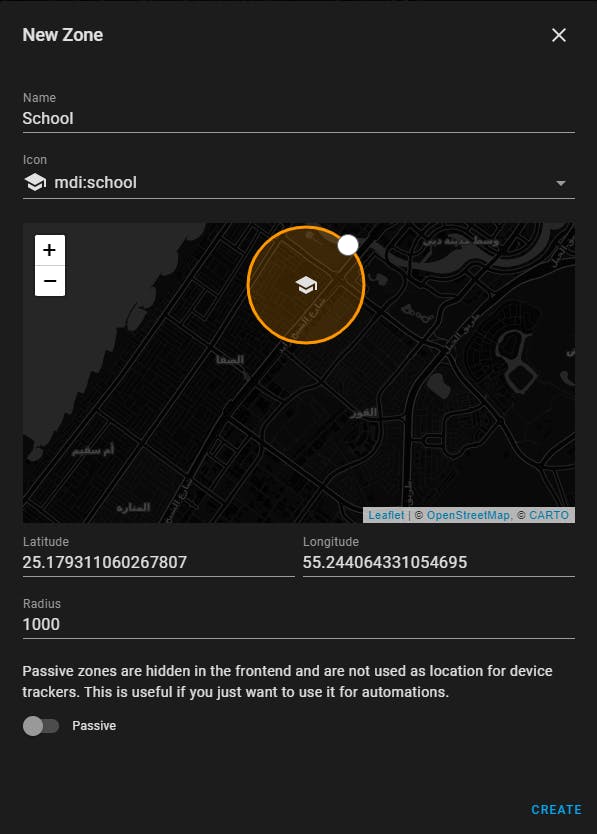
Select an icon to represent a school and change the radius from 100m to 1000m (the preferred units are under the user profile and were setup during the initial configuration of HA).
Click CREATE.
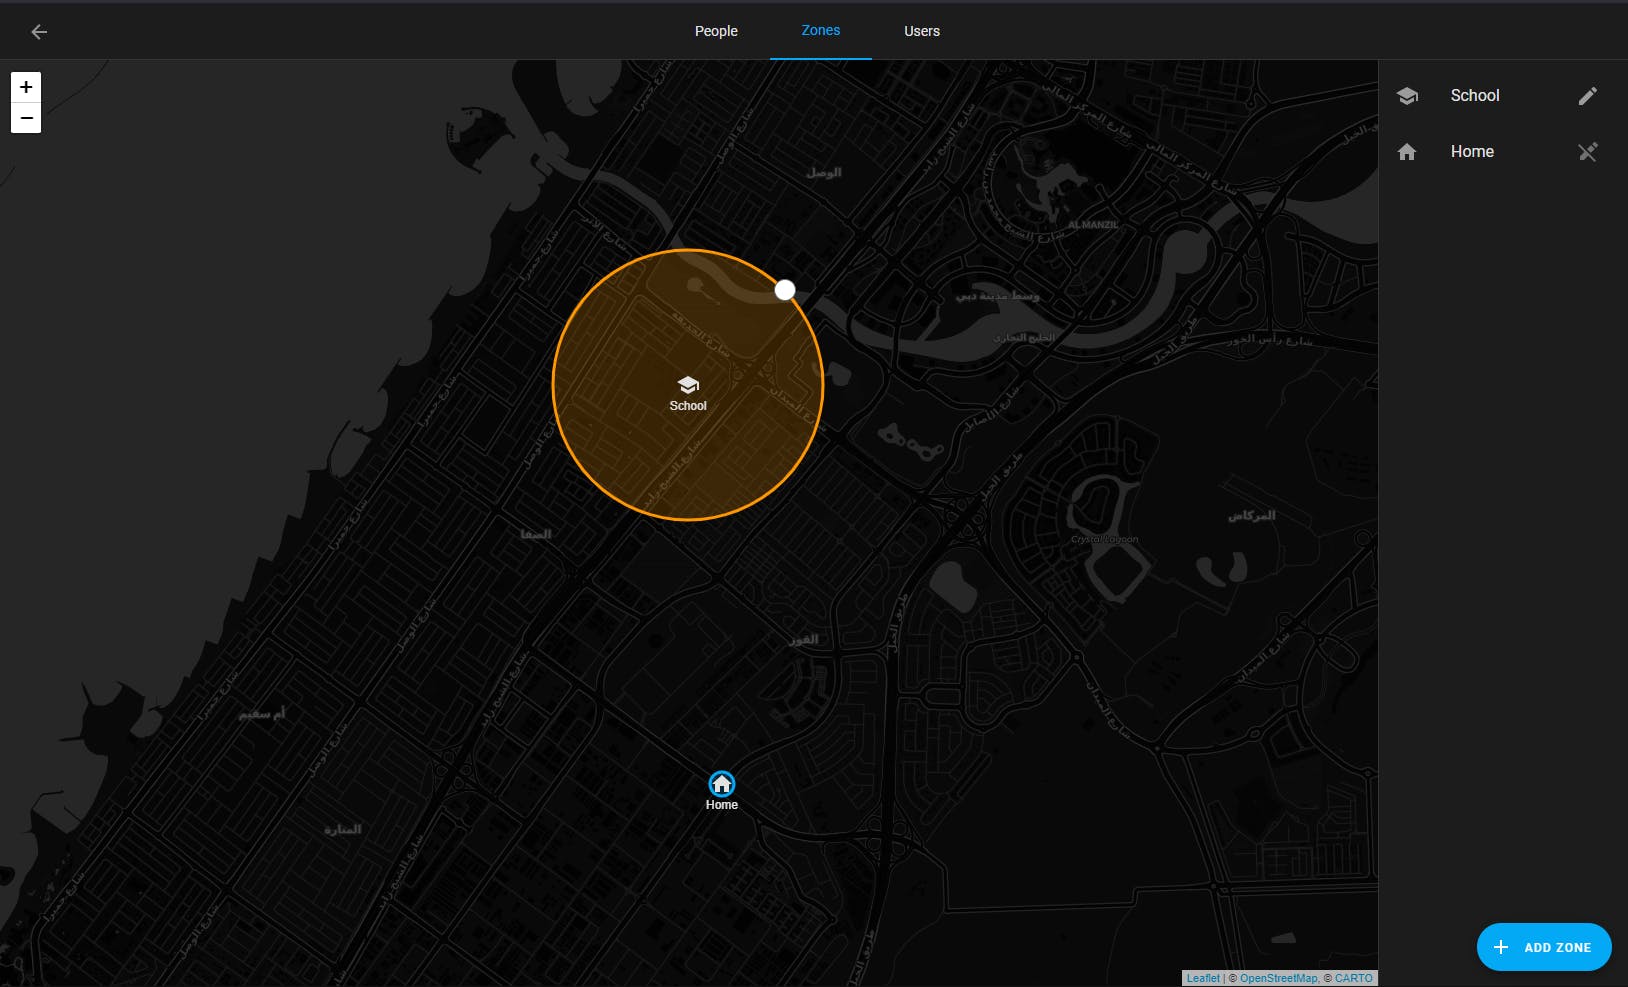
You can change the radius of a zone by just dragging the white bullet on the map.
The zone called Home can only be changed by going to the below panel:
Configuration -> Settings -> General
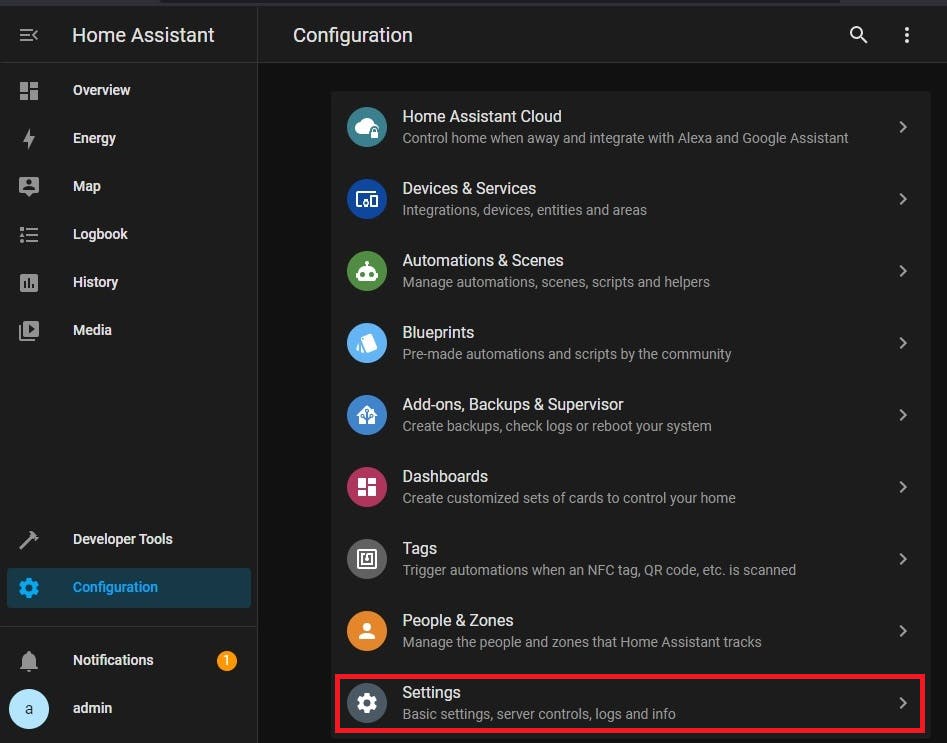

From this panel we can change the zone name, its map location, time zone, elevation, unit system and currency.
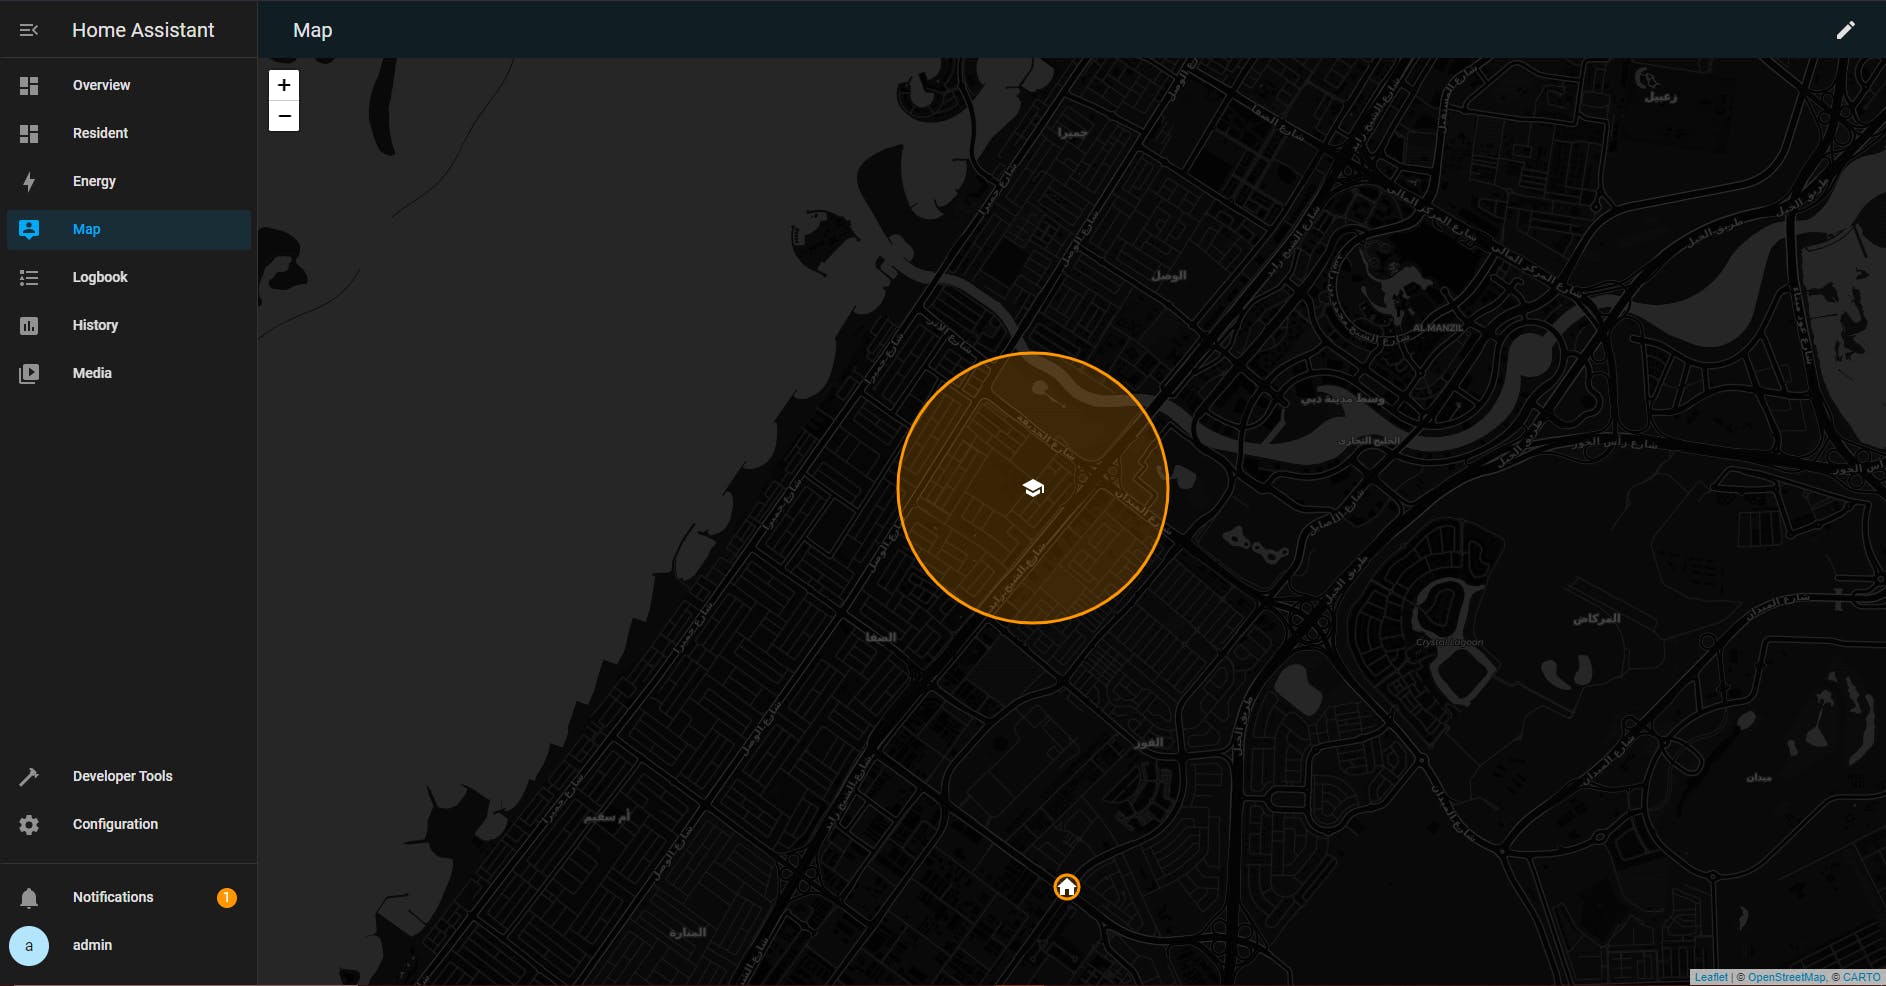
The zones can be viewed by selecting Map on the Sidebar. The zone size is to scale. A zone can be as large as you want it to be (hundreds, even thousands of km).
We have now entered all the basic information required to start building our HA system. The next steps will be adding add-ons, integrations, dashboards and automations.
Useful References
My Posts:
Proxmox Setup Guides: Home Assistant, Pi-hole, Win10, Win11
Home Assistant Initial Config Guide,
HA Setup Guide Series: HAOS Architecture, Frontend/UI Architecture, System Configuration. User Profile configuration
HA links:
Developer Docs, API Documentation, Documentation, HA Integrations, Full Demo, GitHub, YAML, Smart Mirror
Other links:
Please consider subscribing to my blog, as you will only ever get quality content; no time wasting, advertising, spamming or other unproductive activities/practices.
Please also consider visiting and subscribing to our YouTube channel; we have recently started posting videos.
We are committed to improving and enhancing over time.
If there is something you would like us to cover in a future topic/guide please let us know.
Important Note: From time to time we enhance the content of our posts. It is therefore recommended you link to our original post in our blog.habitats.tech, by either subscribing to our blog.habitats.tech or visiting our subreddit reddit.com/r/HabitatsTech (our posts in Reddit link to our original posts).