HowTo install Pi-hole in Proxmox VE, possibly the best ad blocker and privacy protector
Pi-hole is possibly the best ad-blocker and privacy protector, requiring minimal resources to run, while being very efficient.

Passionate about science and technology and a strong believer the next big thing/think is yet to be discovered.
Pi-hole is a network-wide ad-blocker and privacy protector (e.g. blocking telemetry data). Any device on the same network as Pi-hole is protected without the need for extra software on the device. Devices can be any device/computer like desktops, laptops, tablets, phones, TVs, AVRs, anything that can access the Internet/Cloud. You see they all rely on DNS to operate and this is where Pi-hole shines, as it is a DNS server (resolver for everything on the LAN and forwarder for everything else).
Pi-hole can also be configured as a DHCP server, something I suggest you enable as well, as it will most like be more powerful than your present Internet gateway DHCP server.
CT = Container (LXC)
PiH = Pi-hole
PVE = Proxmox VE
WAC = Web Admin Console (the web browser GUI to administer server applications)
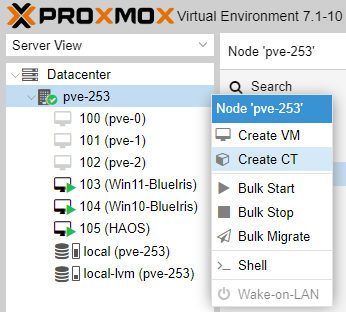
We will install PiH in a PVE CT.
Login to the PVE WAC: https://192.168.0.253:8006
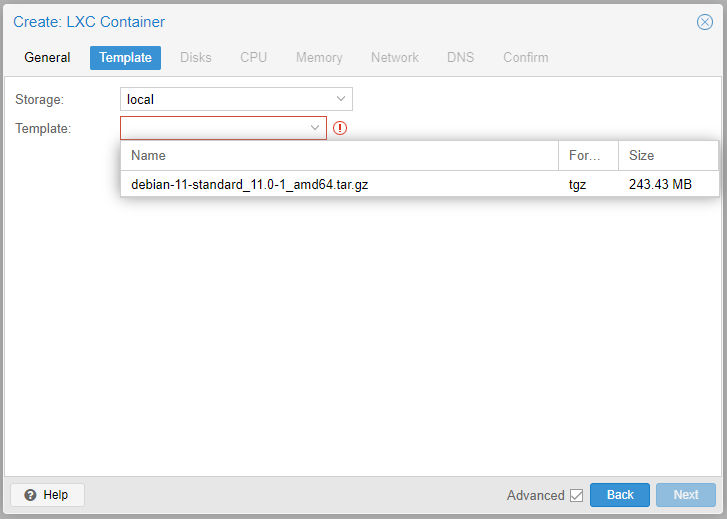
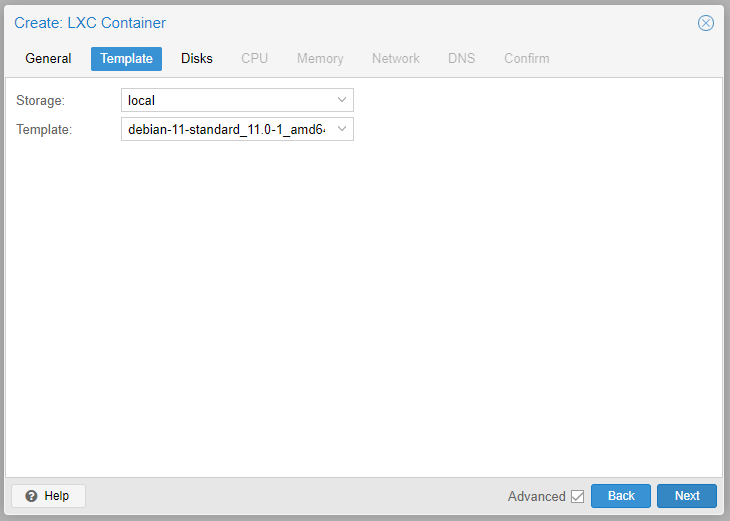
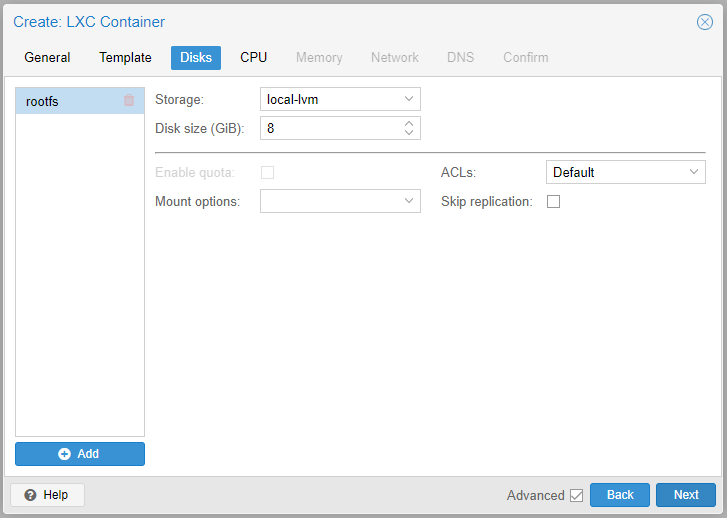
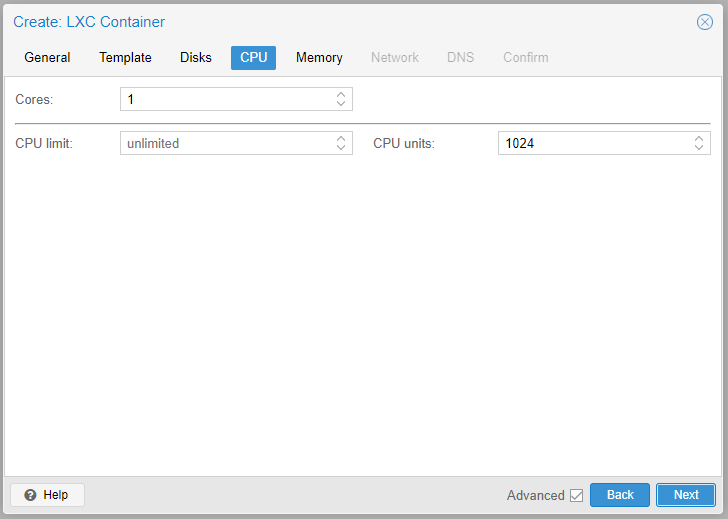
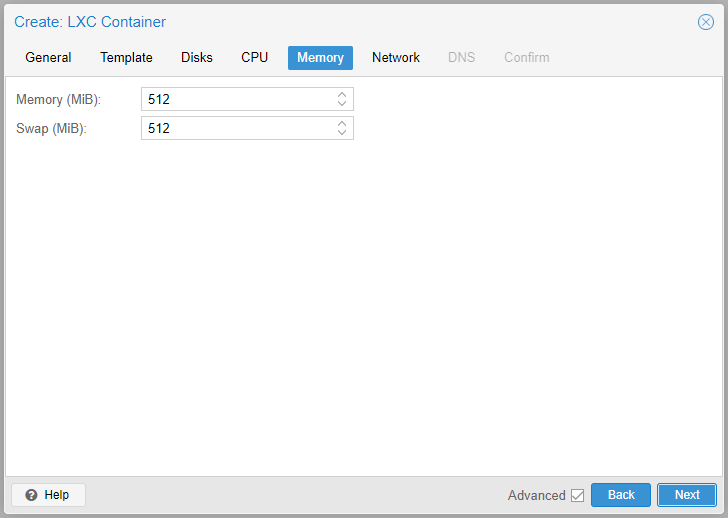
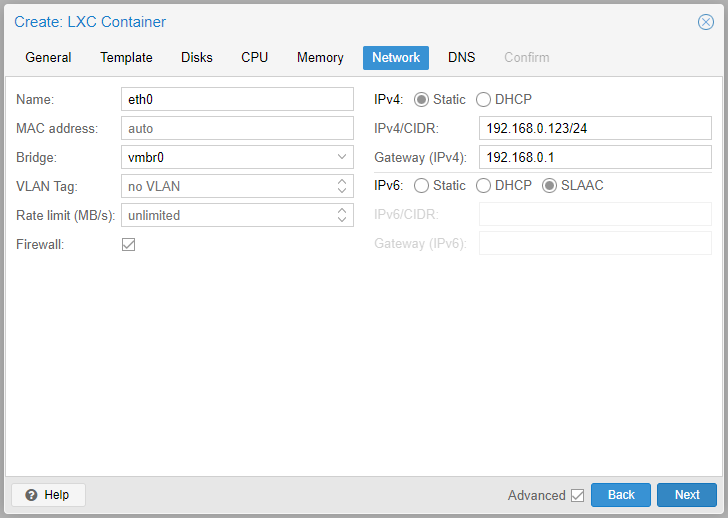
Create a Debian container as follows (if not familiar with PVE, please refer to my guide HowTo configure ProxMox VE 7.1, prior to following next steps):
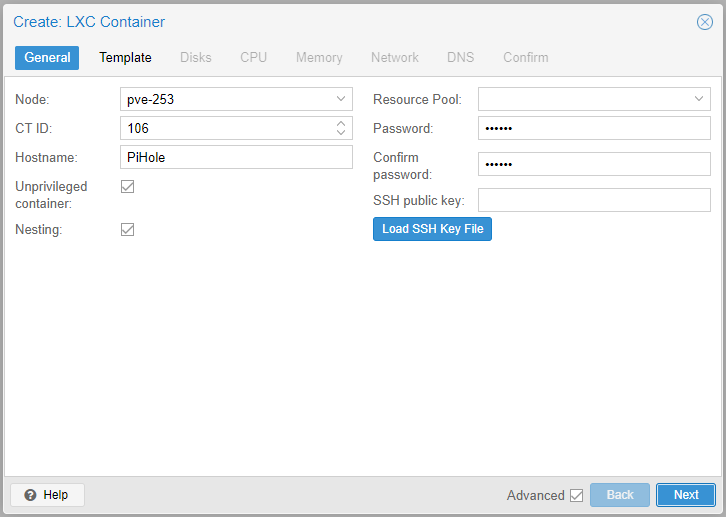
Very important to provide a similar static IPv4 and Gateway address as per screenshot below.
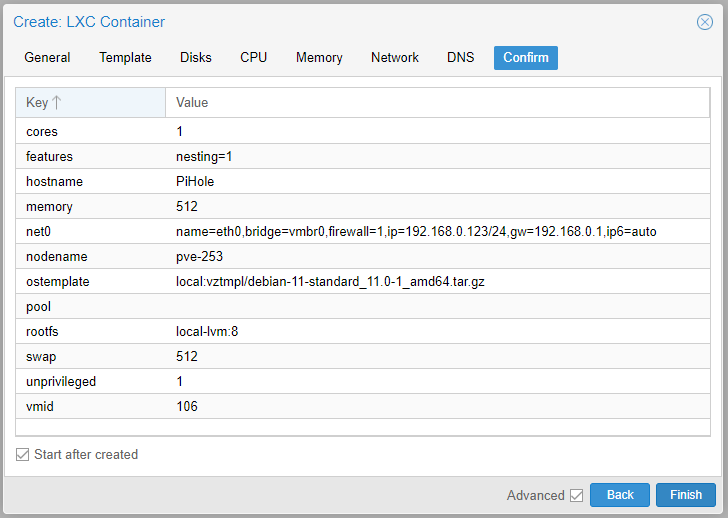
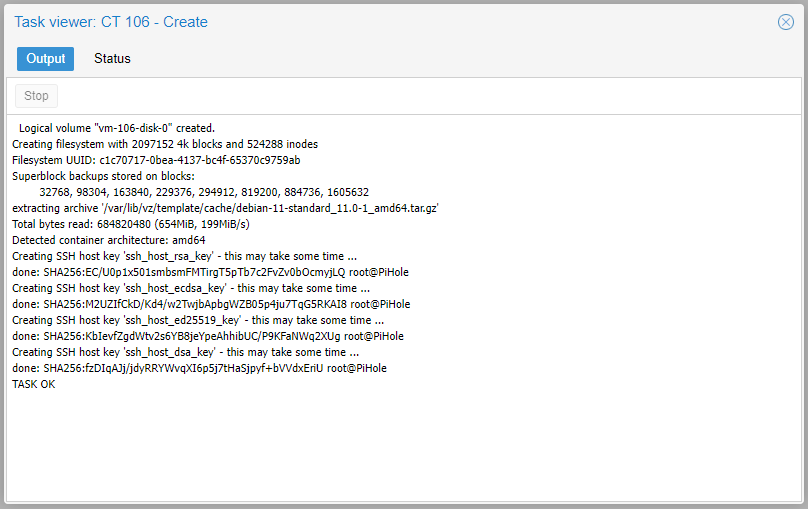
Select Start after created and click Finish.
If everything completed successfully close the Task viewer window.
Go to the newly created CT 106 (PiHole) and select >_Console. We will update Debian prior to installing PiH.
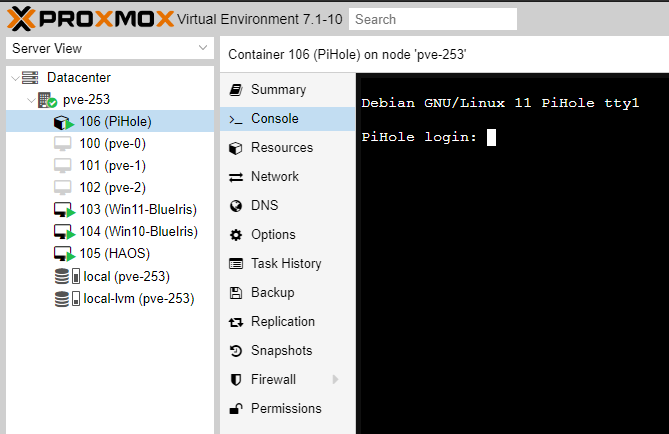
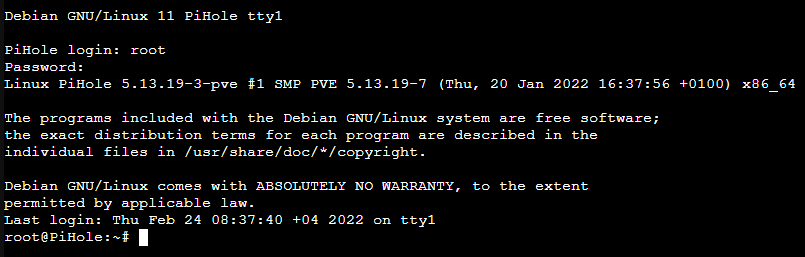
Login as root.
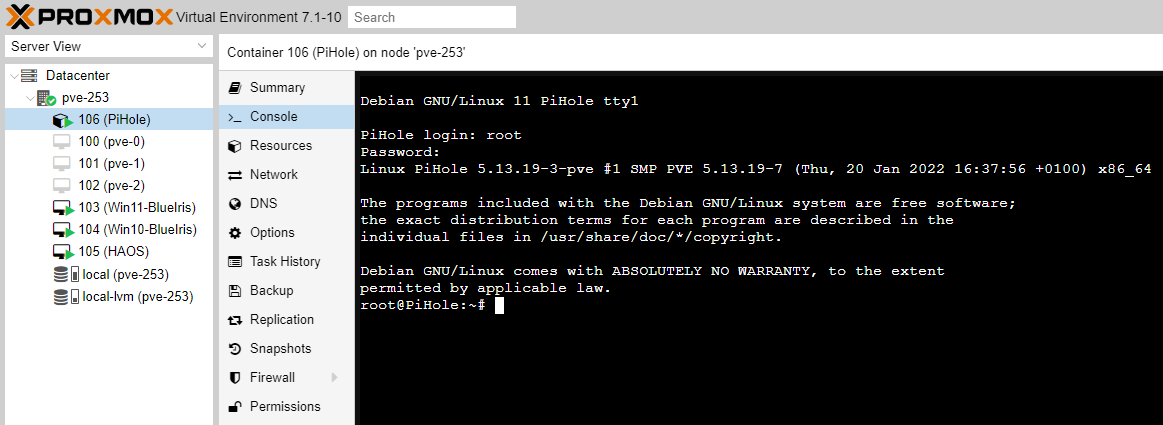
and type the following two commands
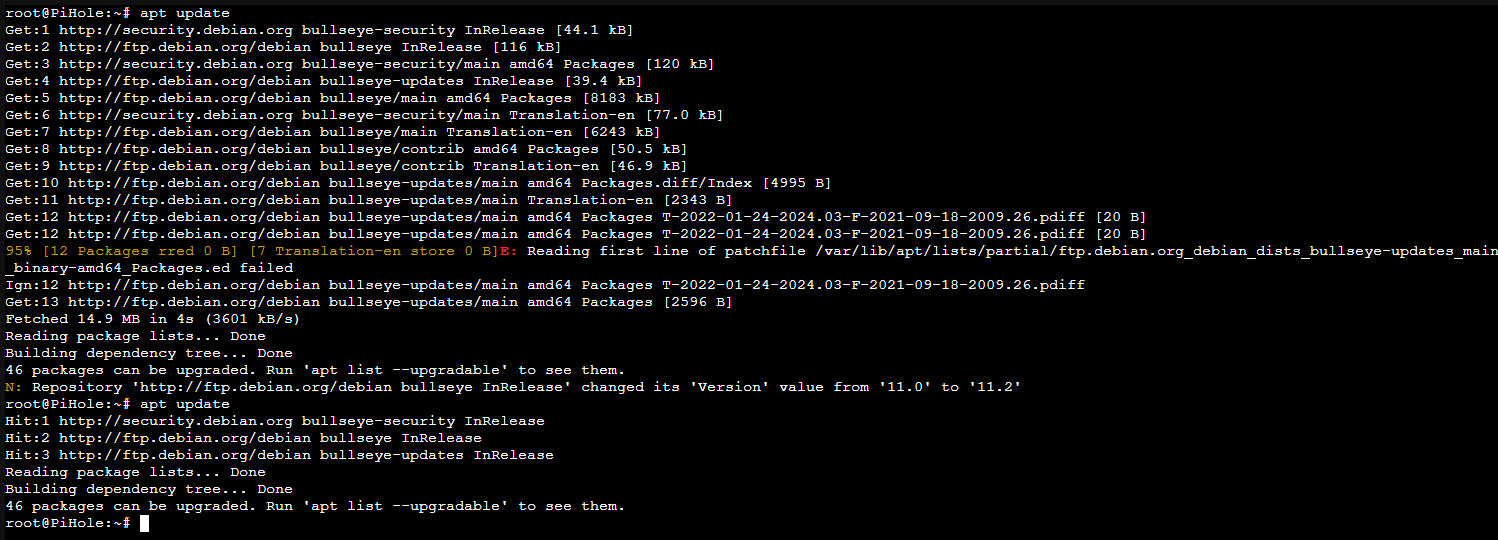
apt update
In case you see error messages like in our example below, just retype the command above, until you see no further error messages.
apt full-upgrade
Type y when asked, then process starts.
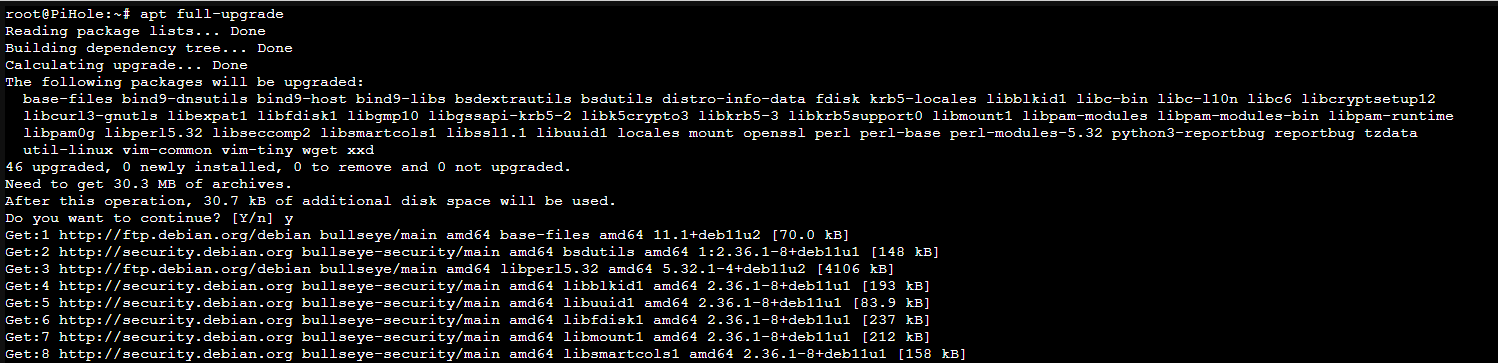
Wait until completed.
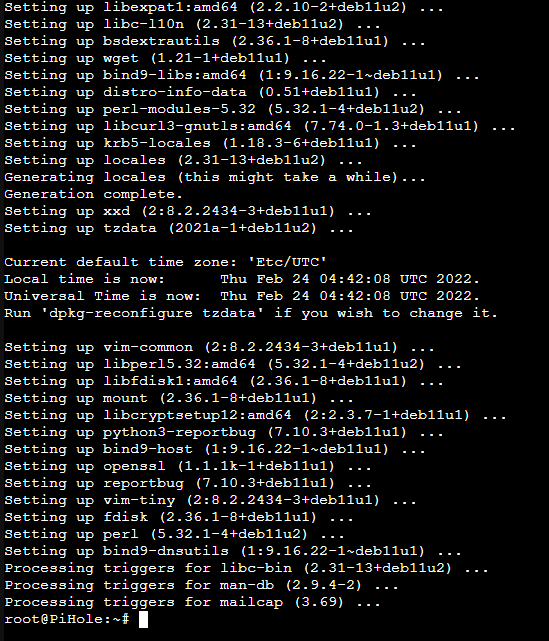
Let's change our timezone first.
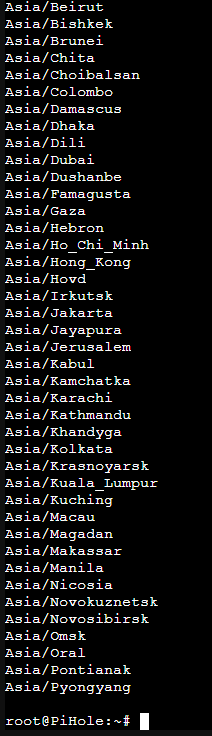
Find the name of your timezone using this command: timedatectl list-timezones
Once you found your timezone press Ctrl C on the keyboard to return to the command prompt. My timezone is Asia/Dubai so will use this one in the following command (timedatectl set-timezone your_time_zone).

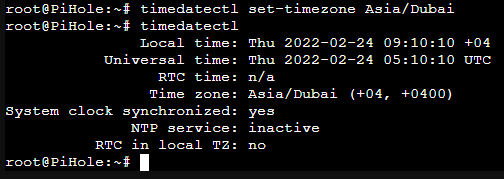
timedatectl set-timezone Asia/Dubai
To verify you are now using the correct timezone for your CT type the following command: timedatectl
At this stage if you wish you can reboot the CT to make certain no errors come up.
To reboot just type: reboot
We can now proceed installing Pi-hole.
Login in first if you have rebooted.
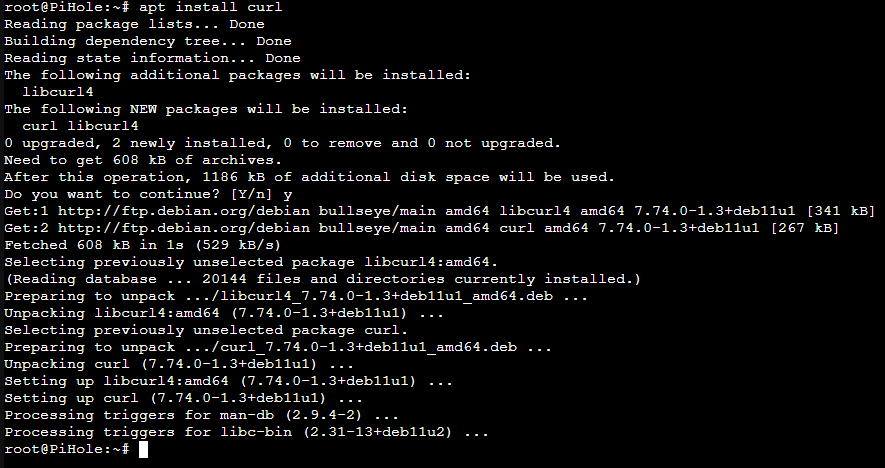
Type this command first: apt install curl
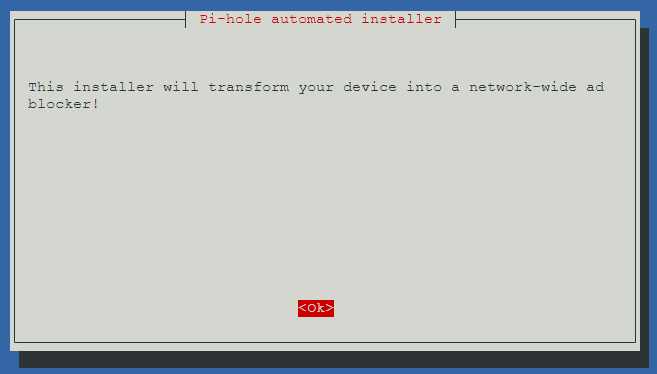
Install PiH with this command: curl -sSL https://install.pi-hole.net | bash
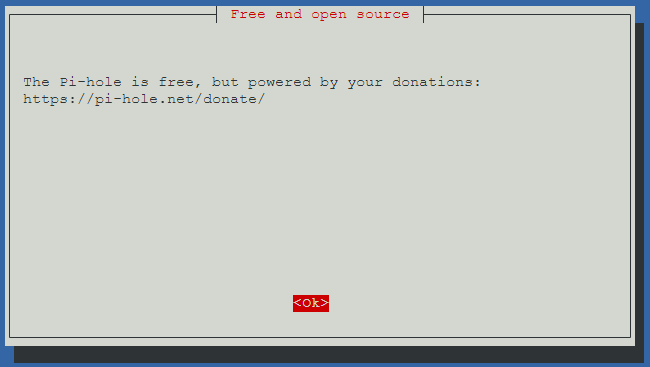
Consider donating to this wonderful project to keep it alive.
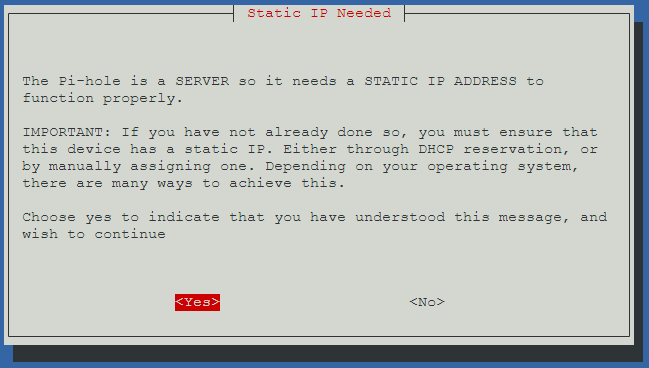
Yes.
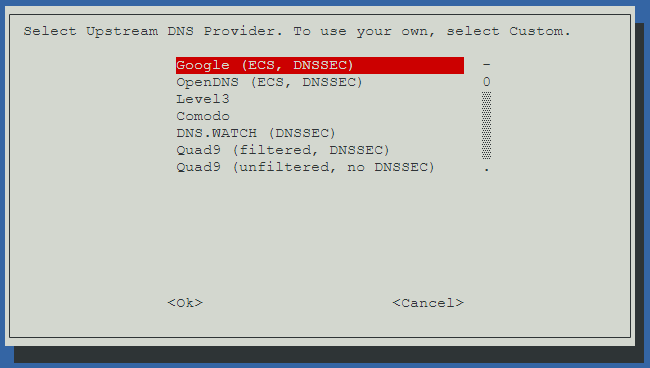
I have found Google DNS for my region to be the best performant. I suggest regardless of region this is the safest bet to start your adventure with PiH. You can change the DNS provider following installation and you can also add DNS providers on top of Google (if Google is down, or slow, the next on the list will be picked up).
OK, or just hit enter on the keyboard.
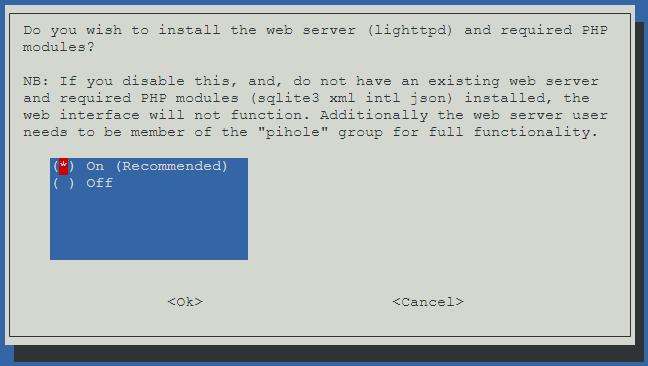
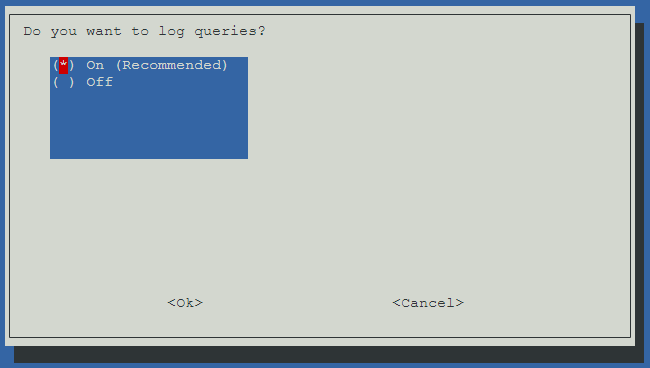
Select On (Recommended), or just hit enter on the keyboard, for all of the following.

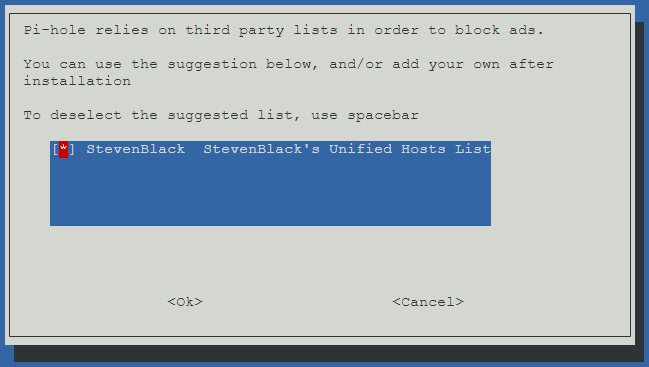
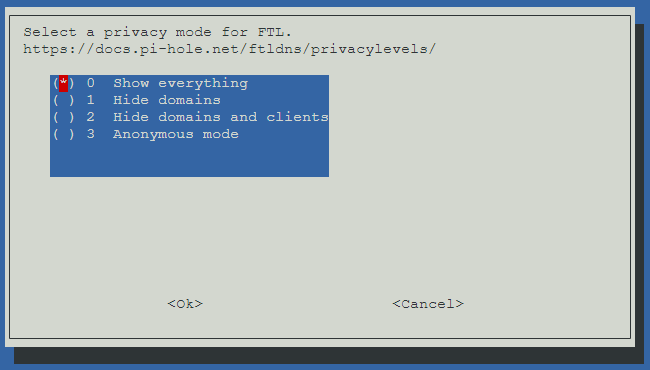
Show everything, or just hit enter on the keyboard.
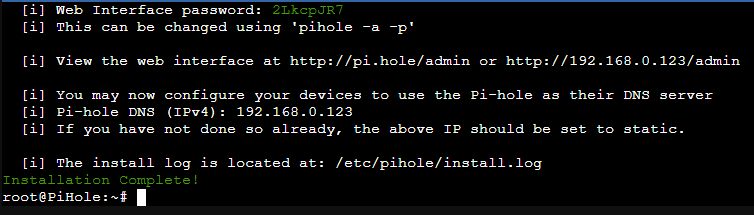
Installation process starts; wait until completed and you get the following prompt. I highly recommend you take a picture of this prompt as it contains the username and password required to access the web console.

Once you click OK you get the above information at the terminal as well:
In case there are errors displayed, rerun the script command above, until you get no errors.
The following command is optional, but might come in handy if you forget the password. This command will allow you to change or disable the password so you can access the web console without login.
pihole -a -p

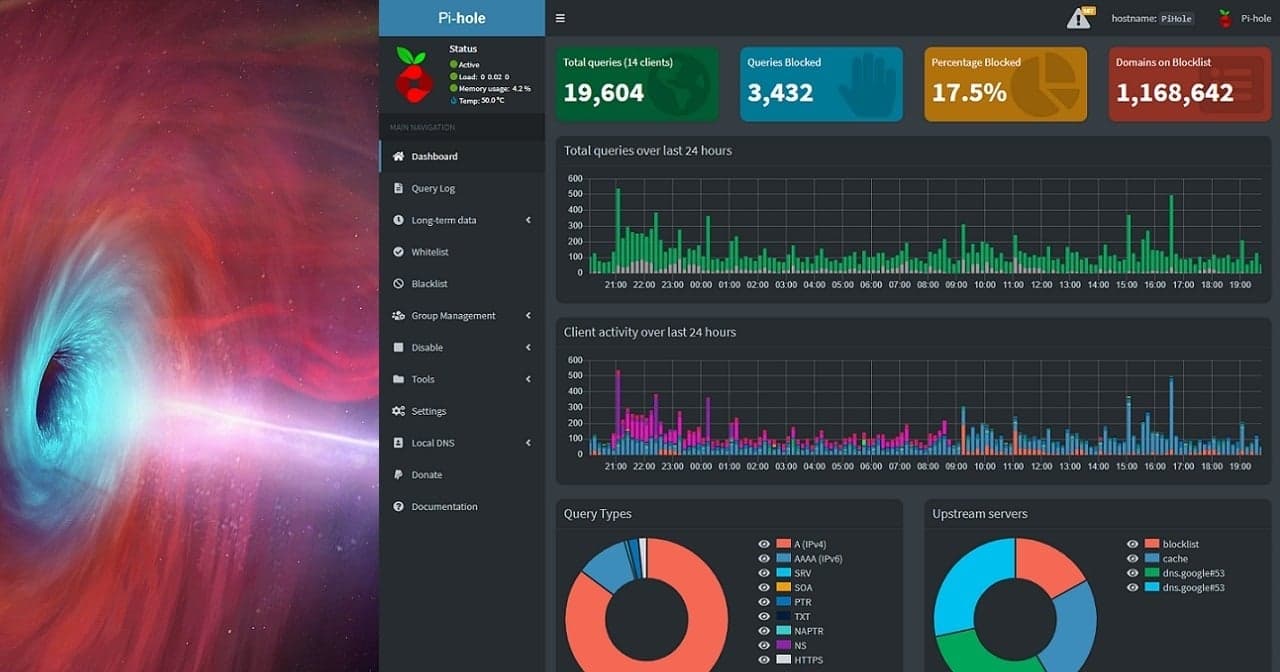
Let's access the PiH WAC: http://pi.hole/admin or http://192.168.0.123/admin/
Select Login and type the password provided earlier by the PiH installer.

If you removed the password with the change password command, when you select Login you are taken straight into the PiH Dashboard.
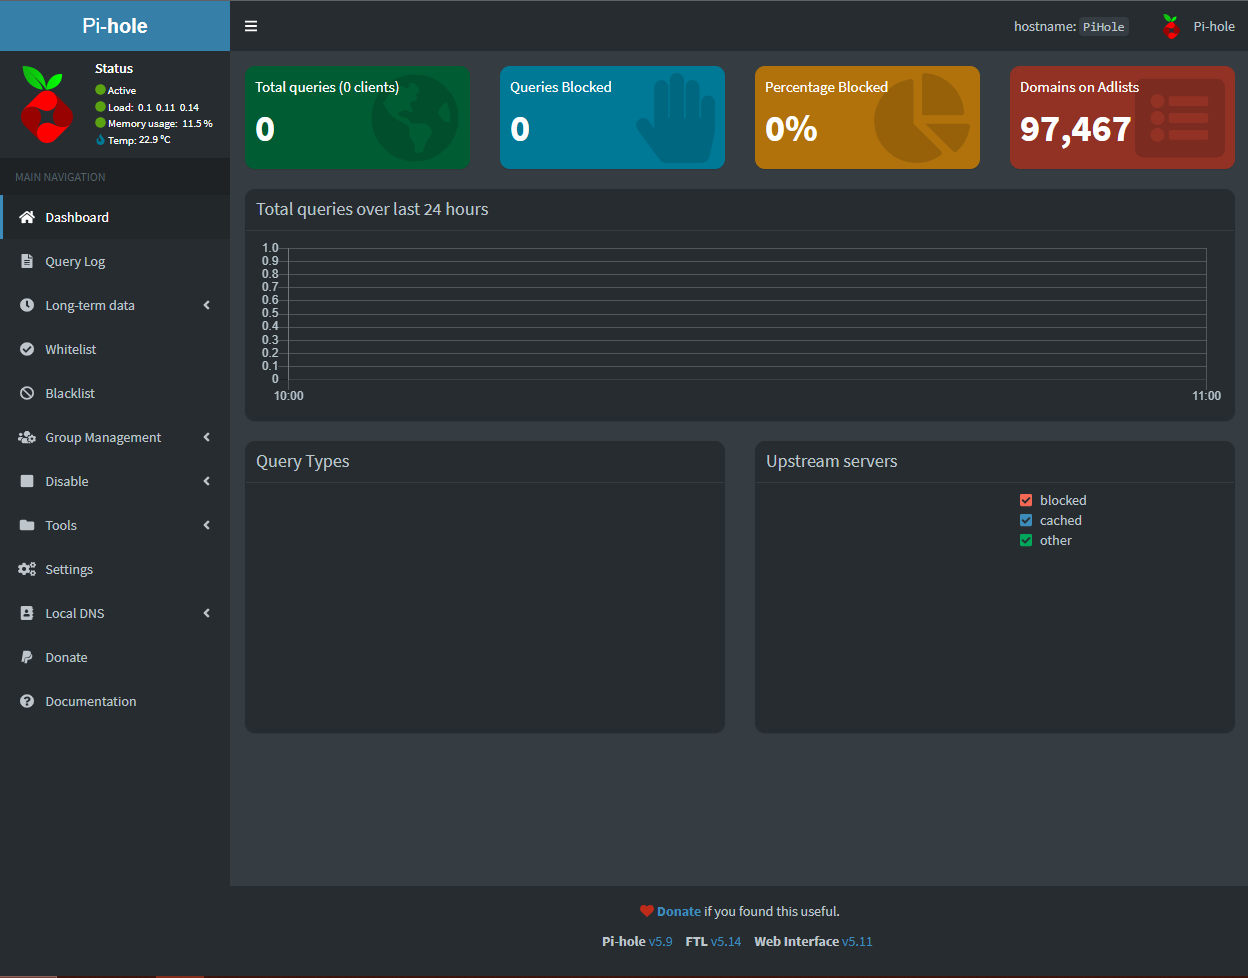
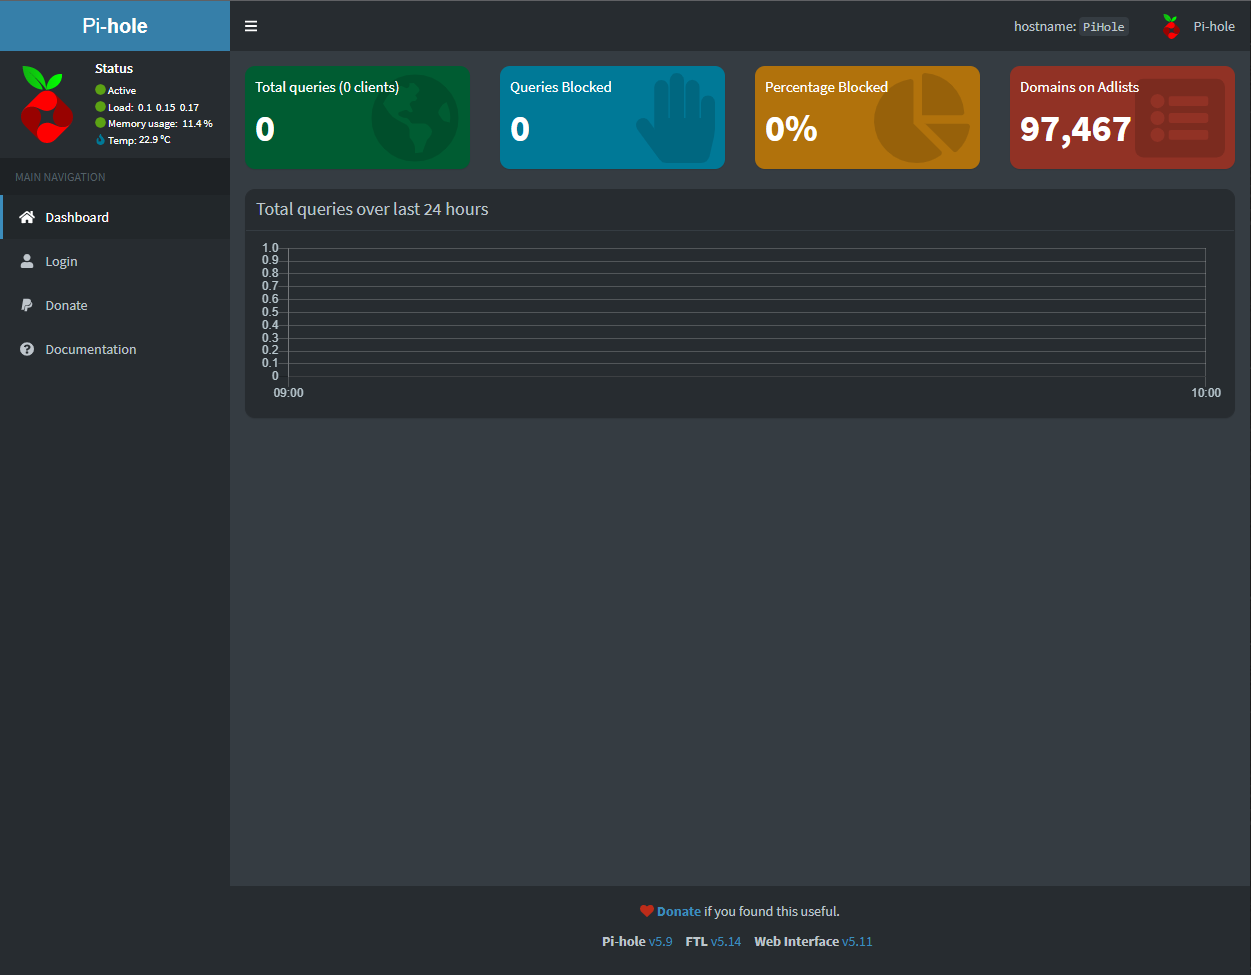
The PiH PVE CT as you can see from the below screenshot requires minuscule resources to run (the screenshot below is PiH running with no configuration applied).
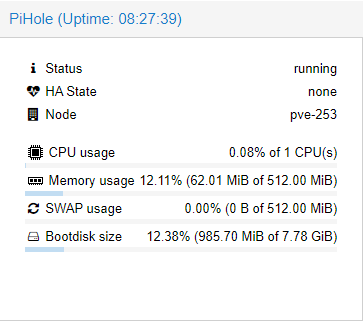
On our next post we will go through the configuration options.
Please consider subscribing to my blog, as you will only ever get quality content; no time wasting, advertising, spamming or other unproductive activities/practices.
Please also consider visiting and subscribing to our YouTube channel; we have recently started posting videos.
We are committed to improving and enhancing over time.
If there is something you would like us to cover in a future topic/guide please let us know.
Important Note: From time to time we enhance the content of our posts. It is therefore recommended you link to our original post in our https://blog.habitats.tech, by either subscribing to our https://blog.habitats.tech or visiting our subreddit https://www.reddit.com/r/HabitatsTech/ (our posts in Reddit link to our original posts).