HowTo setup HAOS - Part 2 - Next steps following installation and initial configuration - System Configuration
What are the next steps following Home Assistant initial configuration and login - enter System configuration
Passionate about science and technology and a strong believer the next big thing/think is yet to be discovered.
If you have not been following my multipart series here is a quick summary and a short background.
All my guides are based on x86-64 HW architecture, because I do not consider RPi a viable platform if your aim is to build a solid HA foundation you can rely upon. RPi is fantastic to experiment with, but not as resilient, if you aim for a long term, reliable, production worthy, HA platform. For cost effective lightweight option, HA Yellow is a better option when paired with an M.2 SSD.
On top of the x86-64 HW architecture I have Proxmox as the platform of choice for running both production and test/experiment environments side-by-side, some of which are complimentary to HA (e.g. Pi-hole). There are tons of reasons a virtualised environment is superior to a bare-metal environment, which I hope will cover in a future post.
So far we know how to install HAOS in Proxmox, complete the initial HA configuration, understand the HAOS architecture and the HA frontend/UI architecture.
This post is about first configuration steps following the initial configuration and specifically System configuration.
Any computing device requires two unique identifiers:
- An IP address
- A hostname
In the case of HA the IP address is assigned through a process known as DHCP leasing and the hostname assigned is the HA default name of homeassistant.
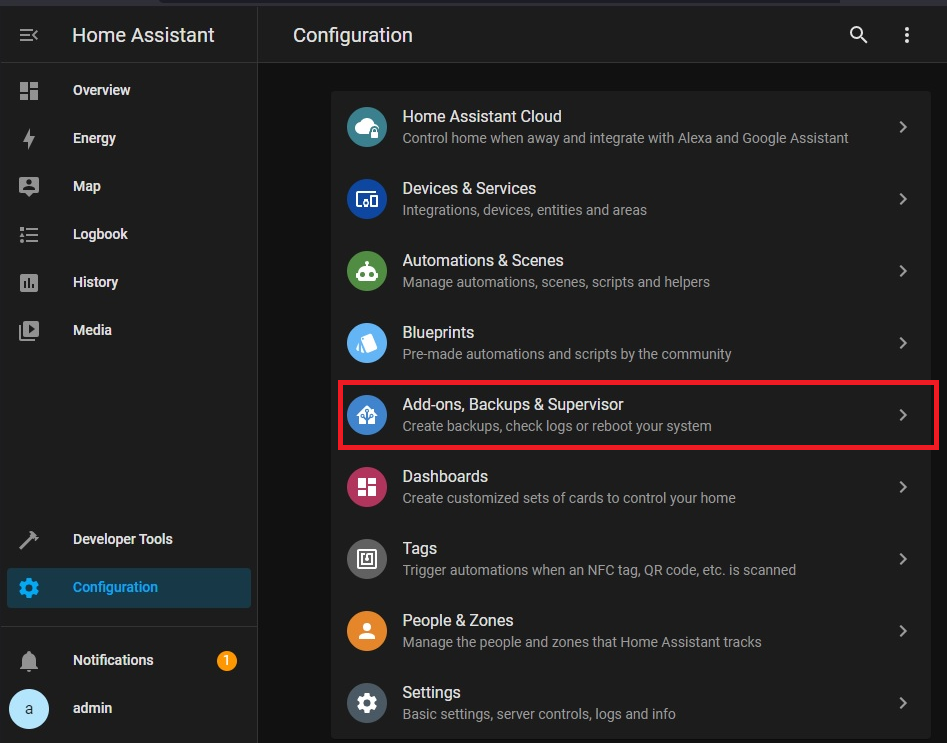
Ideally you want to change both to something you know it will always be what you have assigned it to be. You can accomplish such a task by selecting:
Configuration -> Add-ons, Backups & Supervisor -> System

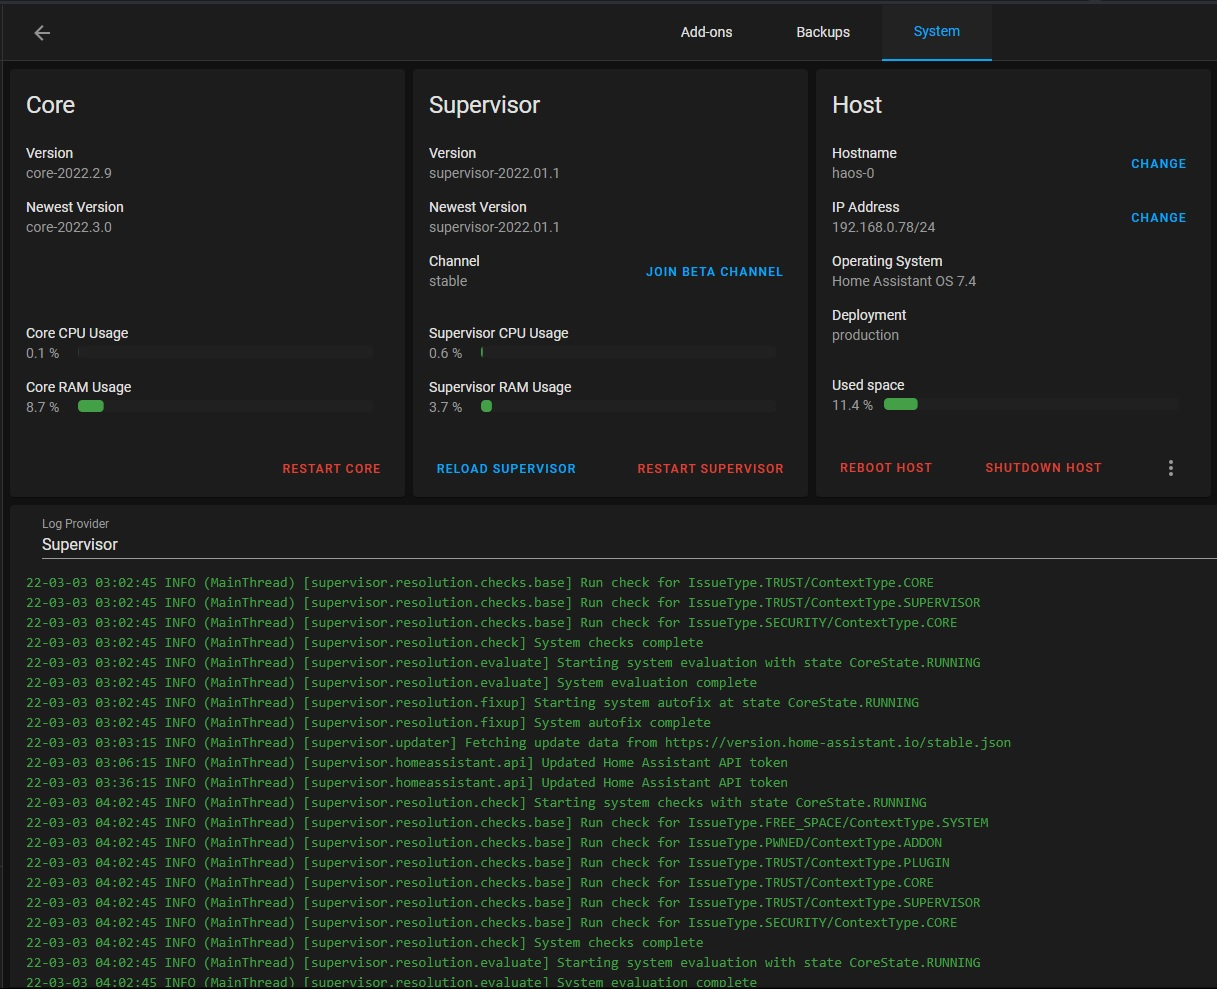
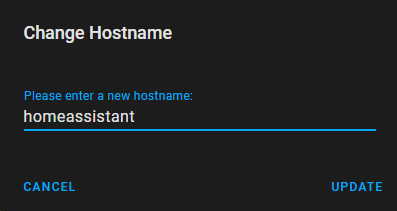
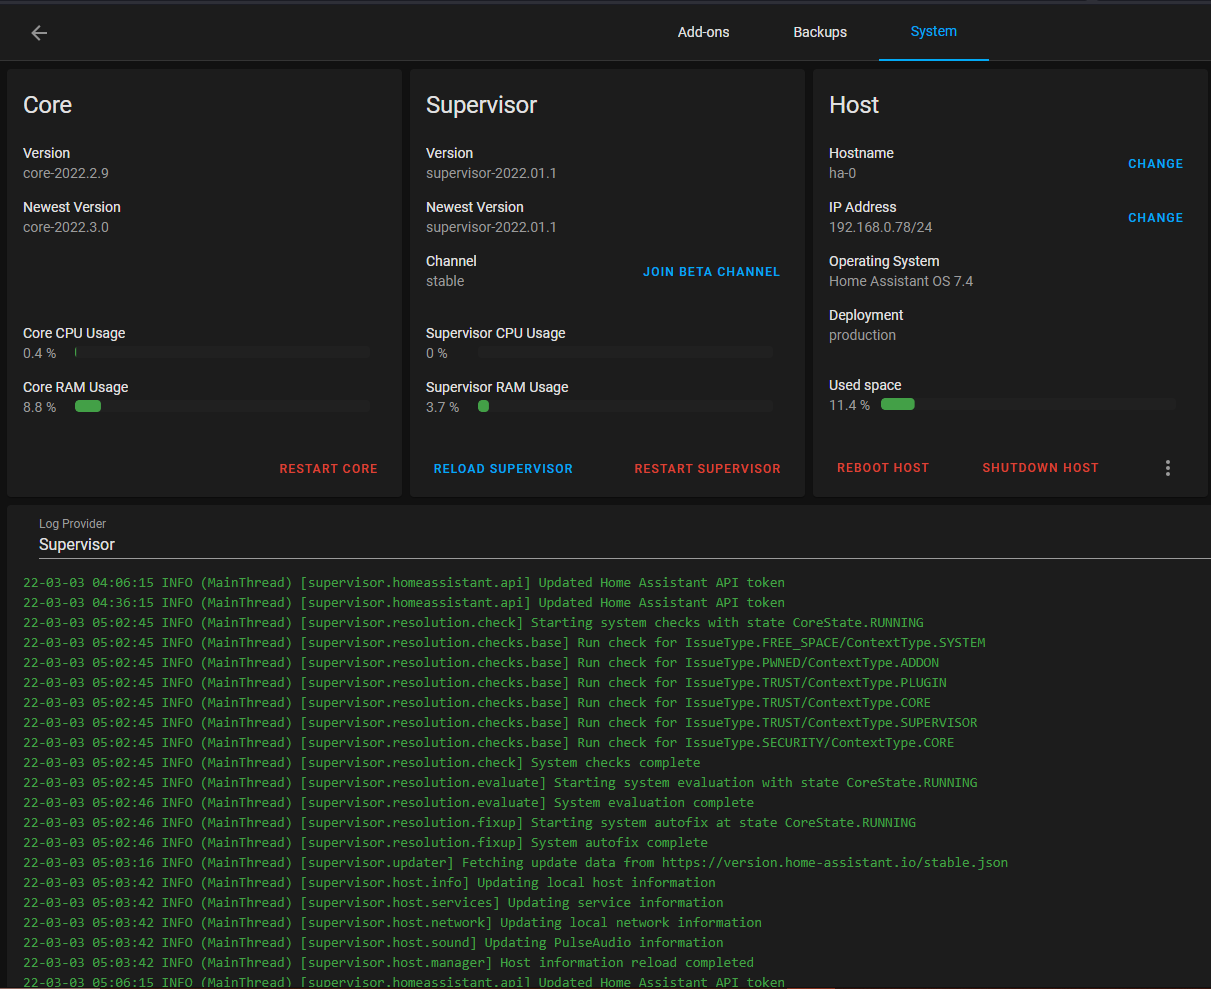
To change the IP address to static and the hostname from its default value of homeassistant click on the respective CHANGE selections:
Hostname: from
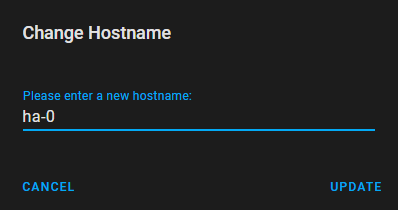
Hostname: to
IP Address: expand IPv4
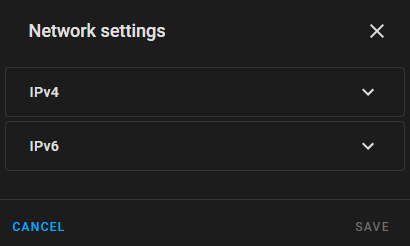
IP Address: from
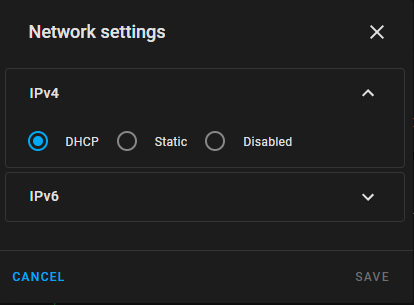
when you change to static the present values of DHCP are used; you can change the IP Address/Netmask only and leave the rest to their present values.
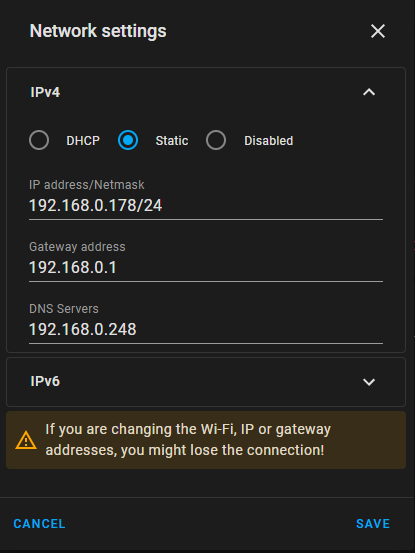
IP Address: to (make certain to end the IP address with /24 which specifies the netmask value)

To use the right value for the IP address, some basic networking background is required as follows:
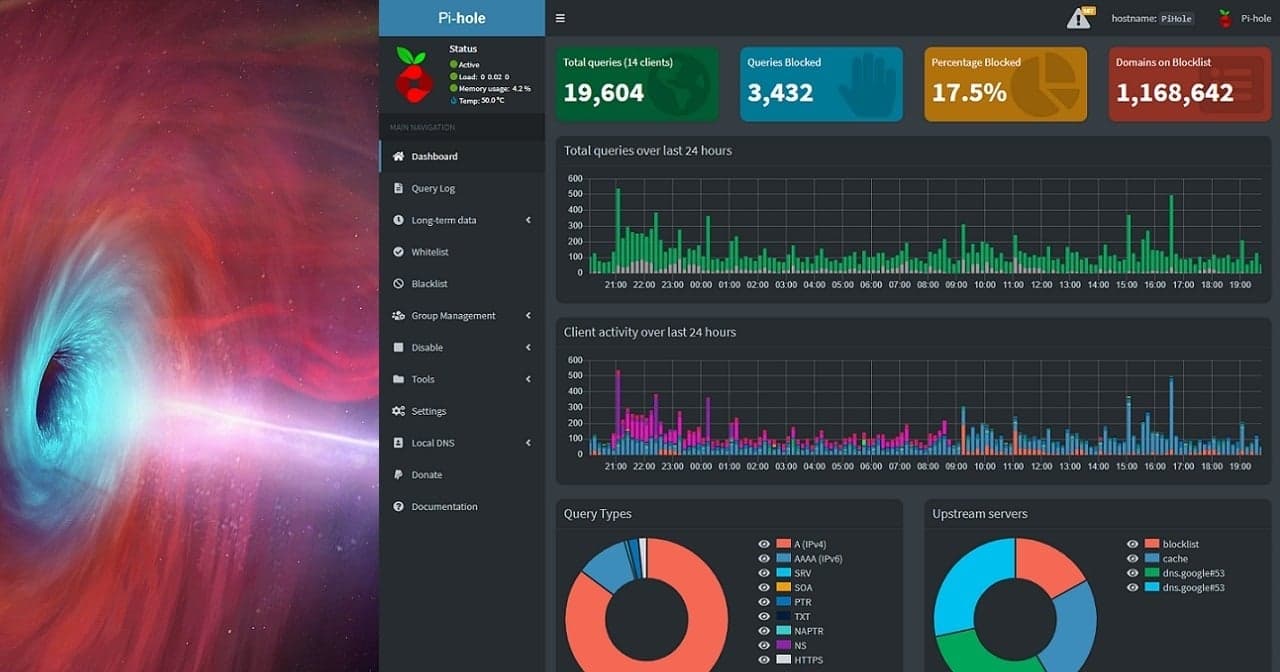
The DHCP server is usually hosted on your Internet Router/Gateway. However it can also be hosted elsewhere, like for example on a Pi-hole server, which can be both a DNS and DHCP server.
The static IP address you choose should be outside the range of DHCP addresses your DHCP server handles.
The Gateway IP address is the one used by your Internet Router/Gateway, usually 192.168.0.1 or 192.168.1.1 or similar.
The DNS server IP address is what your DHCP server is configured with. However you can change it if you wish to a static 8.8.8.8 or 8.8.4.4 (public Google DNS servers).
Read this IP address article from Wikipedia for a better understanding of the subject.
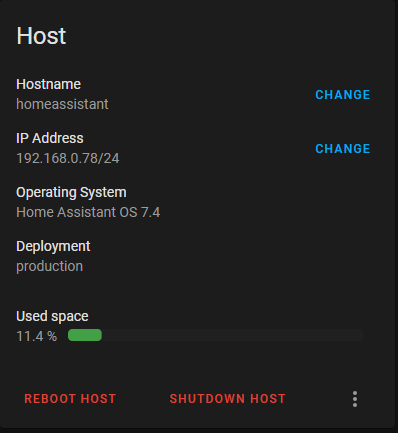
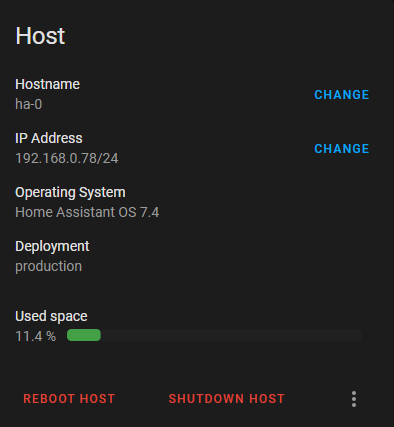
You do not need to restart the system as the changes take effect as soon as you change them. Your Host settings should now look similar to the screenshot below:
System Information
System information can be found in the following places:
Configuration -> Add-ons, Backups & Supervisor -> System
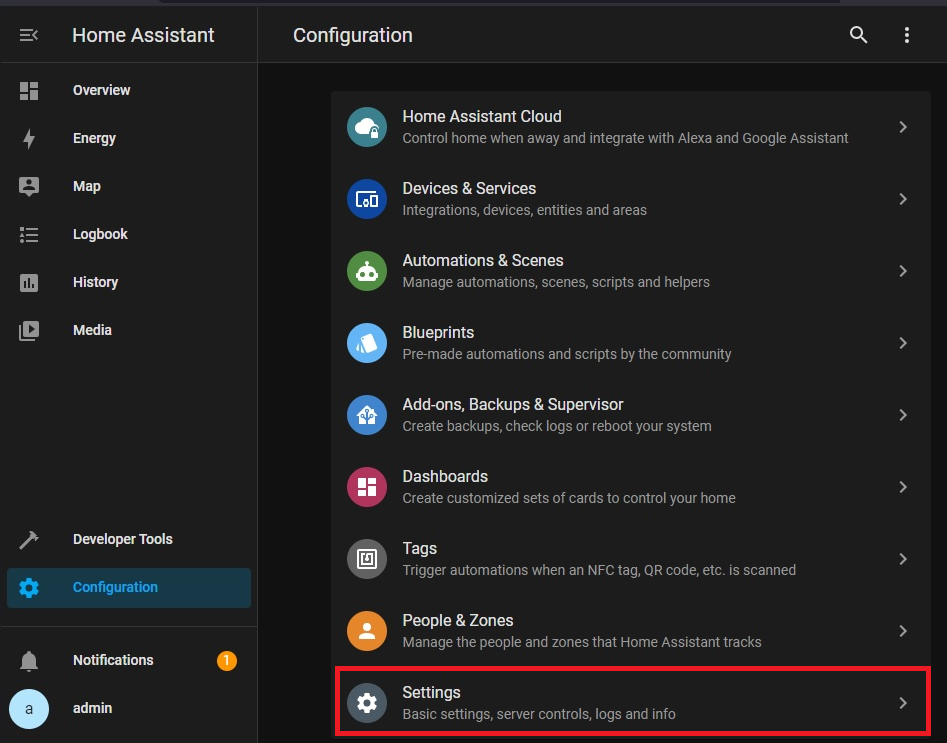
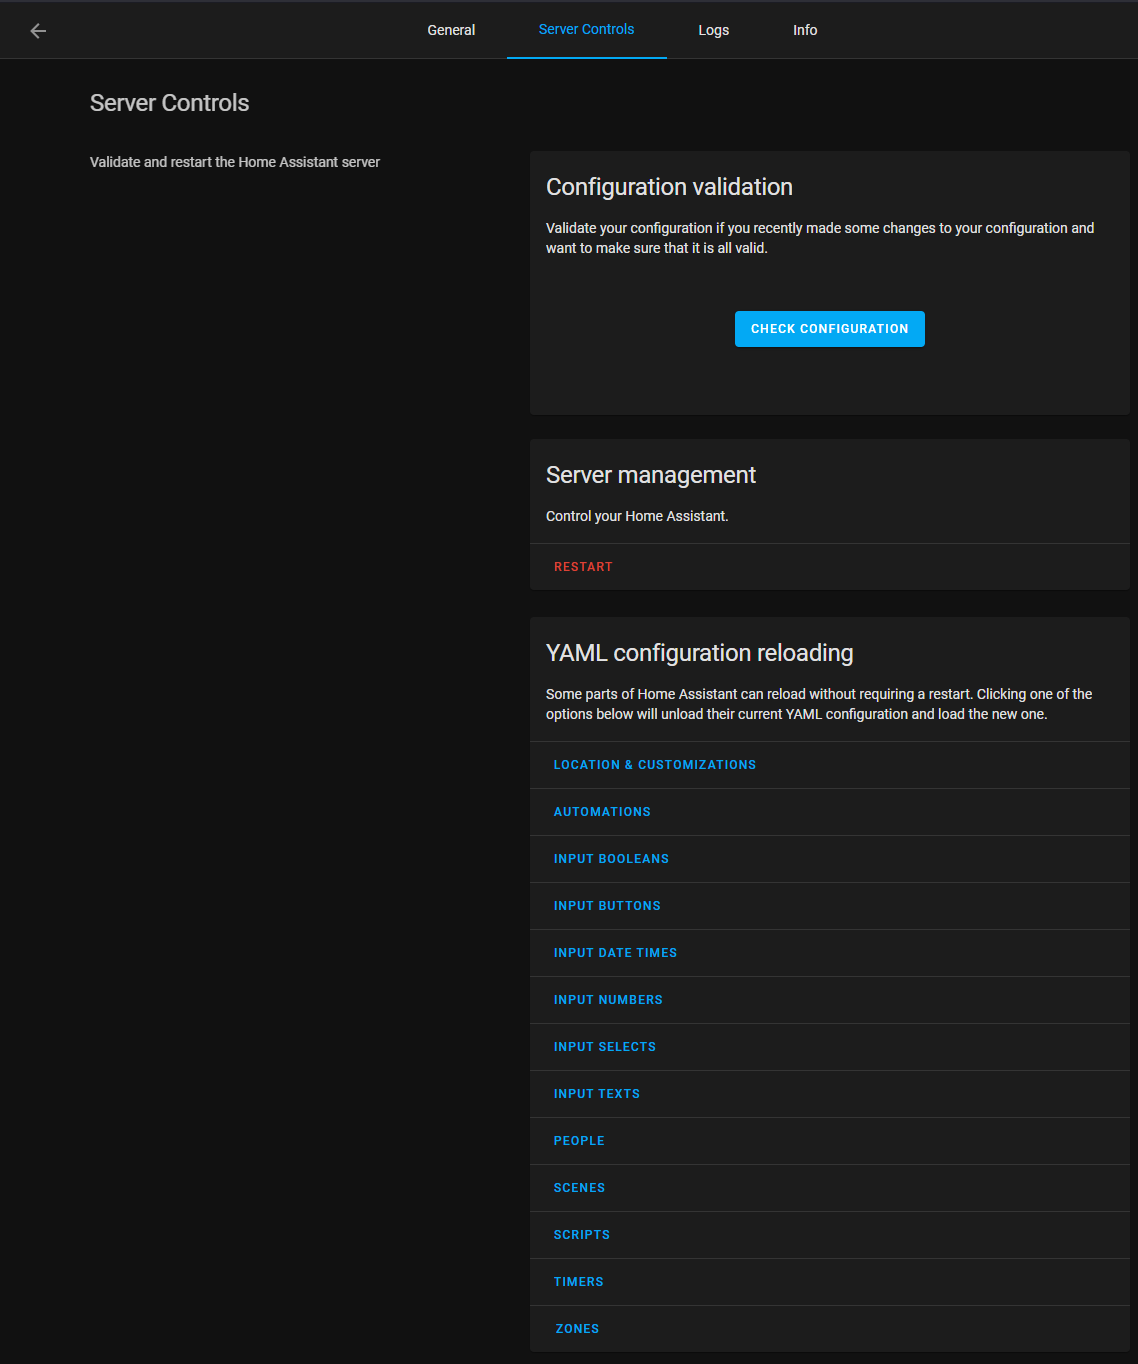
Configuration -> Settings -> Server Controls
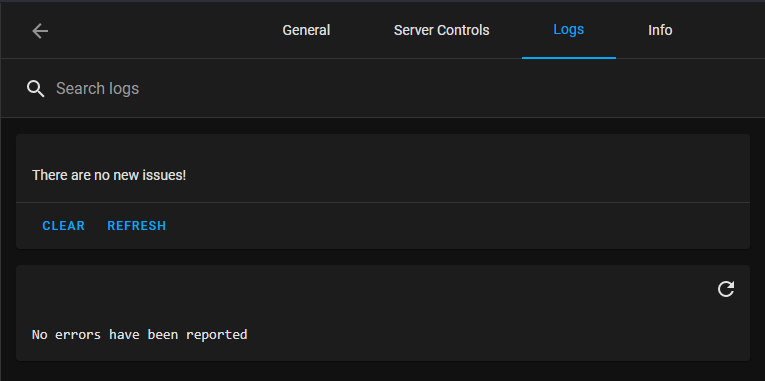
Configuration -> Settings -> Logs

If there are errors they will show up here:
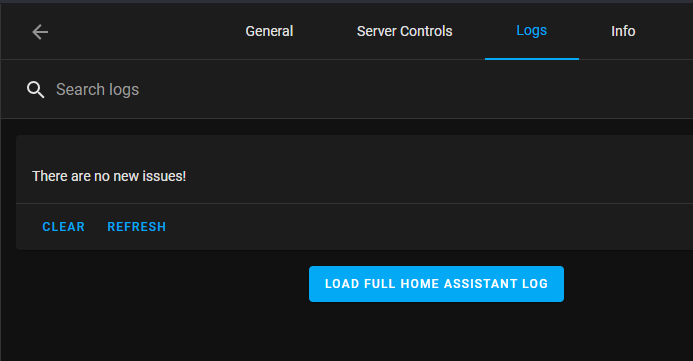
Click on LOAD FULL HOME ASSISTANT LOG
Configuration -> Settings -> Info


DO NOT WORRY if your settings are not as comprehensive as the above. The next post will clear the fog.
Useful References
My Posts:
Proxmox Setup Guides: Home Assistant, Pi-hole, Win10, Win11
HA Setup Guide Series: HAOS Architecture, HA Frontend/UI Architecture
HA links:
Developer Docs, API Documentation, Documentation, HA Integrations, Full Demo, GitHub, YAML, Smart Mirror
Other links:
Please consider subscribing to my blog, as you will only ever get quality content; no time wasting, advertising, spamming or other unproductive activities/practices.
Please also consider visiting and subscribing to our YouTube channel; we have recently started posting videos.
We are committed to improving and enhancing over time.
If there is something you would like us to cover in a future topic/guide please let us know.
Important Note: From time to time we enhance the content of our posts. It is therefore recommended you link to our original post in our https://blog.habitats.tech, by either subscribing to our https://blog.habitats.tech or visiting our subreddit https://www.reddit.com/r/HabitatsTech/ (our posts in Reddit link to our original posts).