HowTo setup HAOS - Part 3 - Next steps following installation and initial configuration - User Profile configuration
What are the next steps following Home Assistant initial configuration and login - enter User Profile configuration
If you have not been following my multipart series here is a quick summary and a short background.
All my guides are based on x86-64 HW architecture, because I do not consider RPi a viable platform if your aim is to build a solid HA foundation you can rely upon. RPi is fantastic to experiment with, but not as resilient, if you aim for a long term, reliable, performant and production worthy, HA platform. For cost effective lightweight option, HA Yellow is a better option when paired with an M.2 SSD.
On top of the x86-64 HW architecture I have Proxmox as the platform of choice for running both production and test/experiment environments side-by-side, some of which are complimentary to HA (e.g. Pi-hole). There are tons of reasons a virtualised environment is superior to a bare-metal environment, which I hope will cover in a future post.
So far we know how to install HAOS in Proxmox, complete the initial HA configuration, understand the HAOS architecture, the HA frontend/UI architecture, and HA System configuration.
This post follows on the steps of System configuration with User Profile configuration.
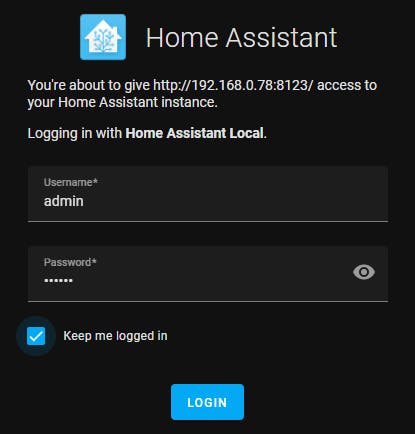
To access HA you need to login with a username. We are logged in with username admin.
The currently logged in user's username is always displayed as the last selection at the bottom of the sidebar.
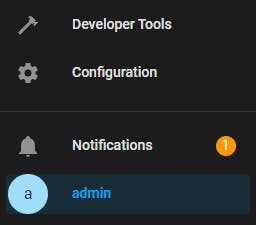
User admin has administrative rights and the user profile reflects this.

Customise User Profile
Let's head to the admin user profile panel and see what options are available to us.
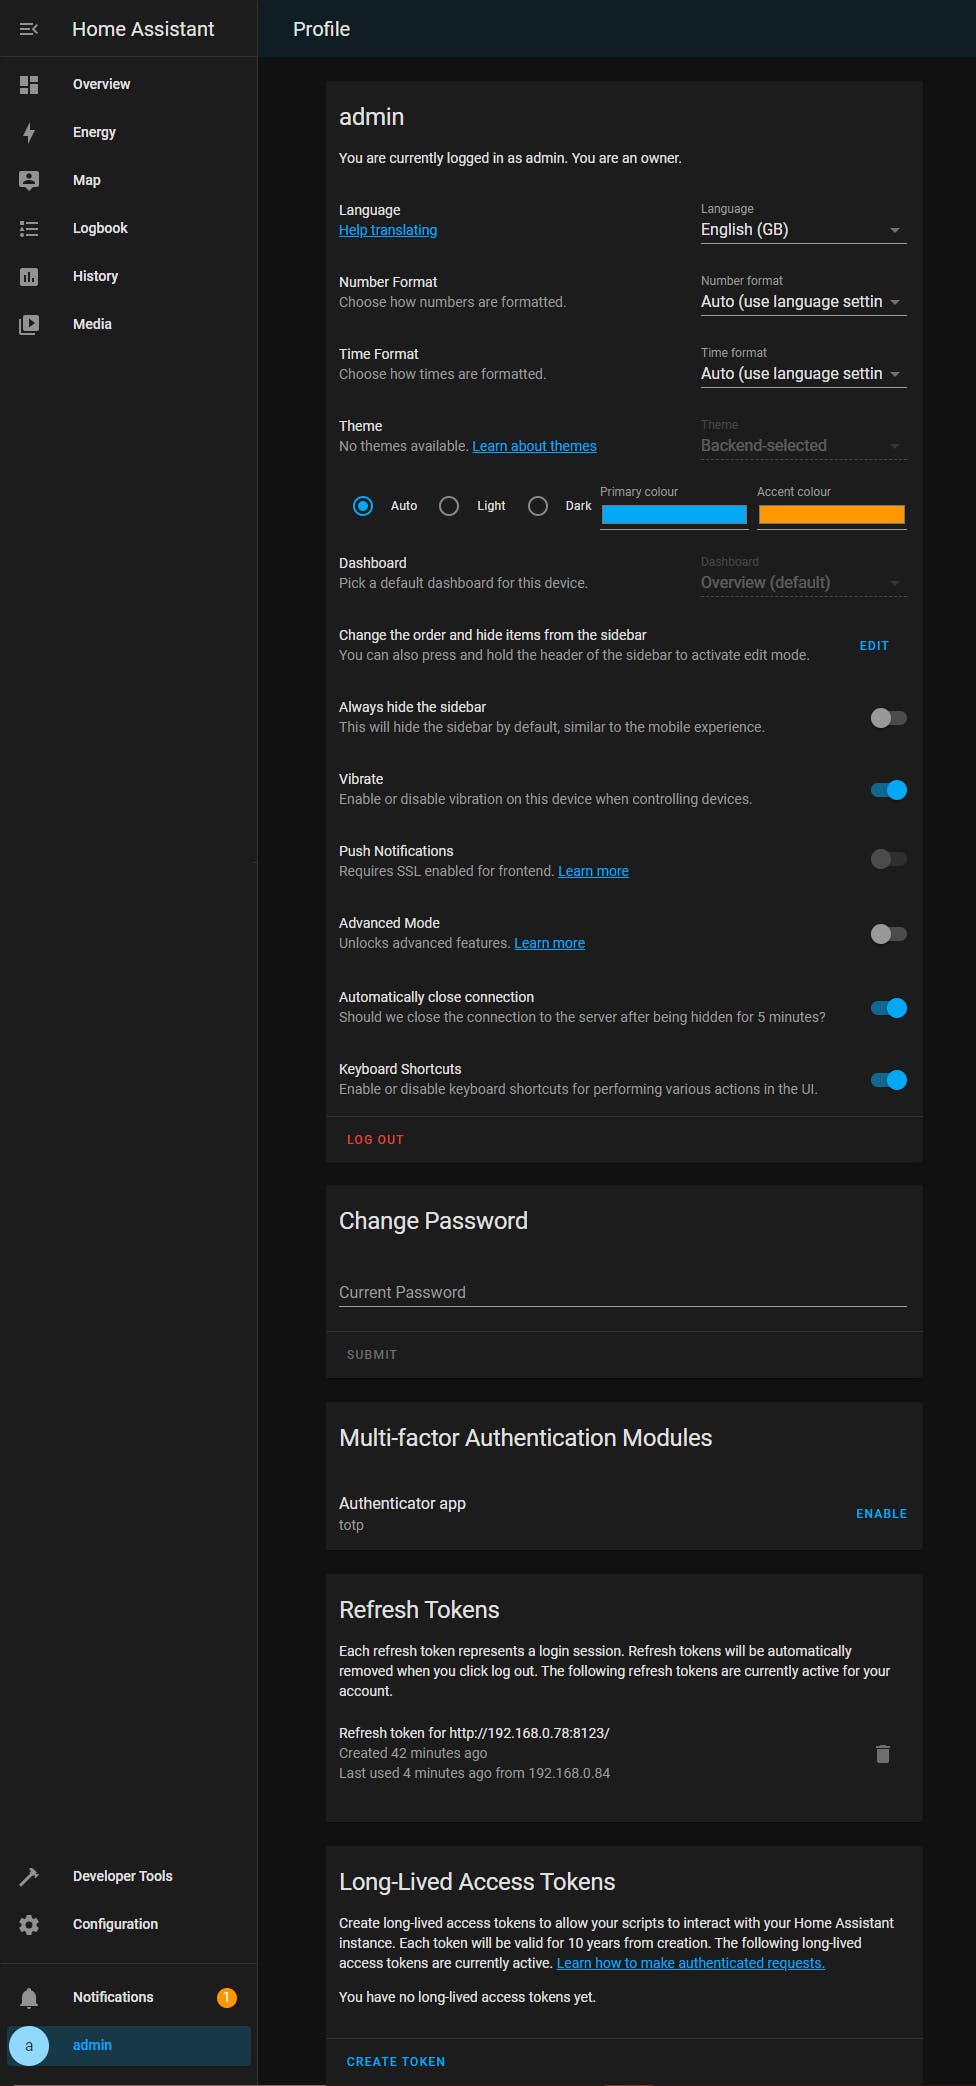
Enable Advanced Mode, which will enable more options throughout HA, as follows (I provide views of both before and after advanced mode is enabled):

Configuration -> Add-ons, Backups & Supervisor -> Add-ons -> ADD-ON STORE
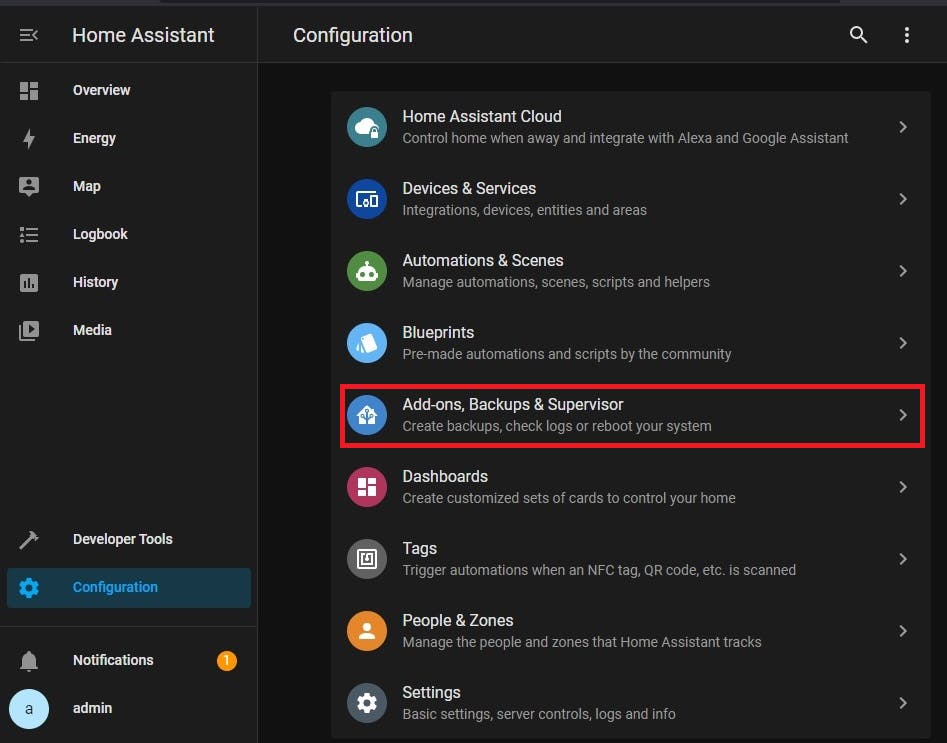
Before:
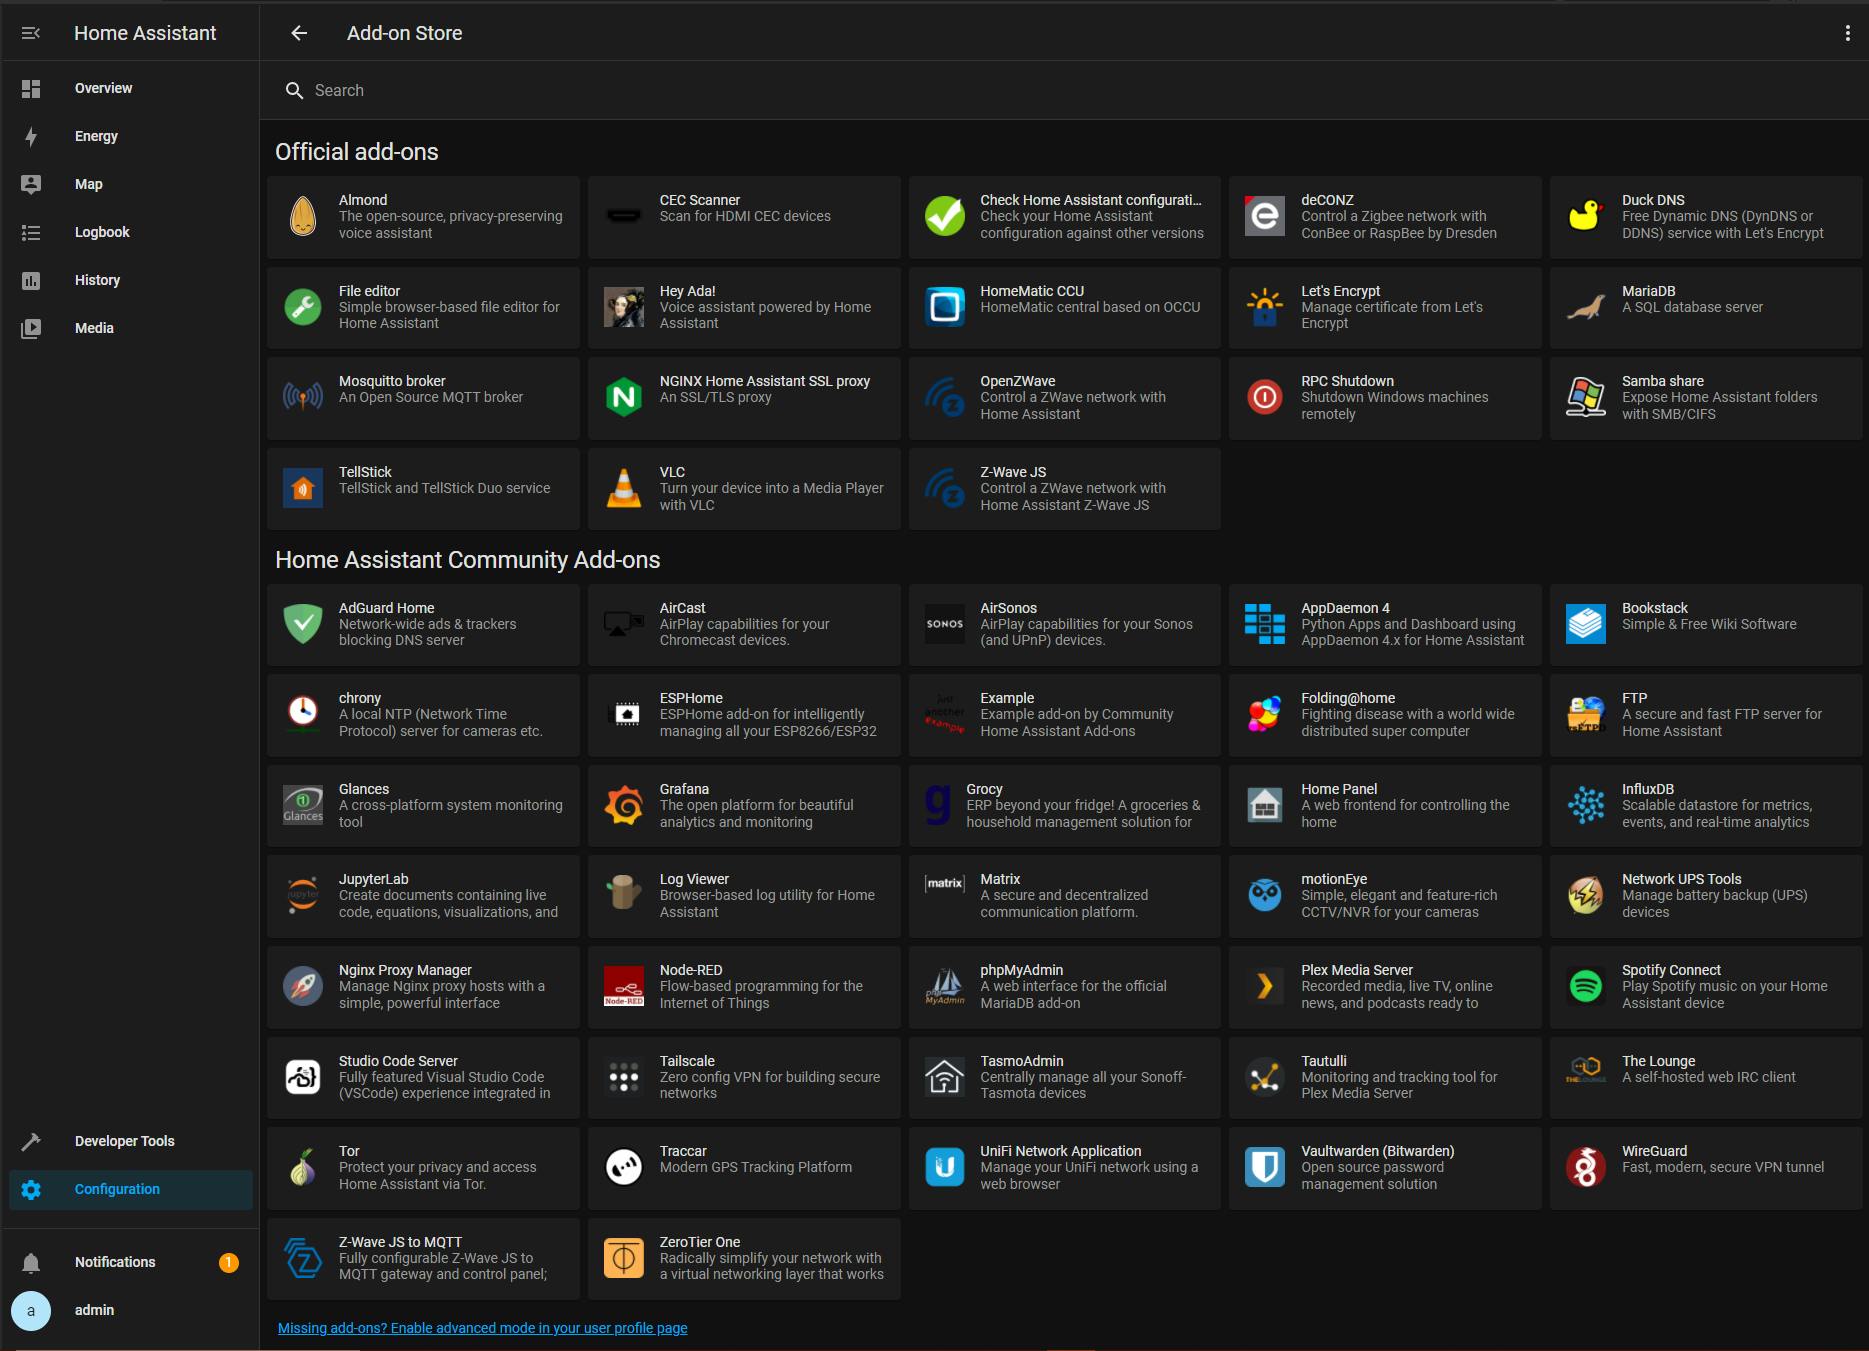
After: more add-ons are available
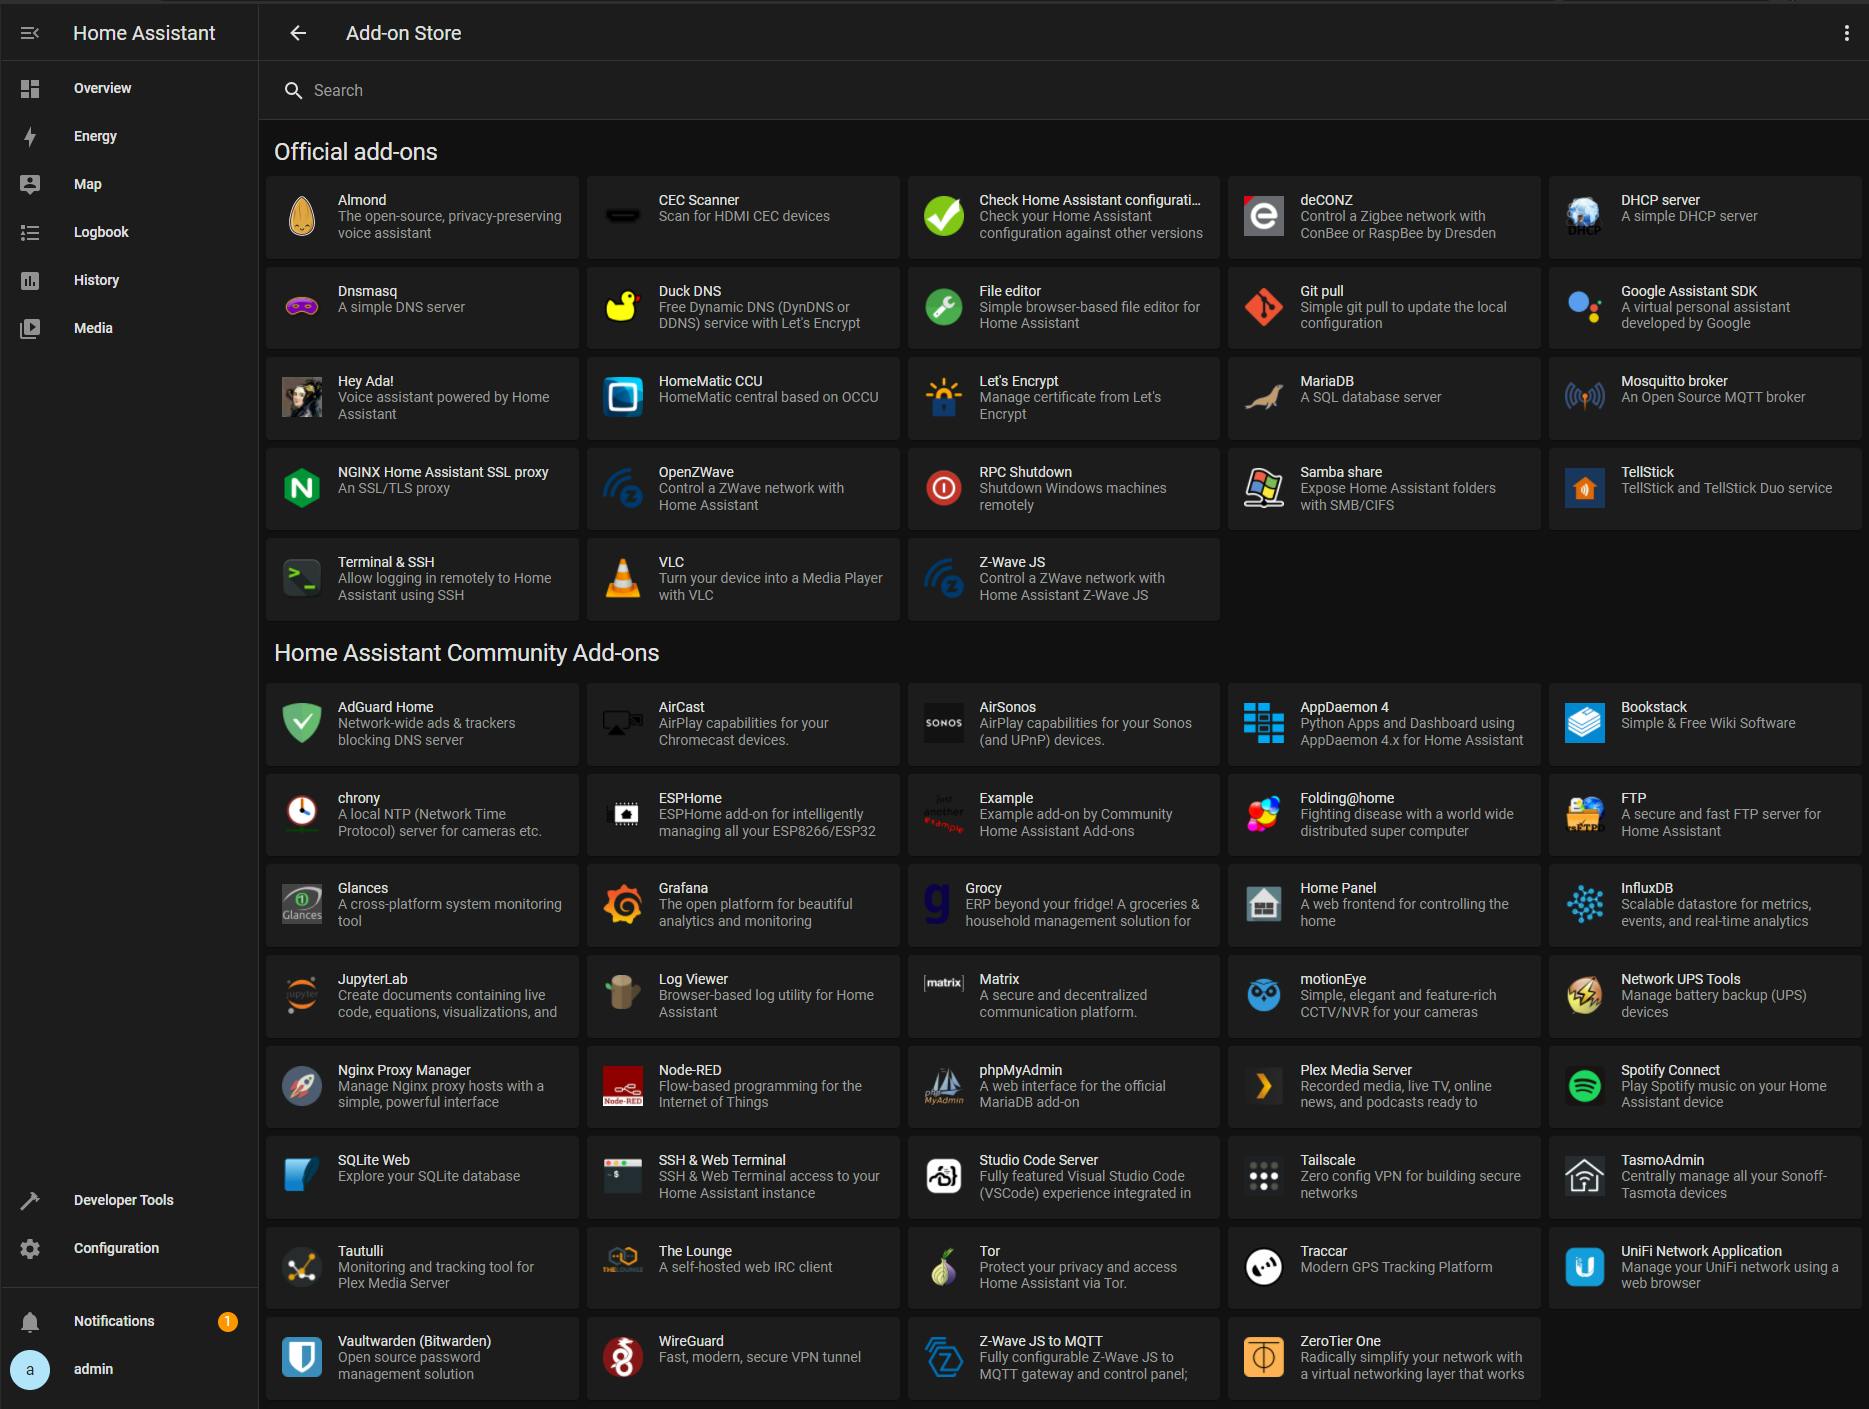
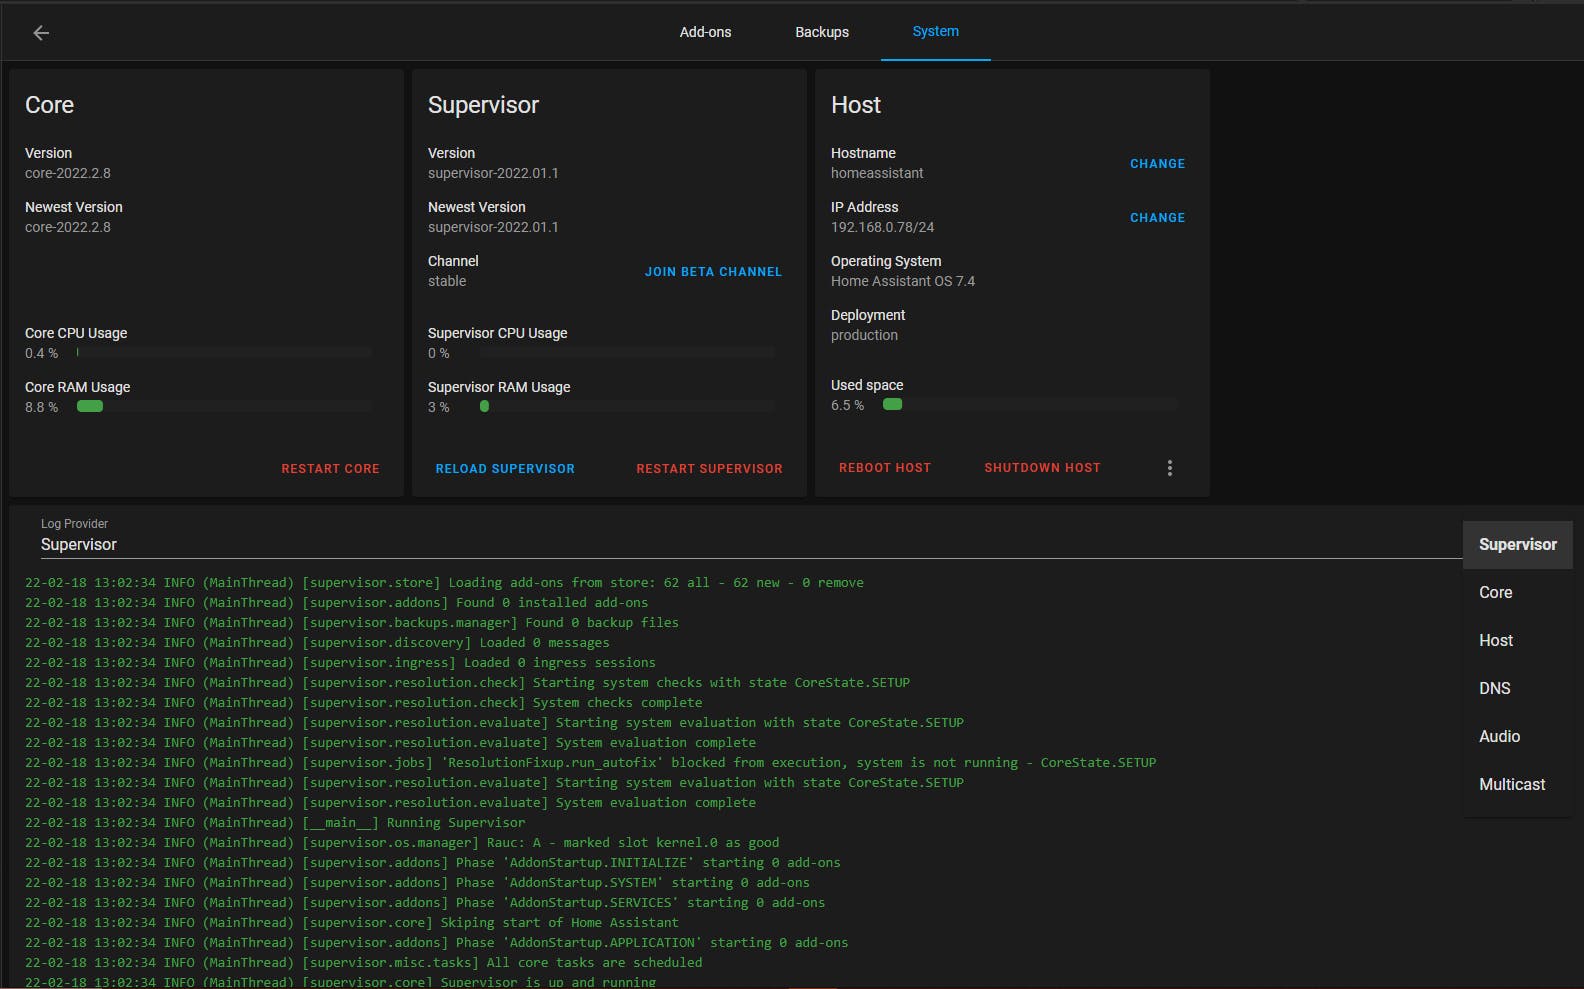
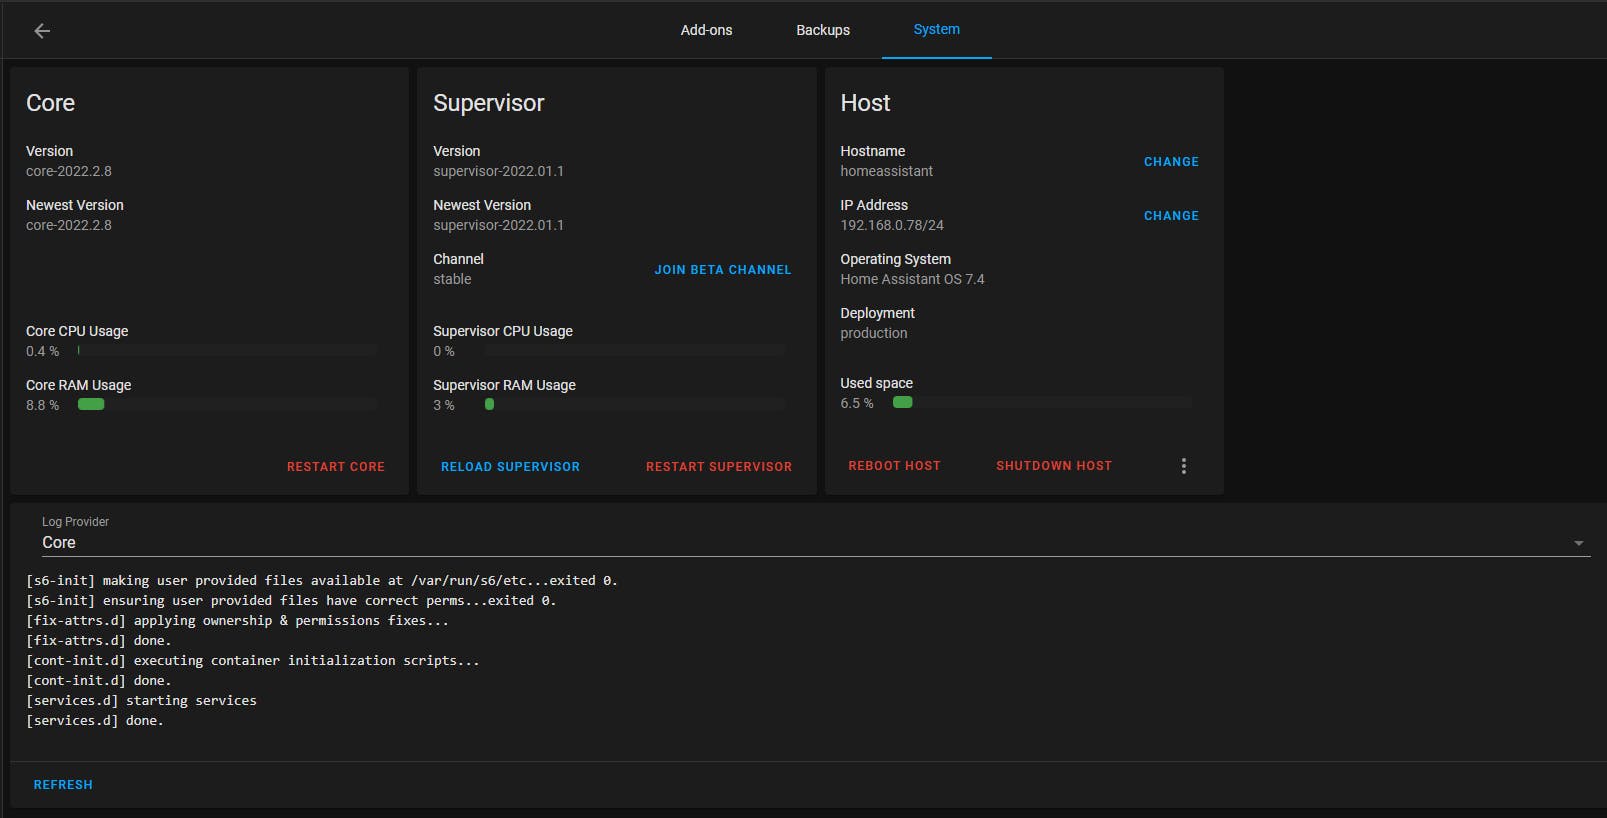
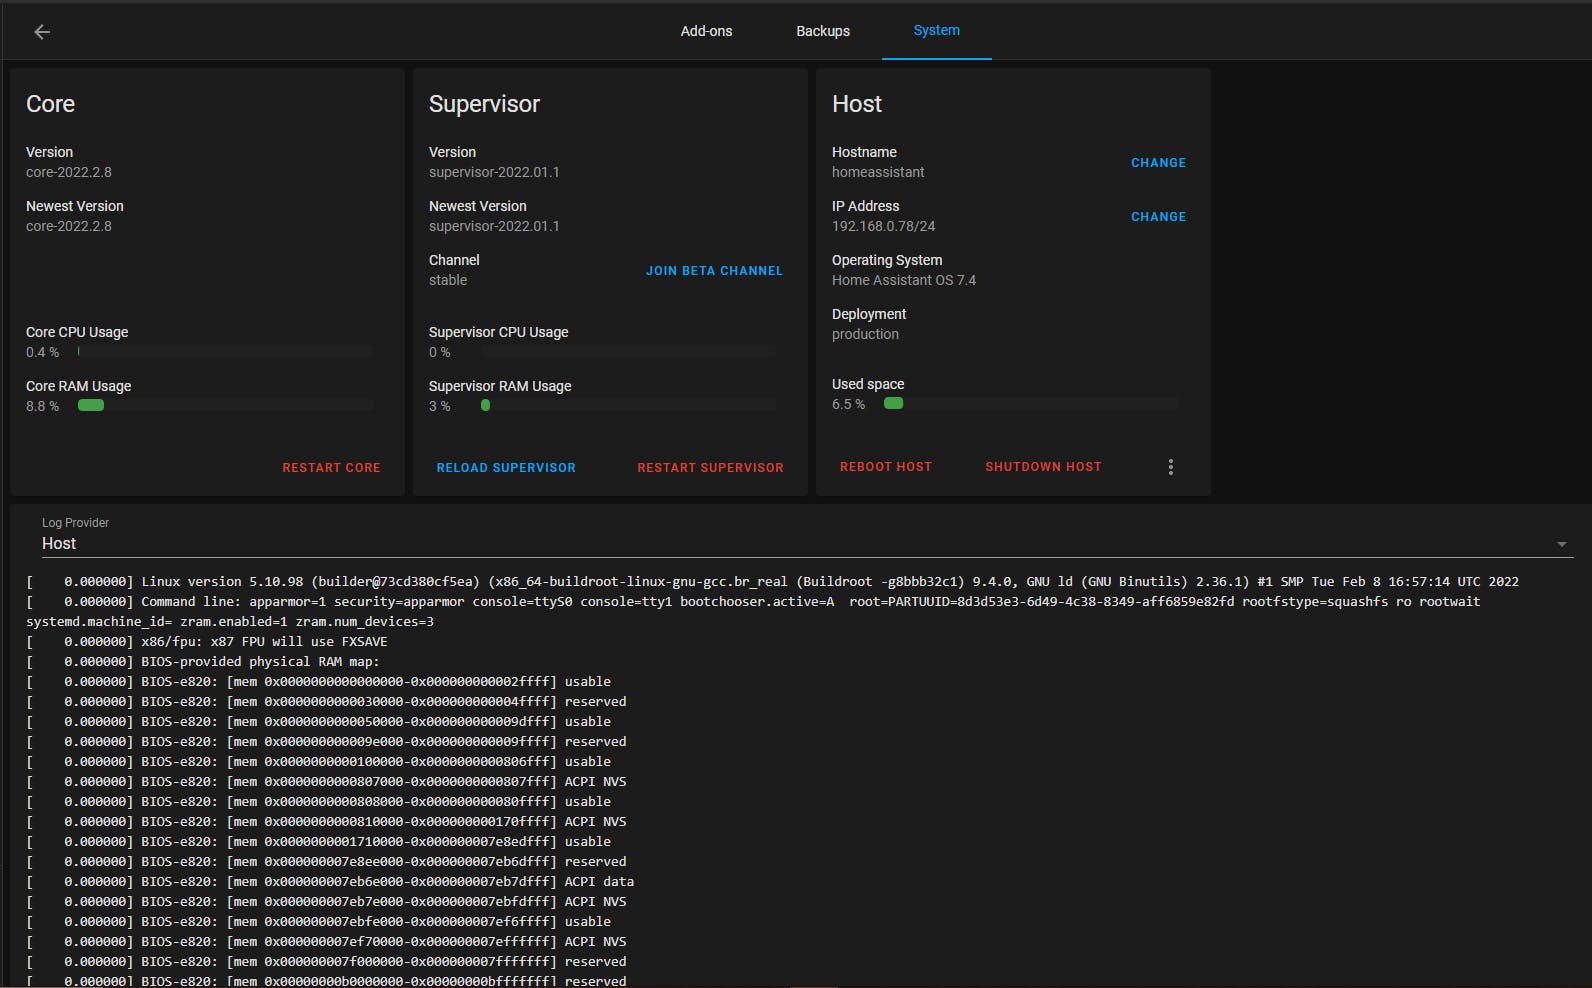
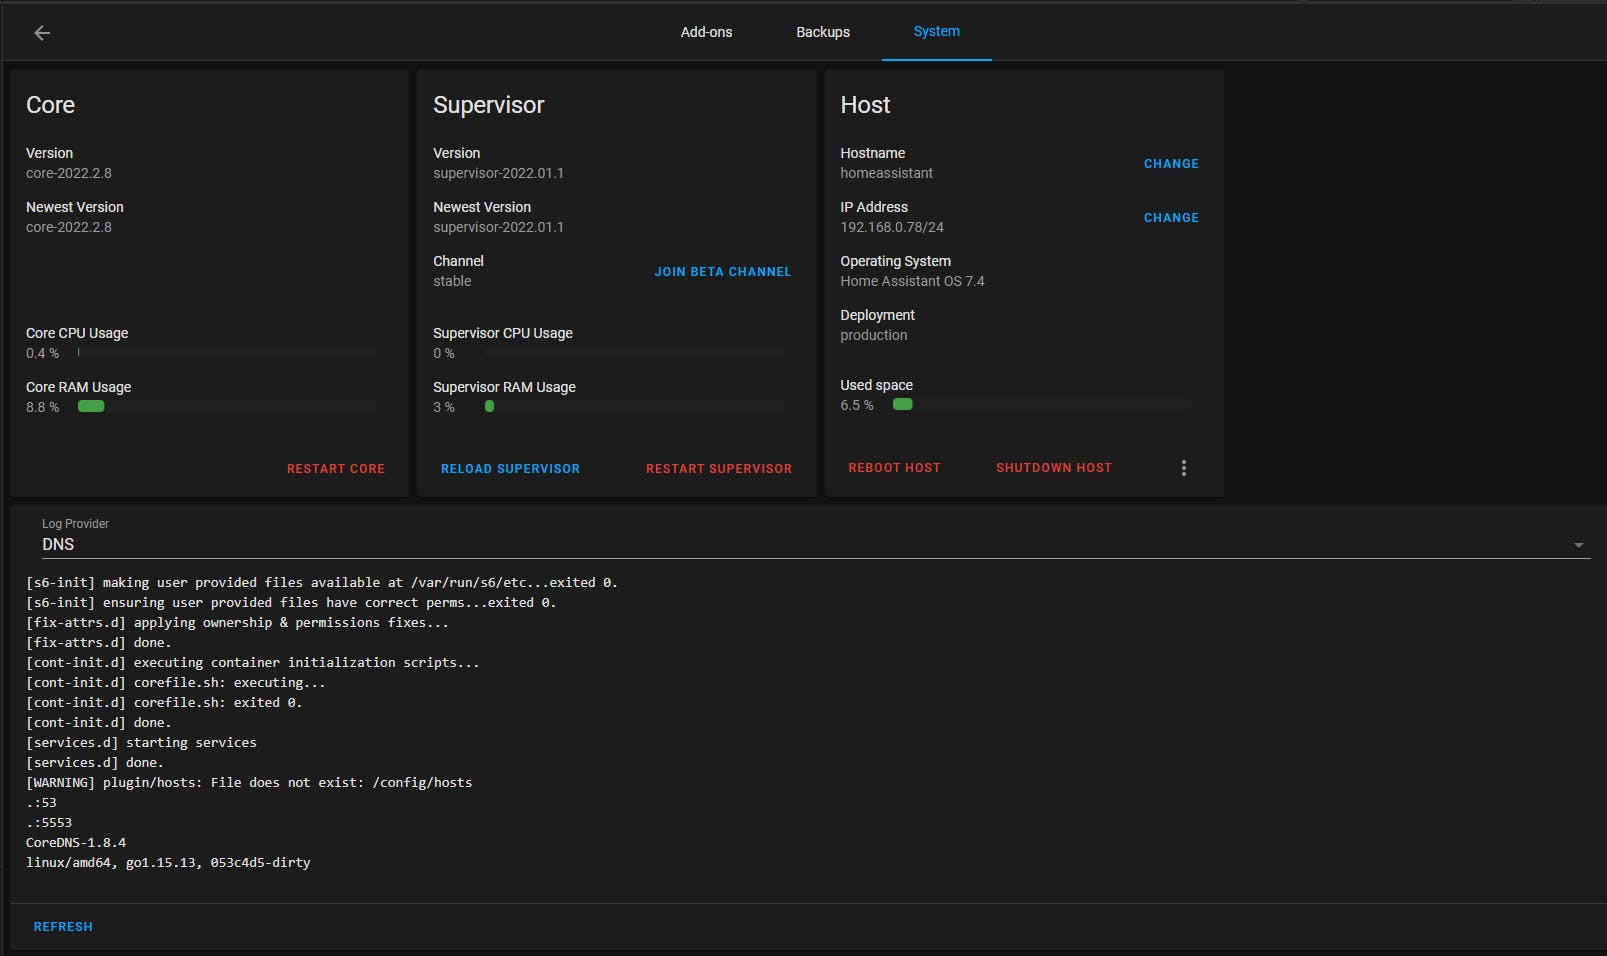
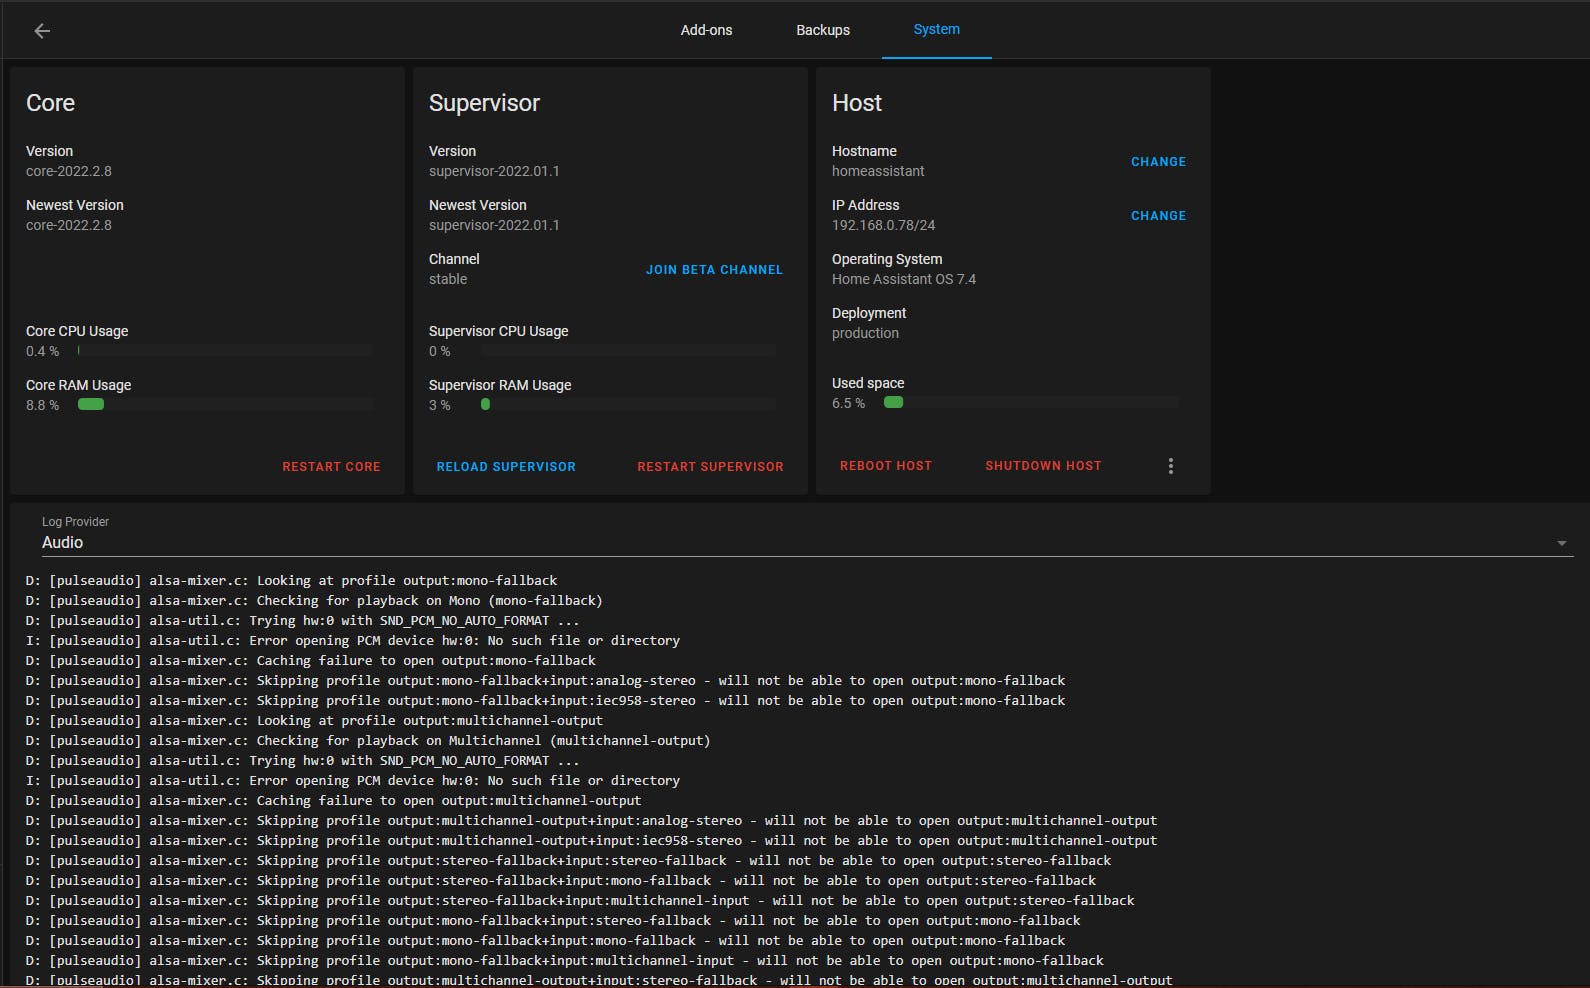
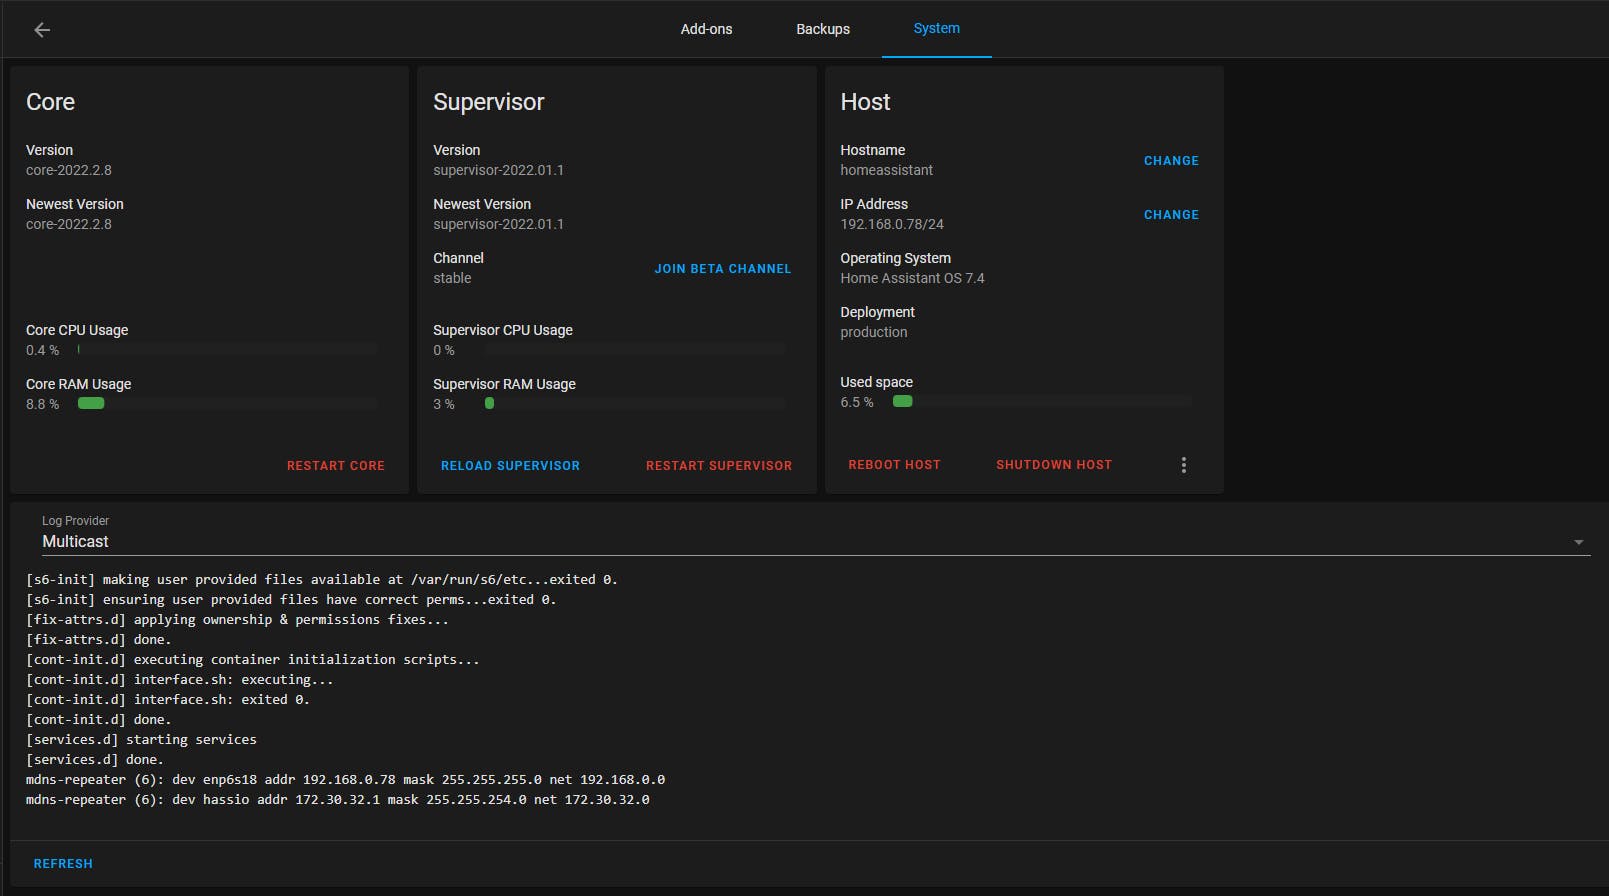
Configuration -> Add-ons, Backups & Supervisor -> System -> Log
Logs Before: only supervisor log is displayed (no selection provided)
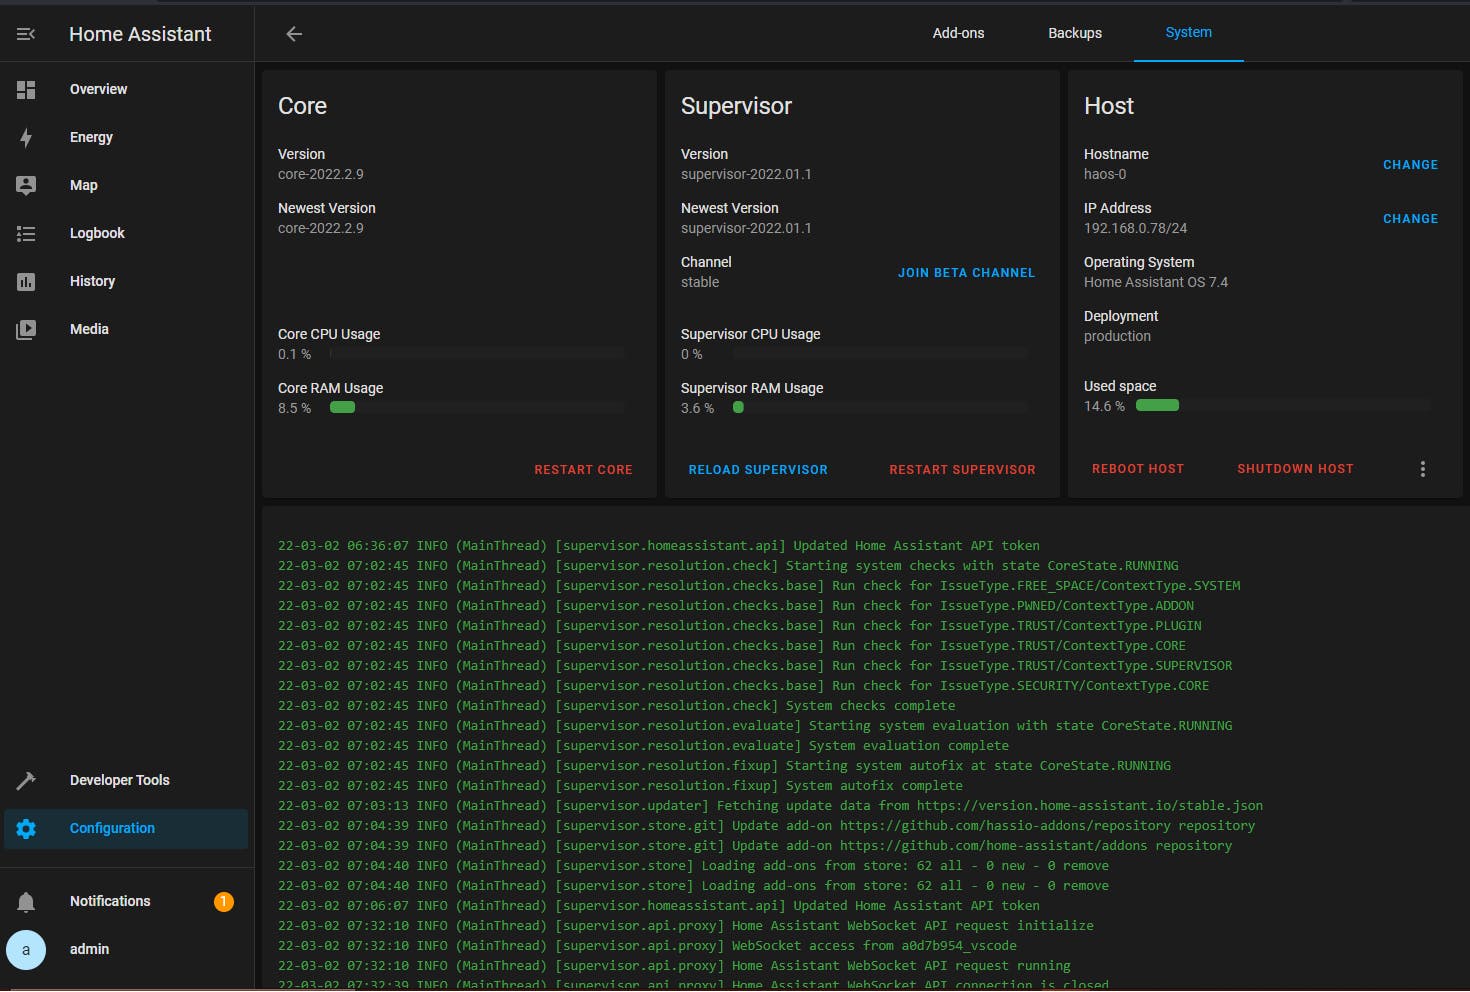
Logs After: select any log (supervisor log shown by default)
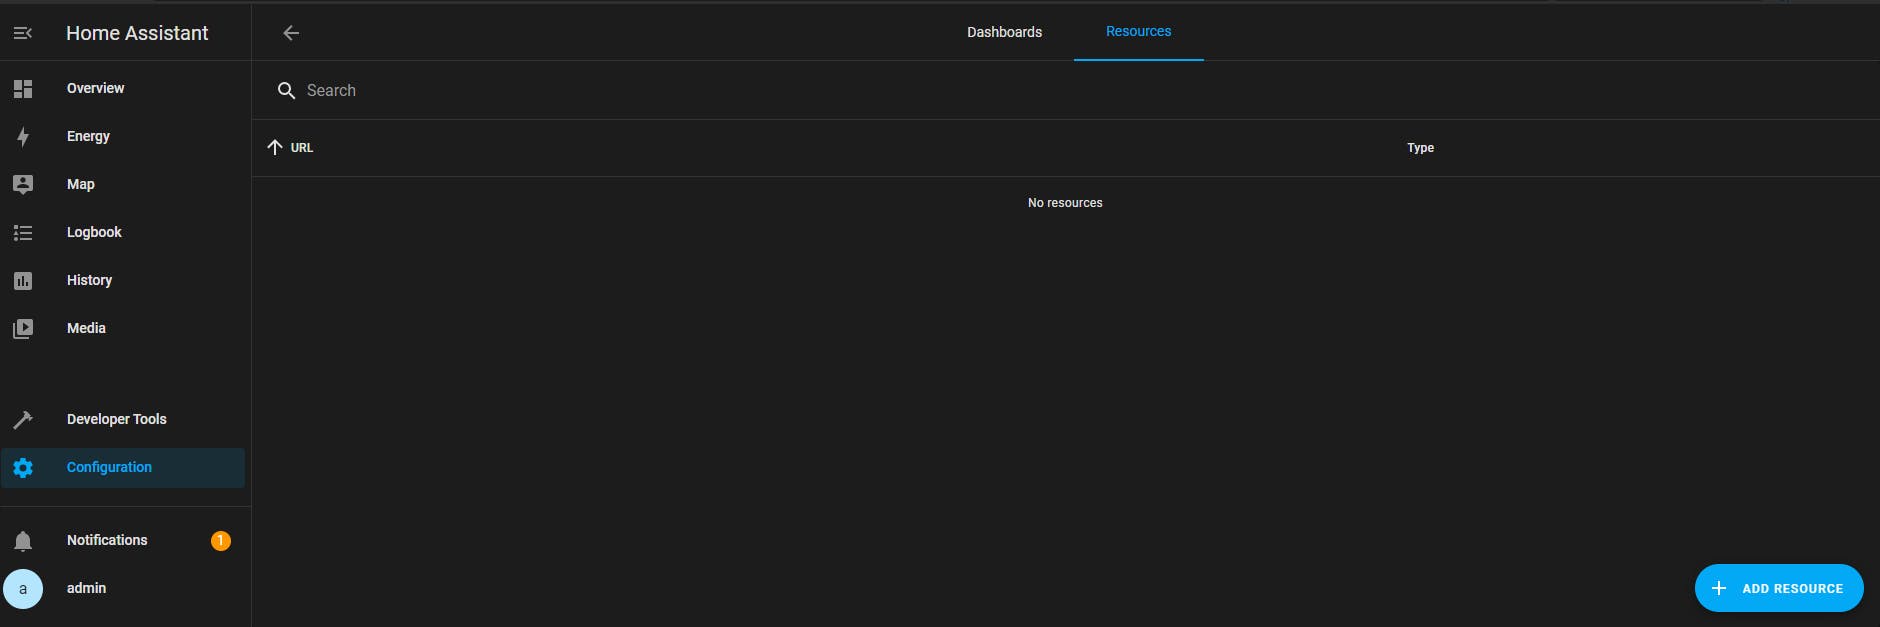
Configuration -> Dashboards
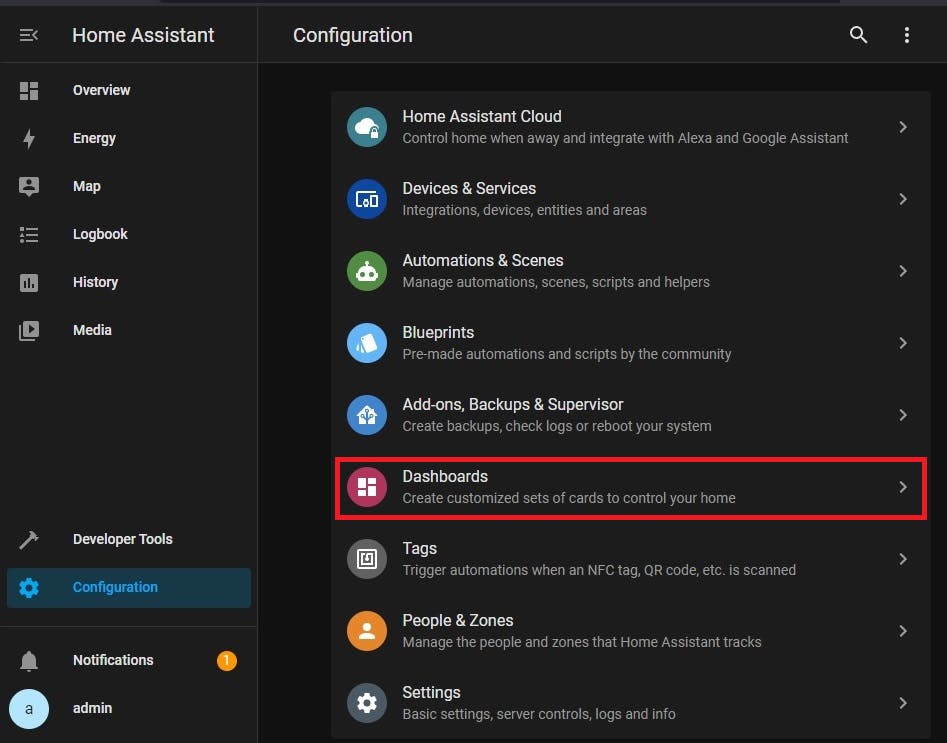
Before:

After: a new Resources tab was added
Configuration -> People & Zones
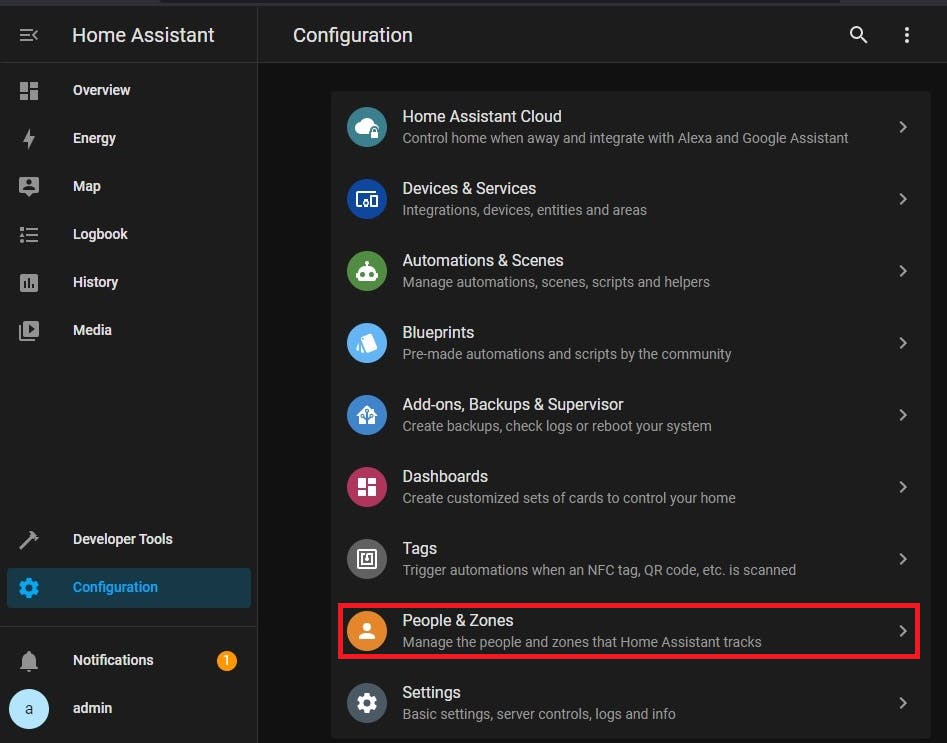
Before:
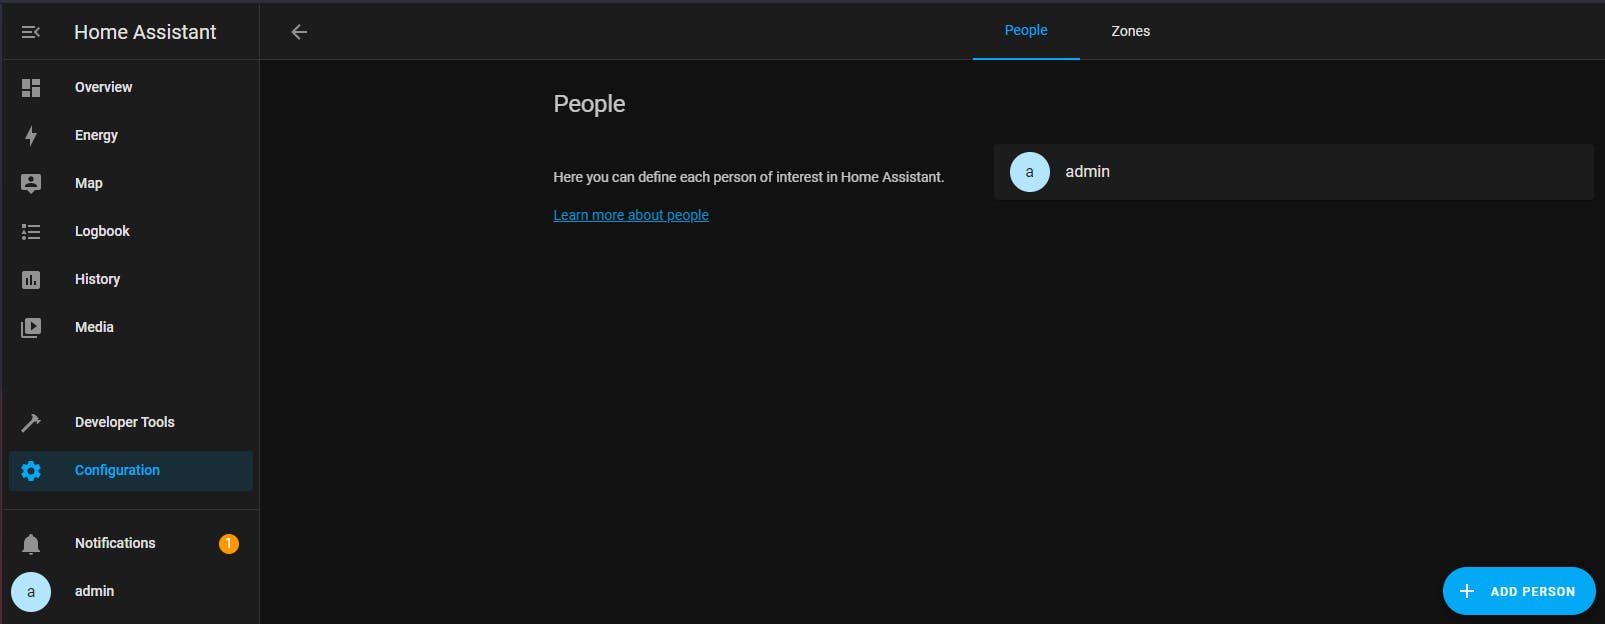
After: a new Users tab was added

Configuration -> Settings -> General
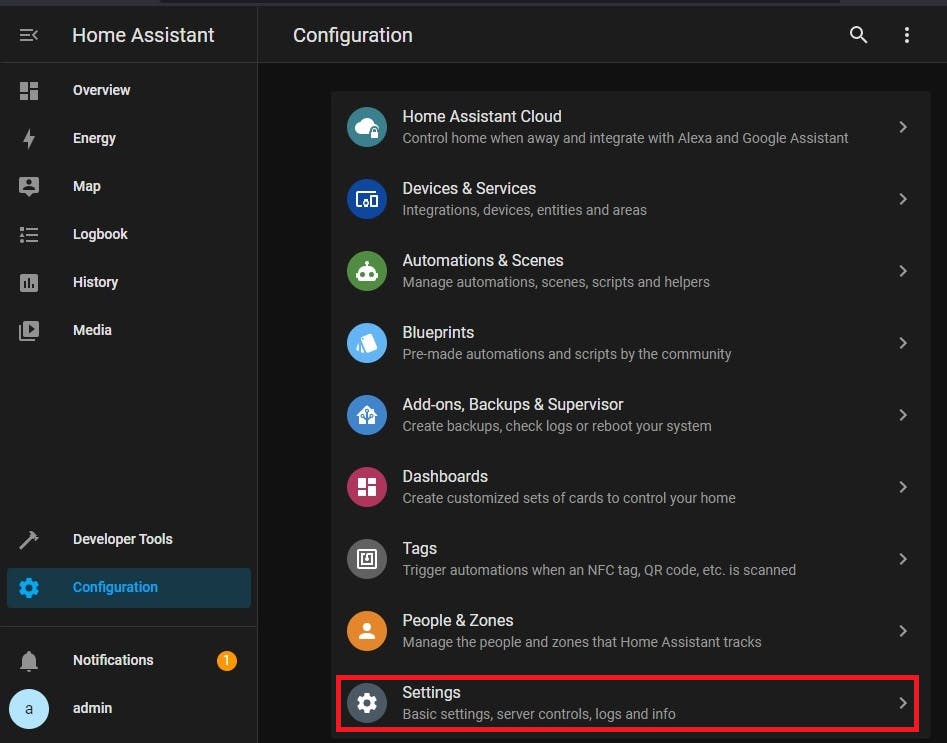
Before:
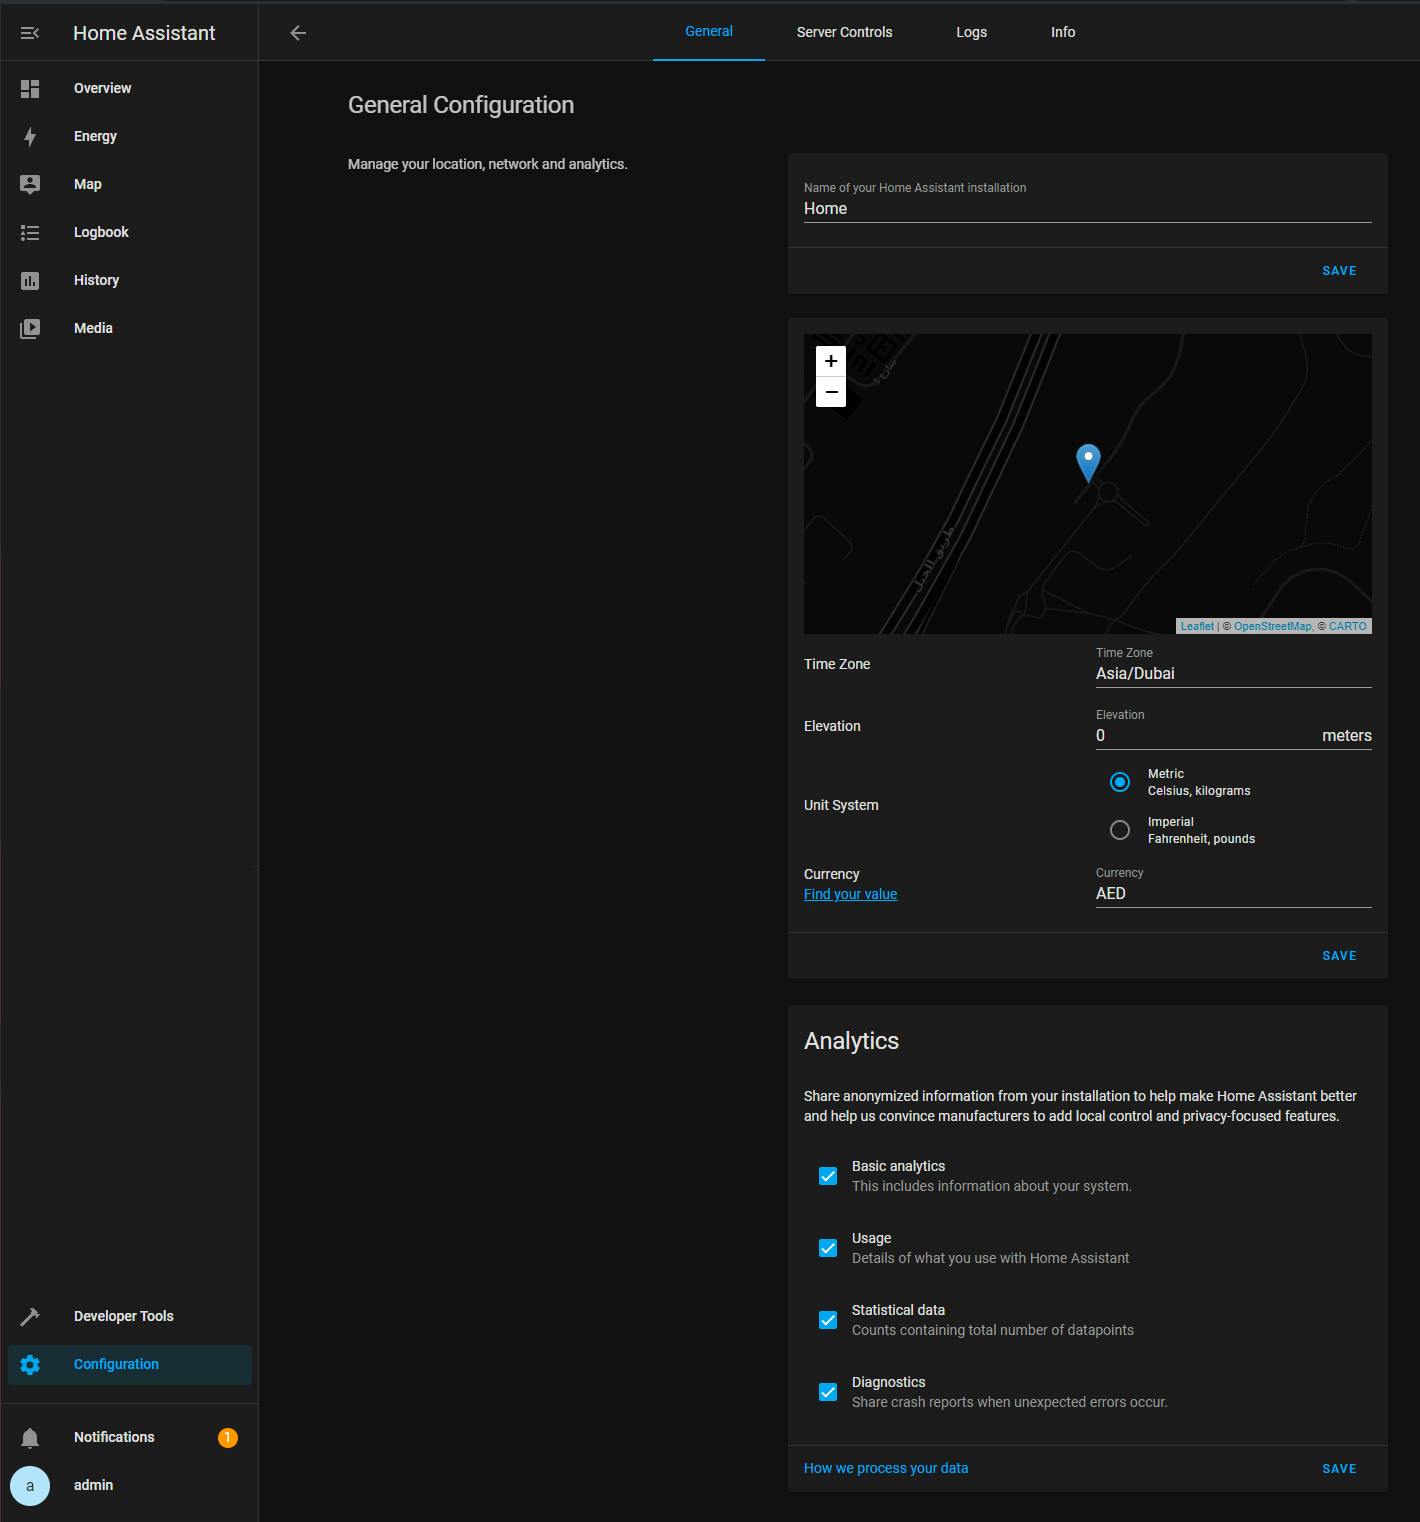
After:
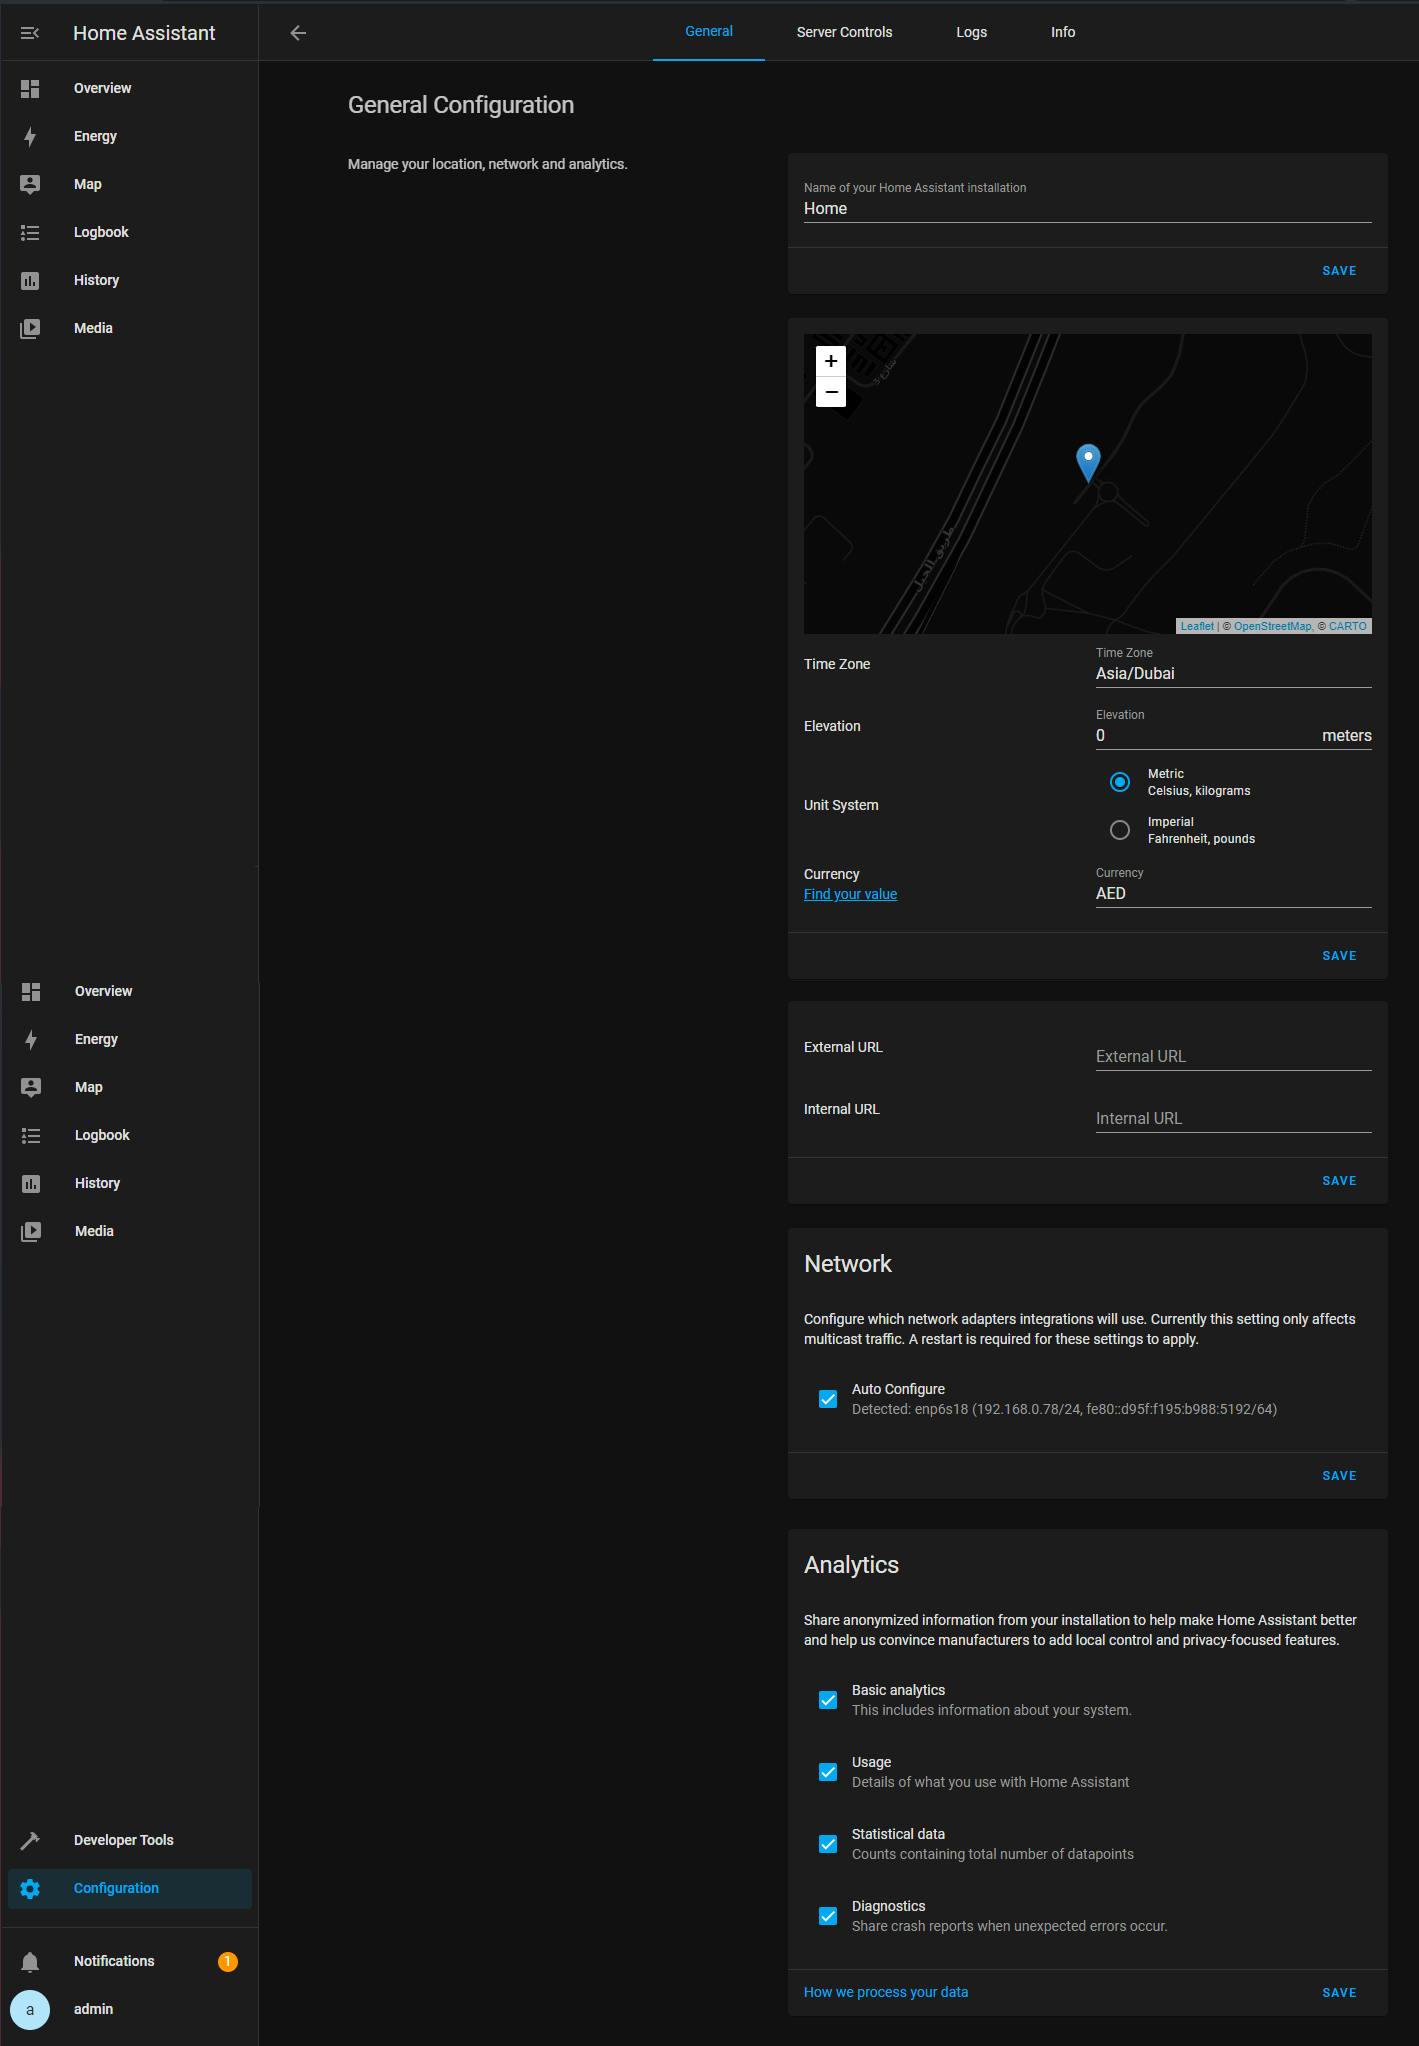
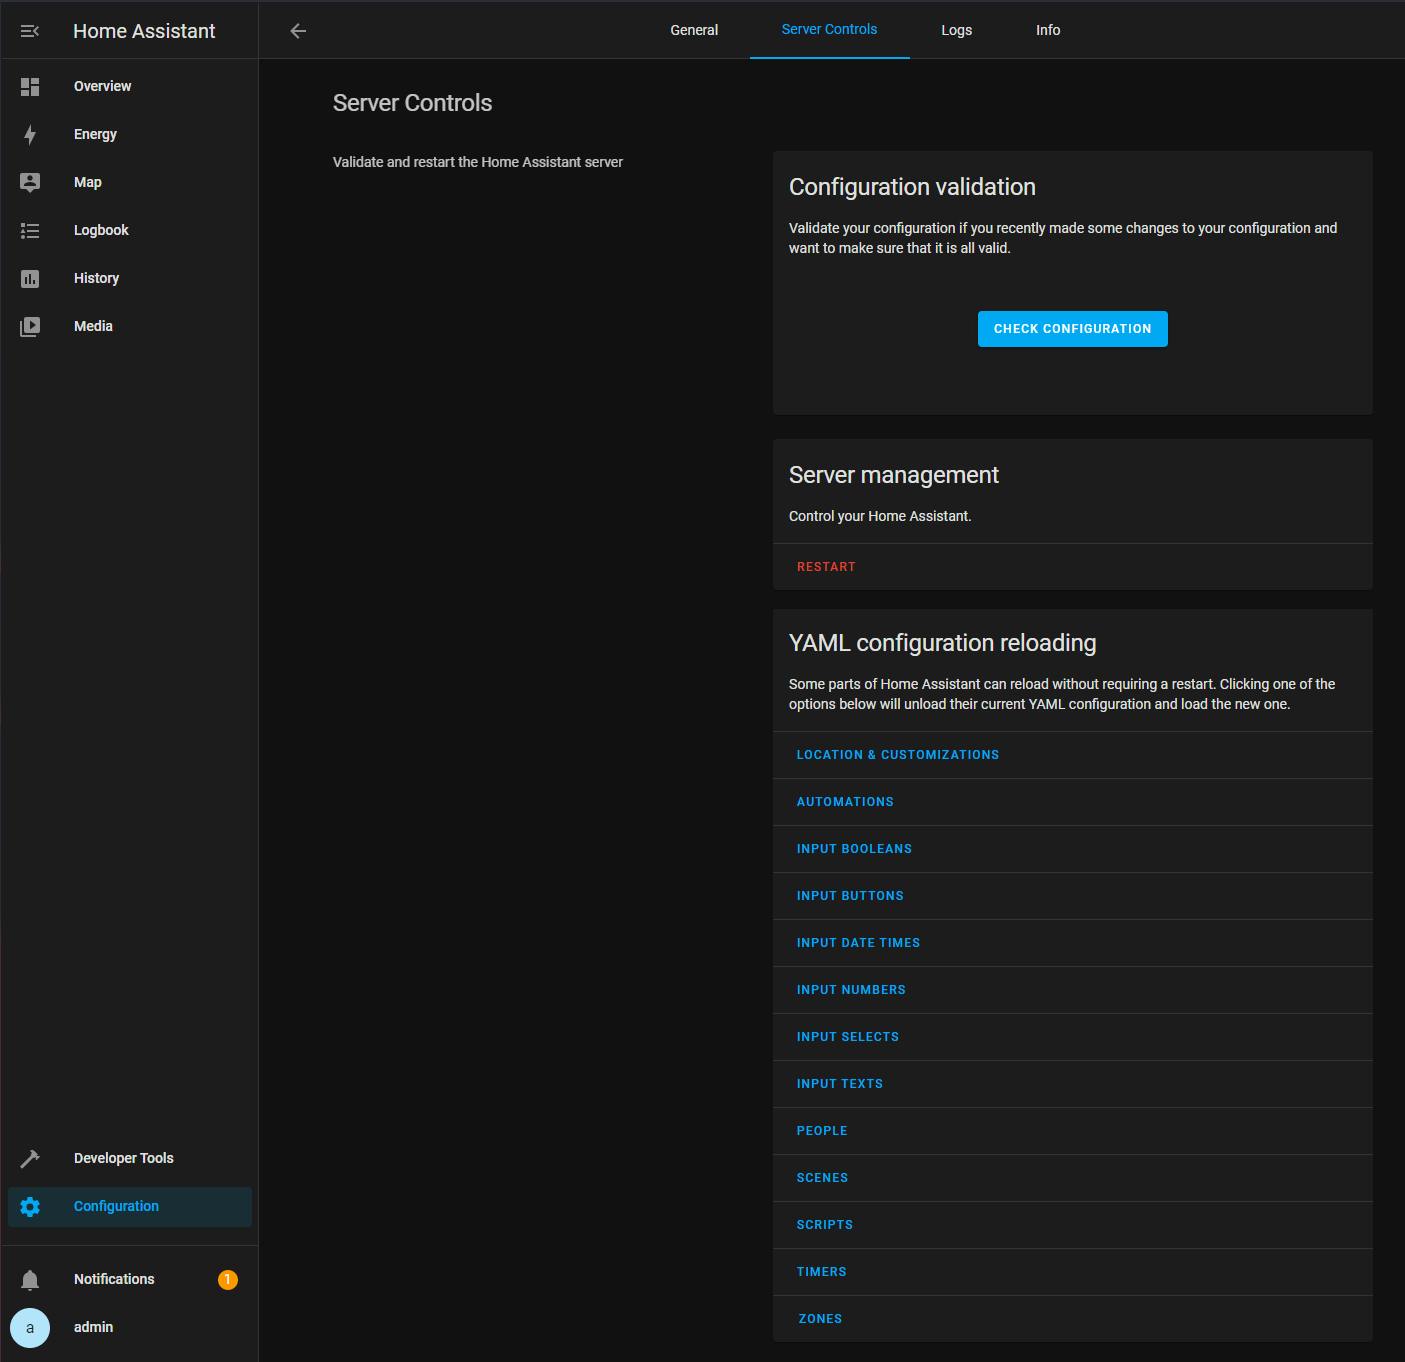
Configuration -> Settings -> Server Controls
Before:
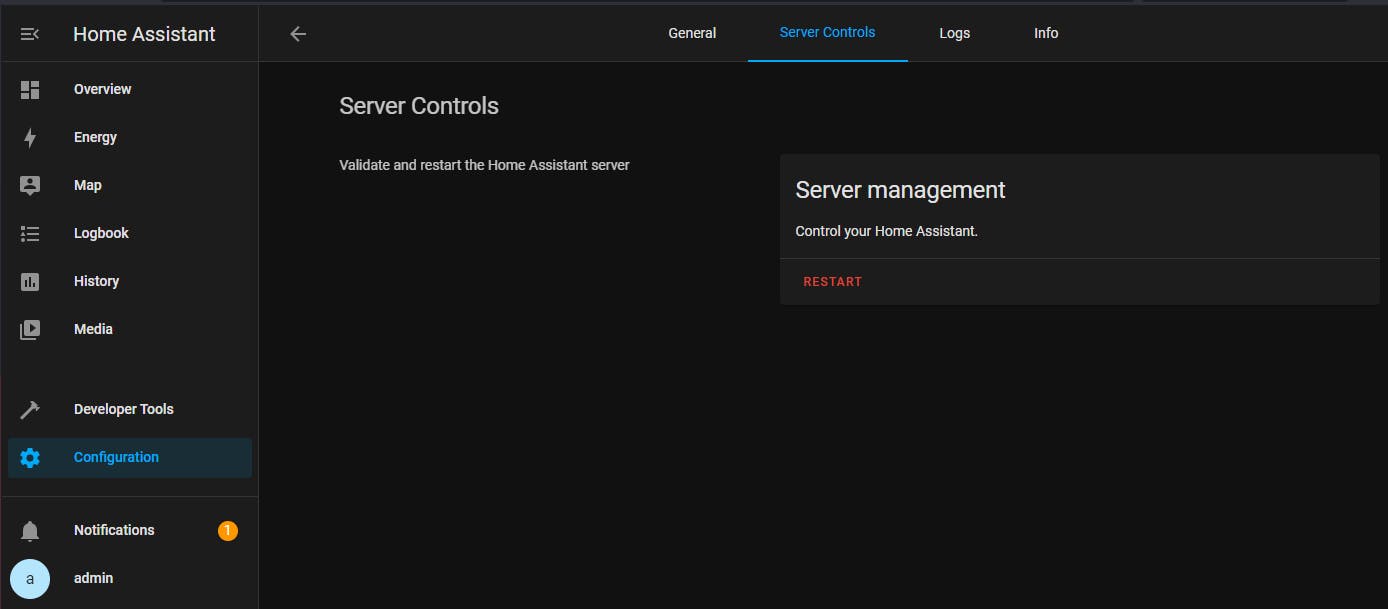
After:
Customise Sidebar
You can customise the sidebar by clicking the EDIT option.

All selections in the sidebar become wobbly and get an X sign next to them. To delete a selection just click on the X sign.

Once you delete a selection it does not vanish; it is still available to add it to the sidebar by pressing the + sign.

To rearrange the selections to suit your requirements just drag any selection up or down.
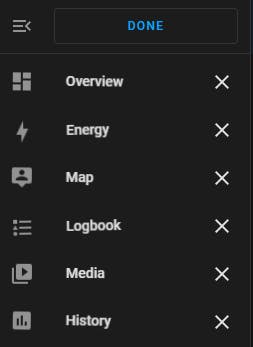
If you are happy with the sidebar selections just click on the DONE button at the top of the sidebar.

Customise Theme
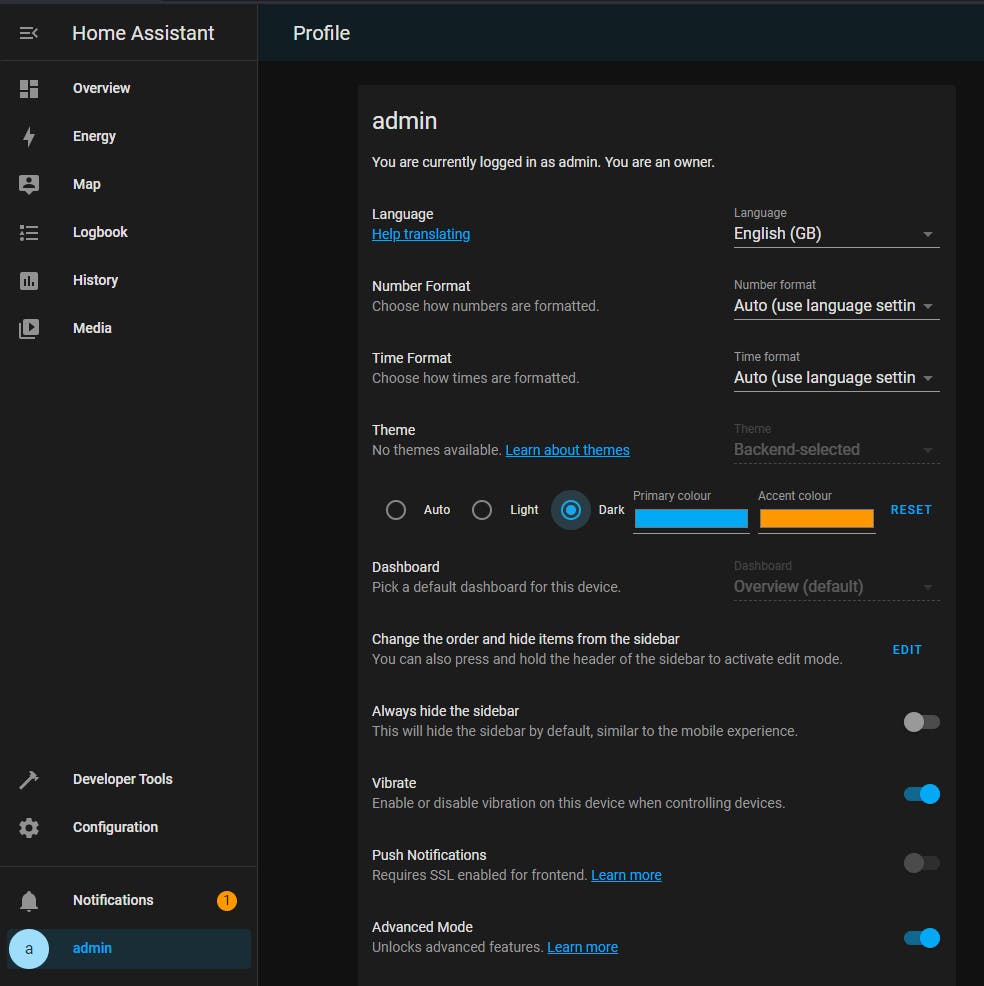
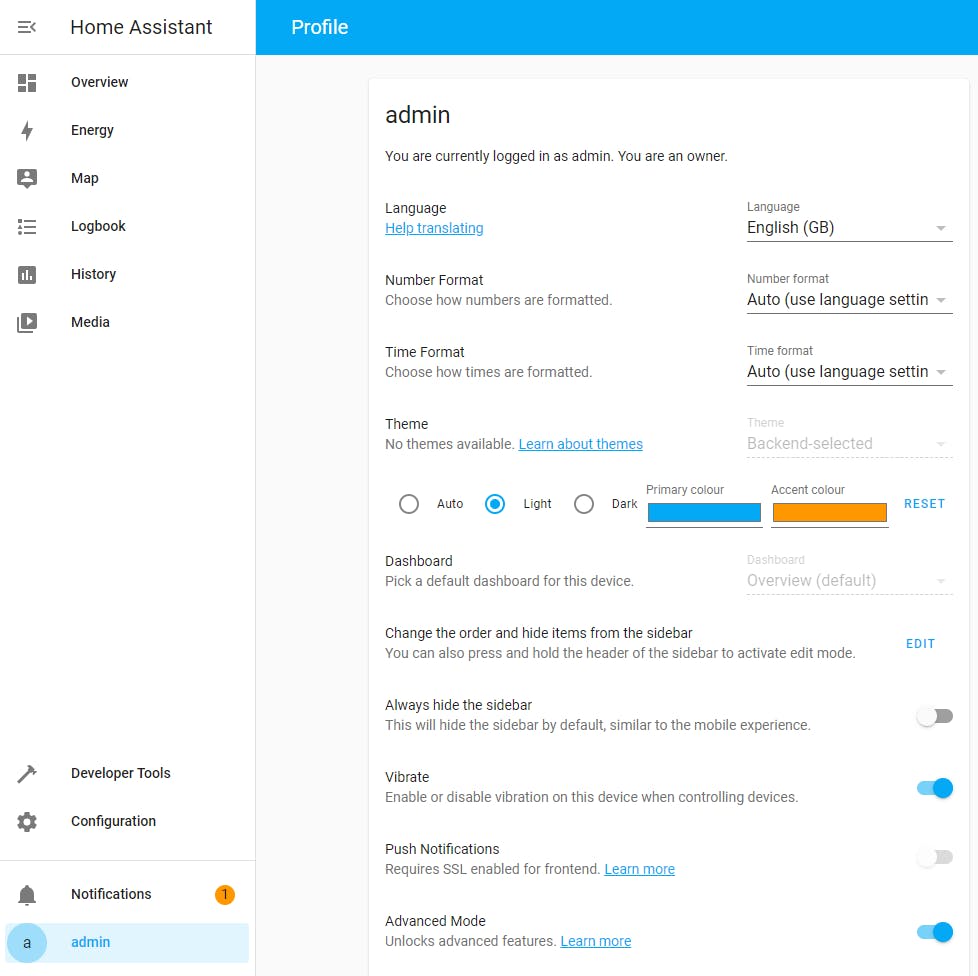
To customise the theme you can use the following options:

Auto will customise the dark/light theme of HA based on the OS settings (Android, iOS, Linux, Windows).

Dark will customise the UI to always use the dark theme.

Light will customise the UI to always use the light theme.

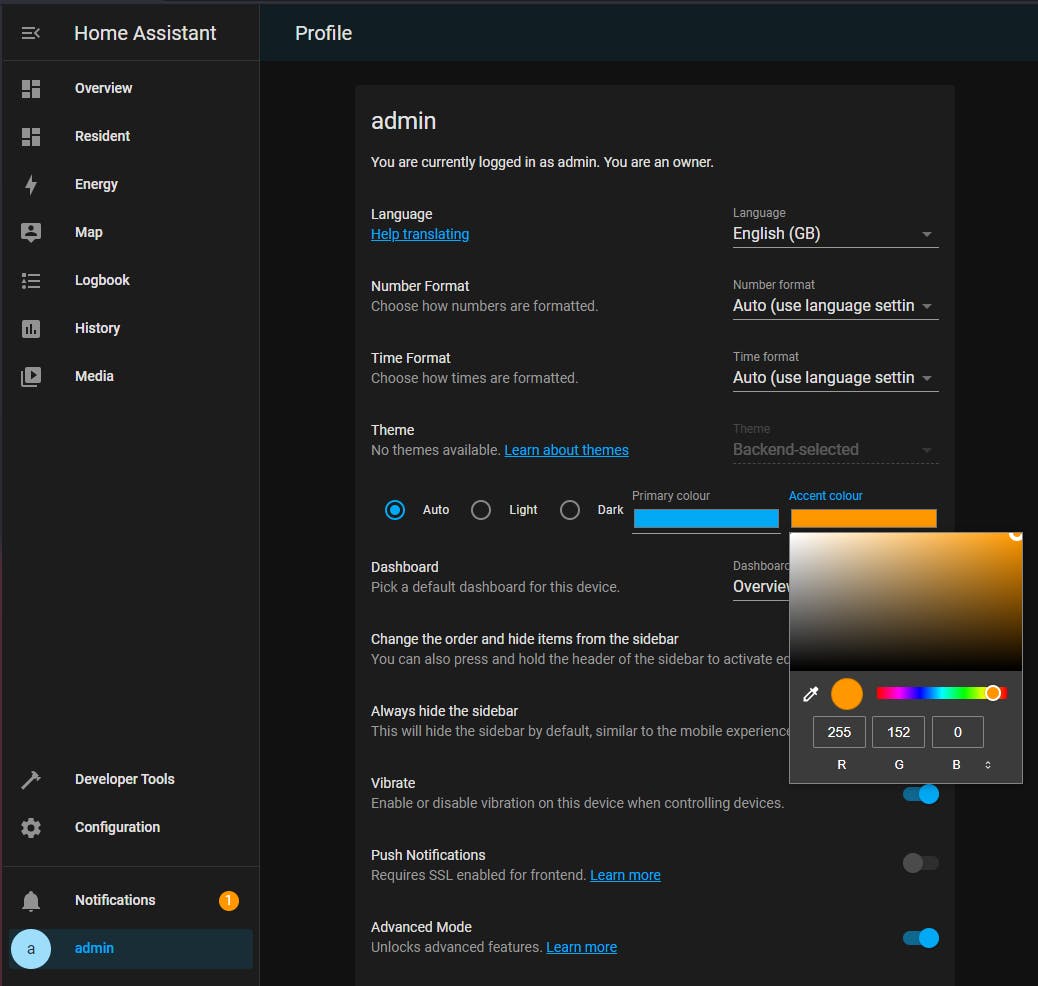
The Accent colour (RGB: 255, 152, 0) is the colour used to display warnings or attention prompts, values, etc. Change it by just clicking on the orange bar.
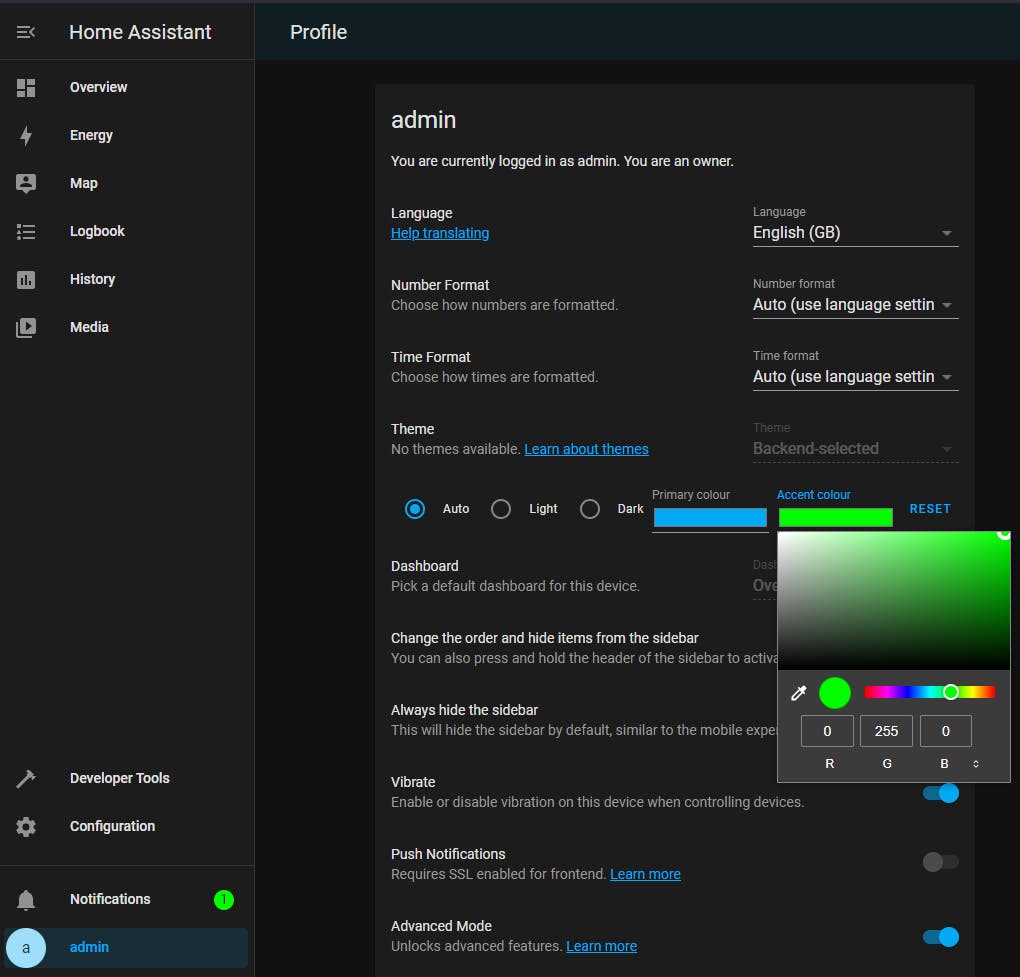
To make it green, either type the values (RGB: 0, 255, 0), or drag the two white circles to make your favourite colour combination.
The Primary colour (RGB: 3, 169, 244) is the colour used to display highlight values, selections, text, etc. Change it by just clicking on the blue bar.
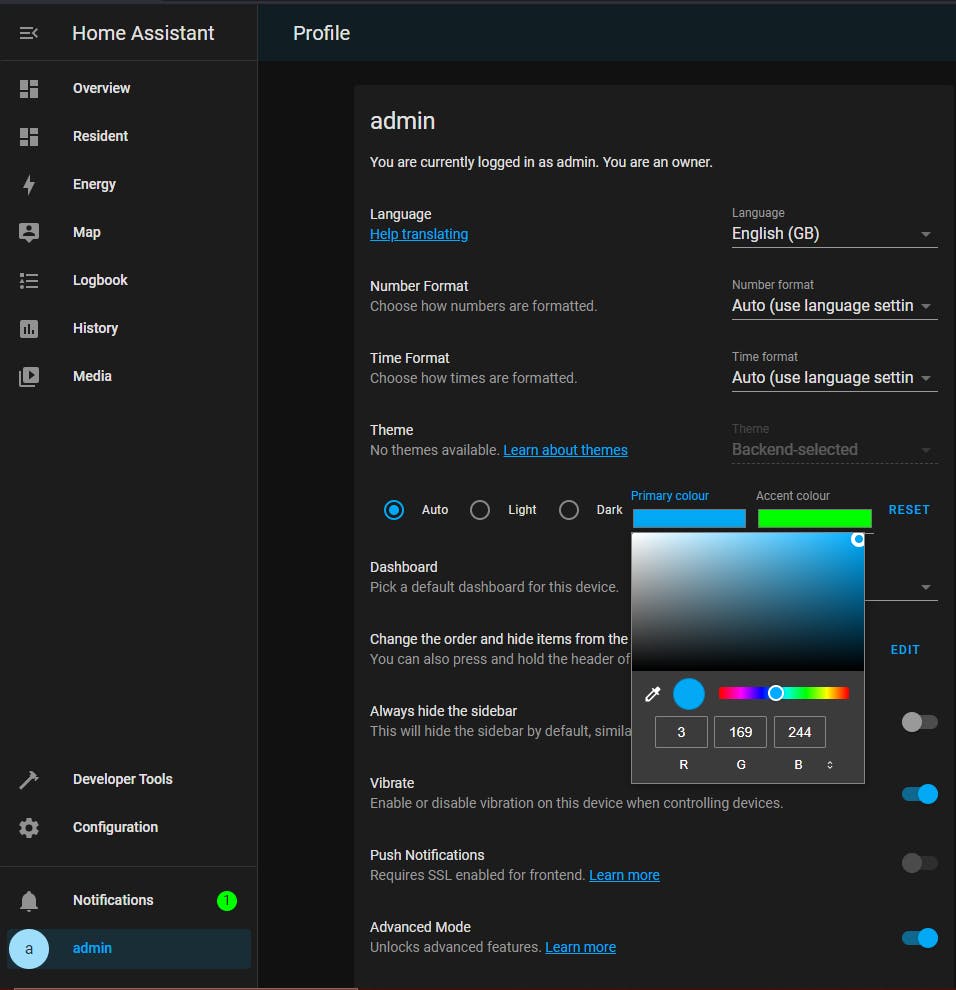
To make it yellow, either type the values (RGB: 255, 255, 0), or drag the two white circles to make your favourite colour combination.
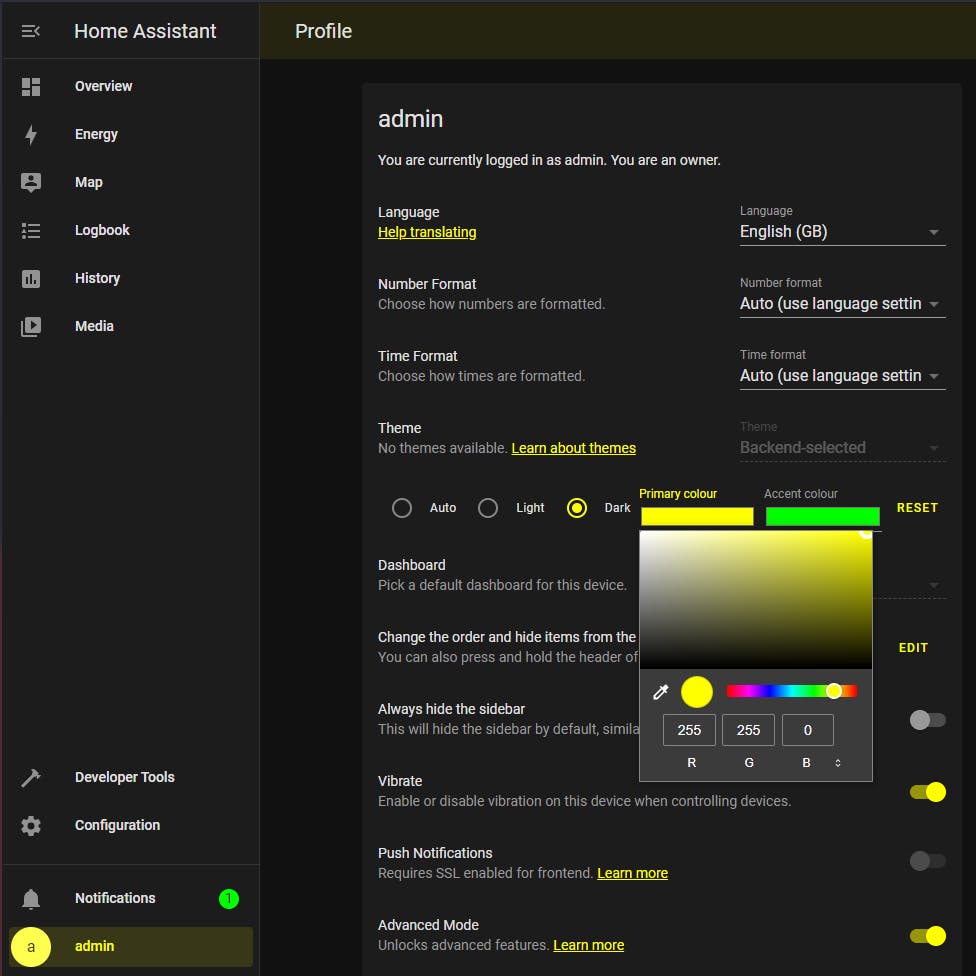
To reset the colours to their default values click the RESET selection.


There are more settings that can be changed, but are of a more advanced nature, outside the scope of this post.
The User Profile settings are one of the most important tasks you should carefully consider when setting up HA. At present, HA does not provide a way to group users together to allow different UI configurations. The only way to achieve different UI configs is by username (i.e. user profiles). This is why having a good strategy on what usernames to use and settings to apply should be a forethought, not an afterthought. We will cover this topic in more detail in a future post.
Useful References
My Posts:
Proxmox Setup Guides: Home Assistant, Pi-hole, Win10, Win11
Home Assistant Initial Config Guide,
HA Setup Guide Series: HAOS Architecture, Frontend/UI Architecture, System Configuration
HA links:
Developer Docs, API Documentation, Documentation, HA Integrations, Full Demo, GitHub, YAML, Smart Mirror
Other links:
Please consider subscribing to my blog, as you will only ever get quality content; no time wasting, advertising, spamming or other unproductive activities/practices.
Please also consider visiting and subscribing to our YouTube channel; we have recently started posting videos.
We are committed to improving and enhancing over time.
If there is something you would like us to cover in a future topic/guide please let us know.
Important Note: From time to time we enhance the content of our posts. It is therefore recommended you link to our original post in our blog.habitats.tech, by either subscribing to our blog.habitats.tech or visiting our subreddit reddit.com/r/HabitatsTech (our posts in Reddit link to our original posts).

