HowTo setup HAOS - Part 1 - Frontend Architecture & Design
Understand the different pieces of the Home Assistant frontend user interface, helping you design better smart home systems

Passionate about science and technology and a strong believer the next big thing/think is yet to be discovered.
In a previous post we discussed the HAOS Architecture. In this post we will discuss the HA frontend in detail.
The HA frontend is a HA application component served by a webserver and accessed through the HA WAC: http://homeassistant.local:8123, or any of the HA mobile apps (Android, iOS), for the sole purpose of displaying a user interface to allow you to interact with the rest of the HA system.
HA = Home Assistant
HAOS = Home Assistant Operating System (OS)
UI = User Interface
WAC = Web Admin Console (web browser GUI to administer a server)
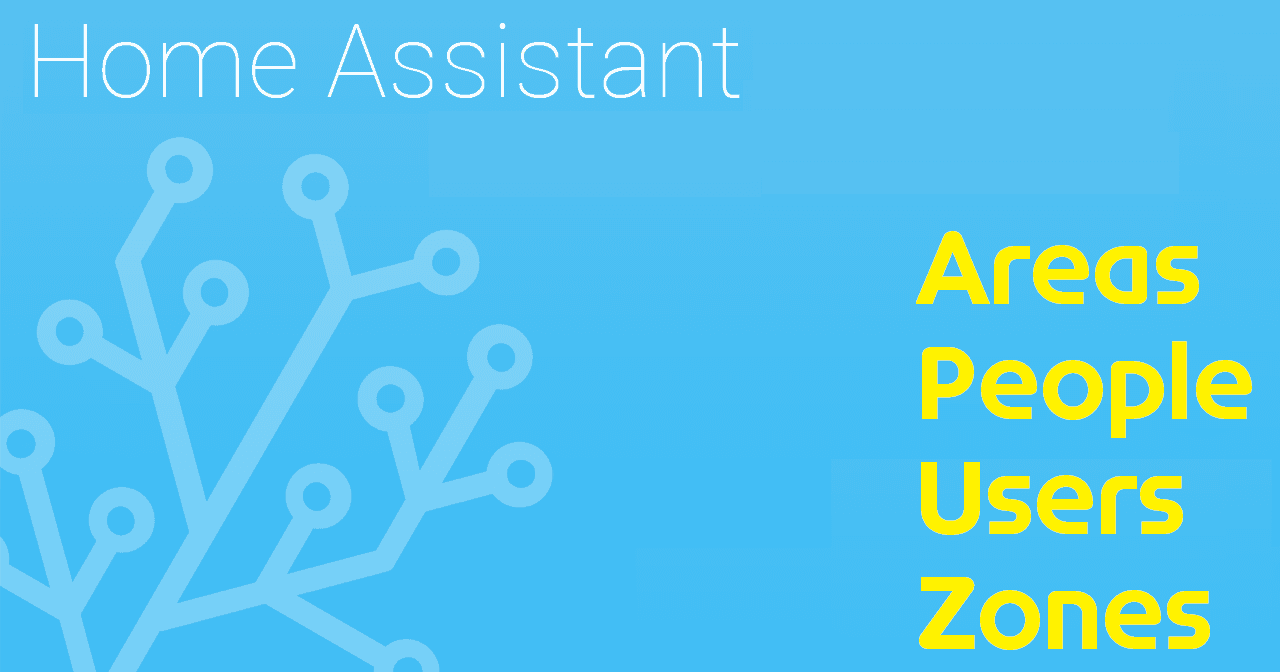
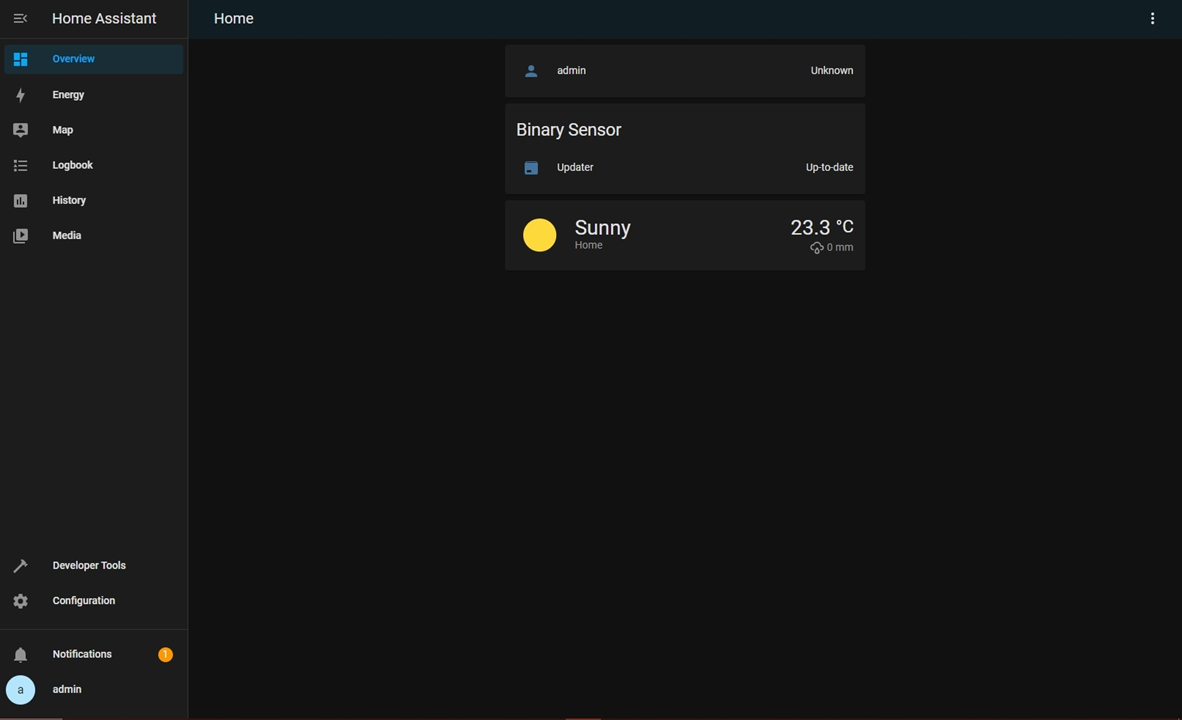
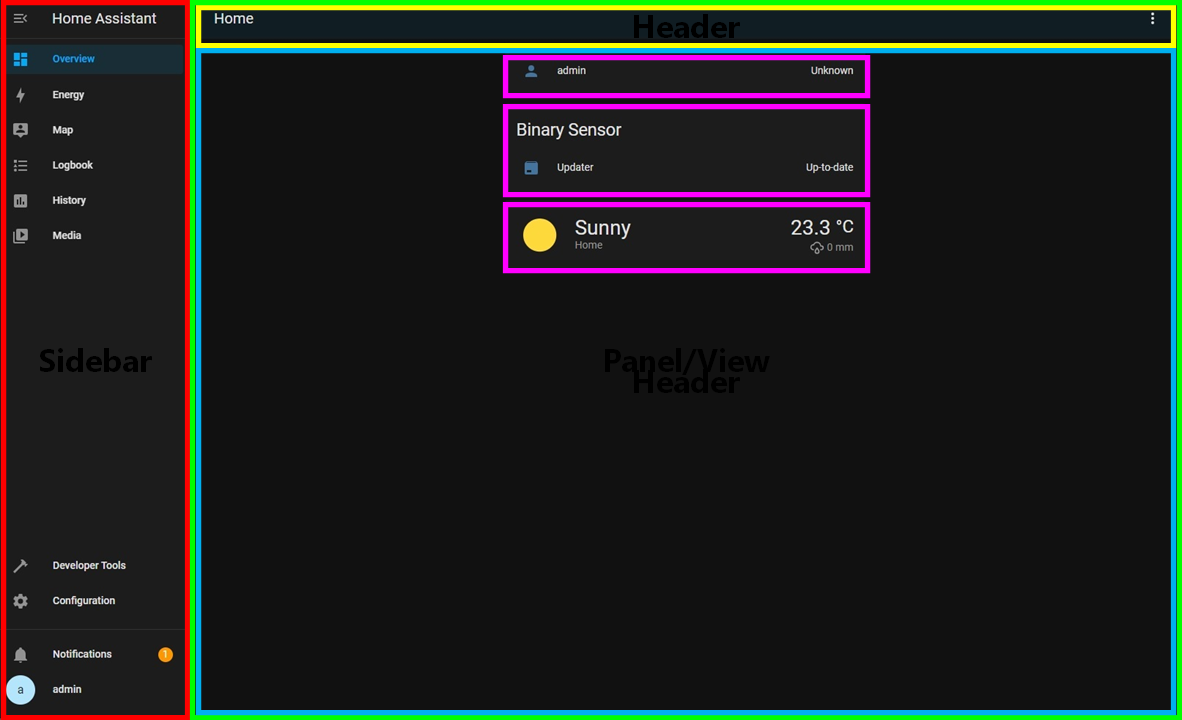
The frontend is basically a web page, which changes appearance based on your selections. The screenshot below shows the default HA UI, following a fresh HA installation, with a logged in user named "admin" and home location in "Dubai, UAE".
The web page is split in two distinct areas:

The web page can be as long (scrollable) as you design it.
The sidebar can be expanded or collapsed by just clicking on the hamburger menu at the top left.
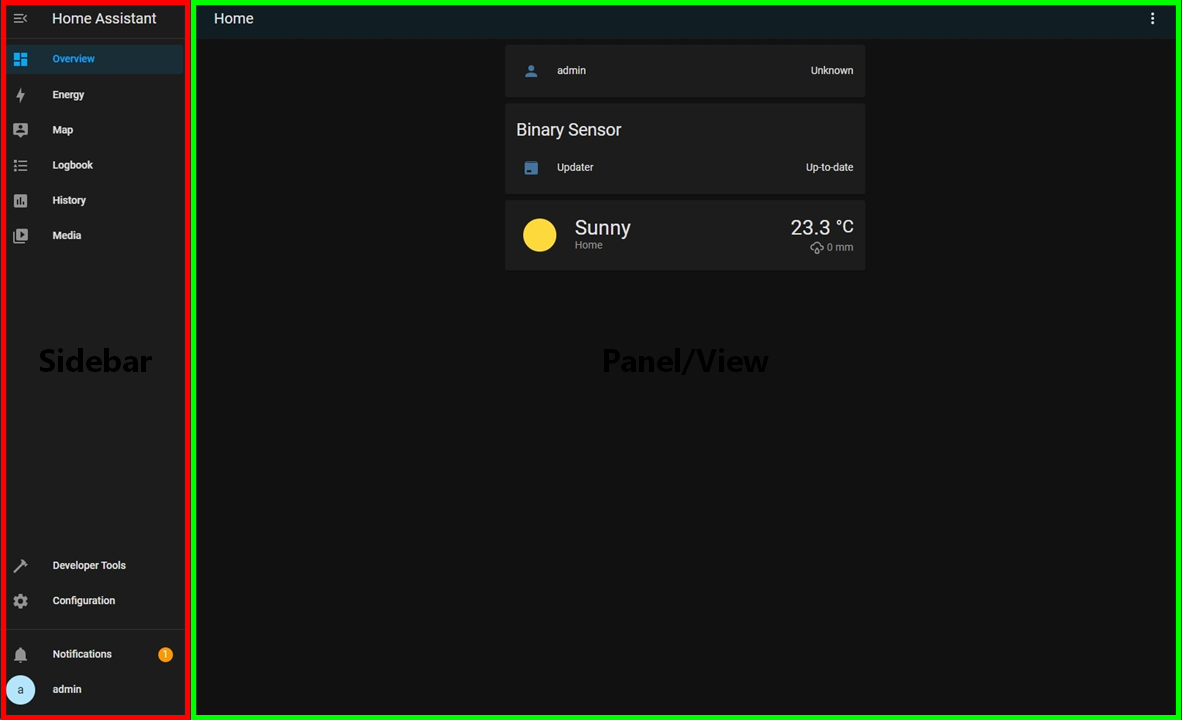
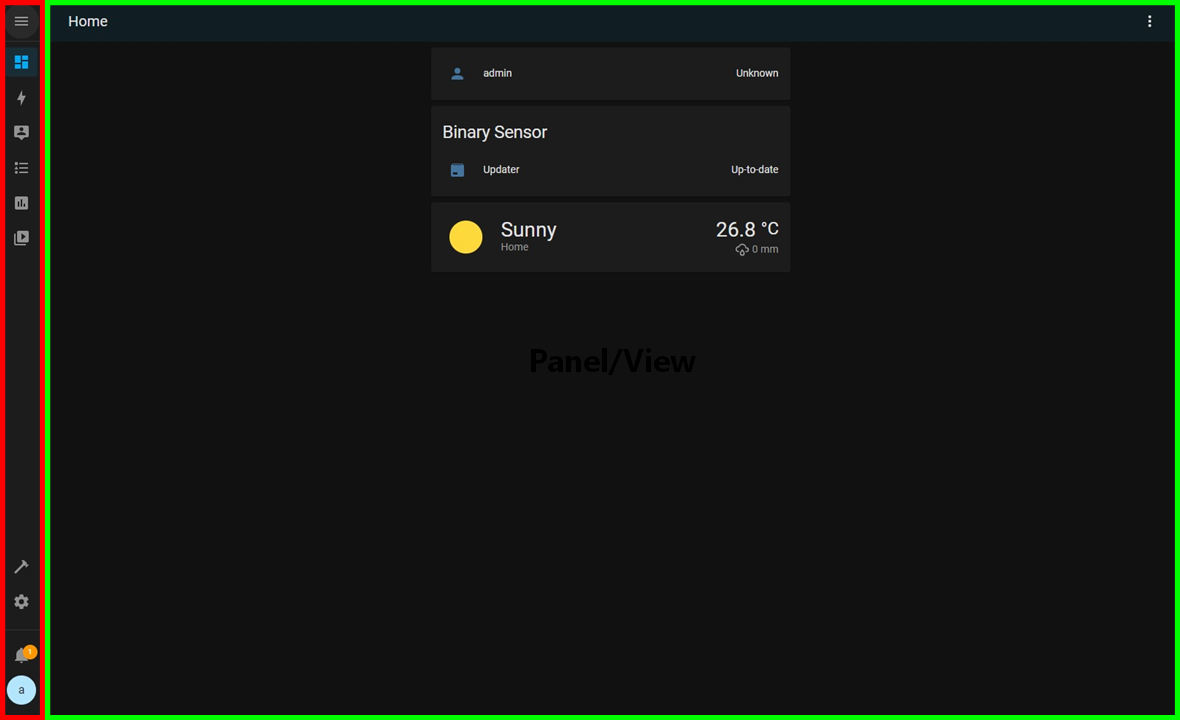
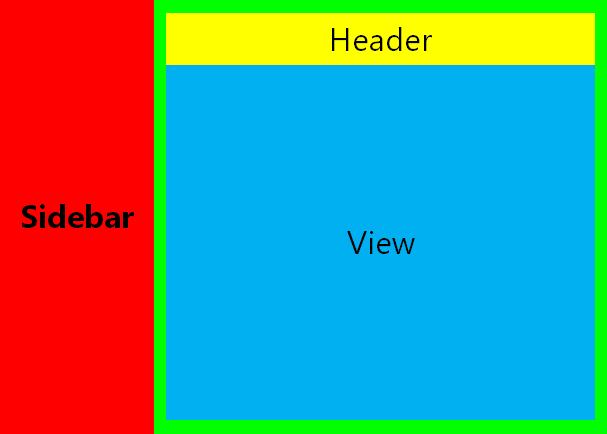
The sidebar is populated with different entries (tabs). When you select any of the sidebar tabs, the Panel on the right changes. The Panel has a Header and a View, as illustrated below.
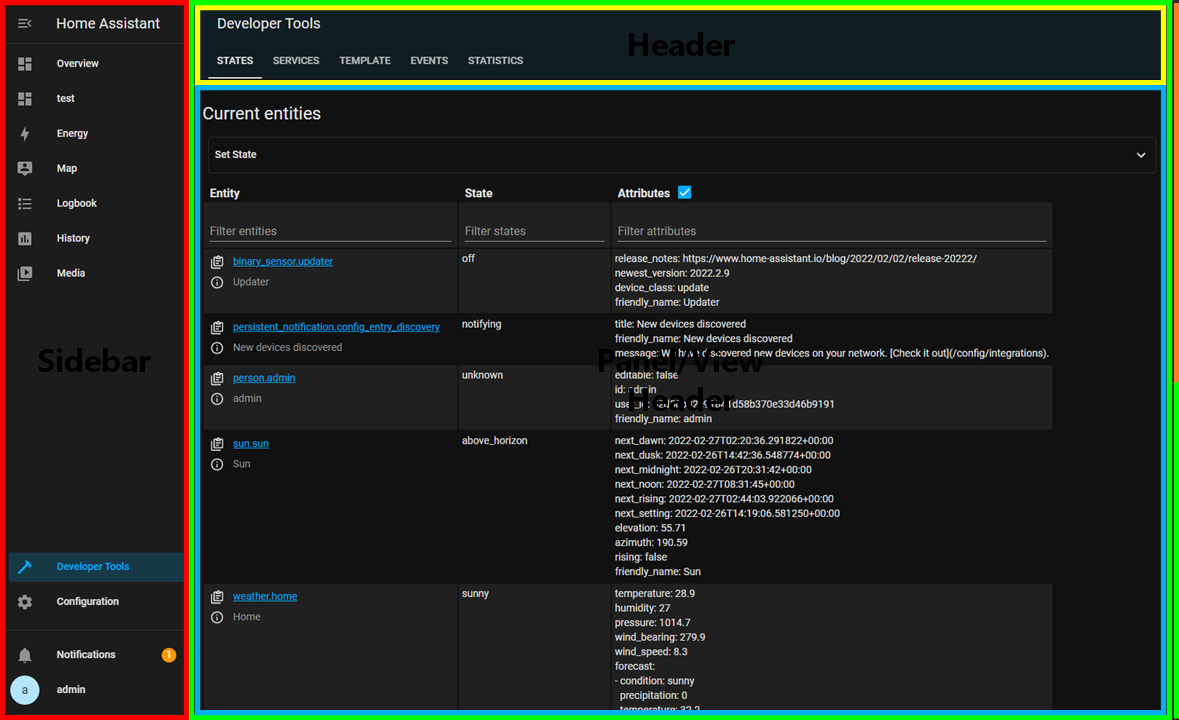
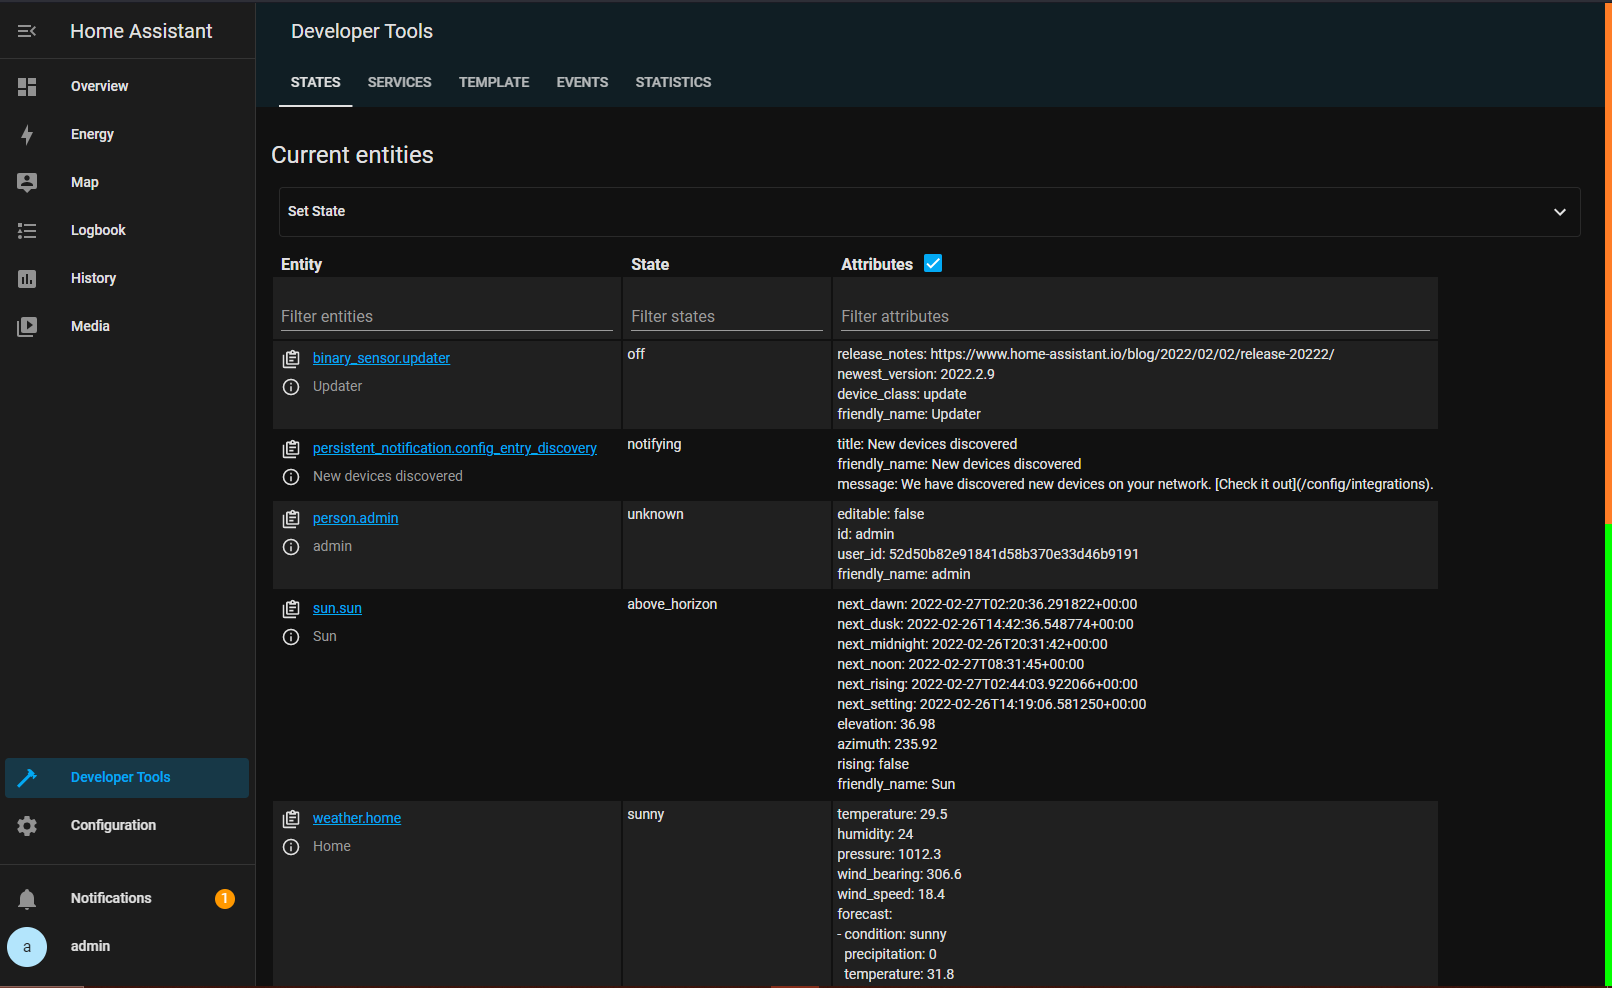
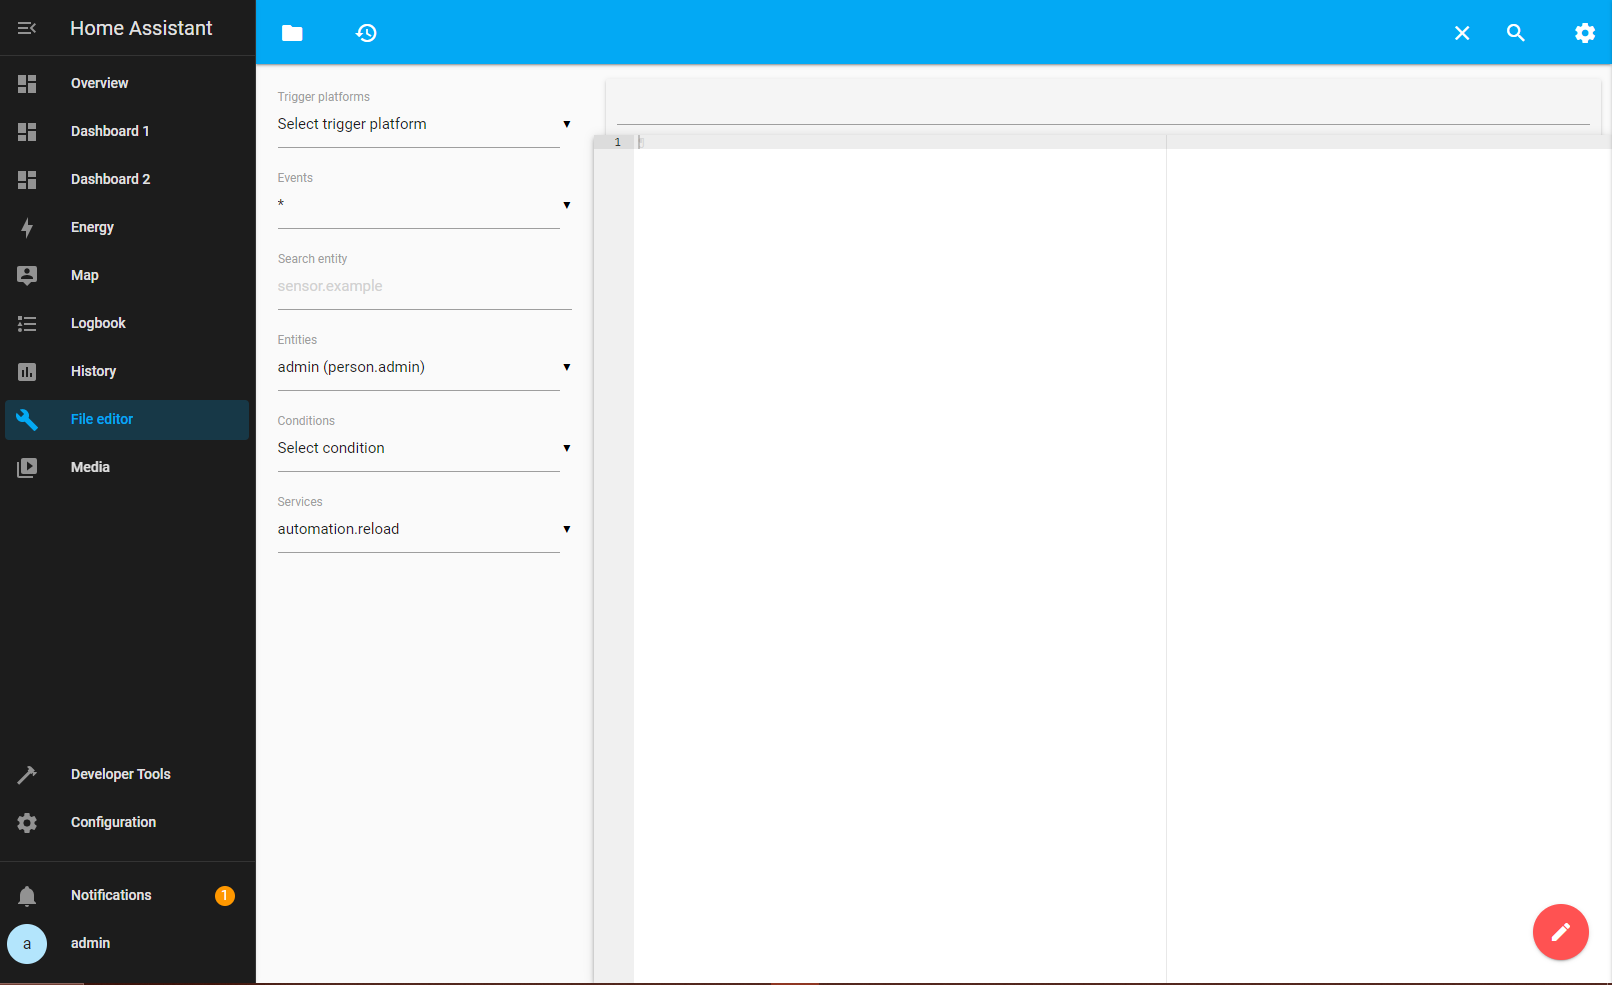
A header can have different entries (tabs), which are used to display different views. An example of such a panel is the Developer Tools. As you can see in the screenshot below, the Developer Tools is a panel which has different tabs=views (STATES, SERVICES, TEMPLATE, EVENTS, STATISTICS). Also notice the Developer Tools is a scrollable panel, depicted by the orange/green scrollbar on the right.
The most important panel is the Dashboard. The Overview panel your see in the screenshots above is the default HA Dashboard. The Dashboard is the UI for home control, the canvas you will use to design your perfect home and later use to interact with every day (e.g. lights on/off).
The HA UI is named Lovelace and the Dashboard is based on Lovelace.
A Dashboard consists of actionable and non-actionable Cards (consider them as the dashboard canvas-elements), which are used to connect the UI to the HA integrations (devices & entities), areas, automations, etc.
The default Dashboard is populated with 3 cards. As you add integrations you will see the default dashboard being populated with cards from devices and entities created by the HA integrations.
Let's take a look at the other panels.
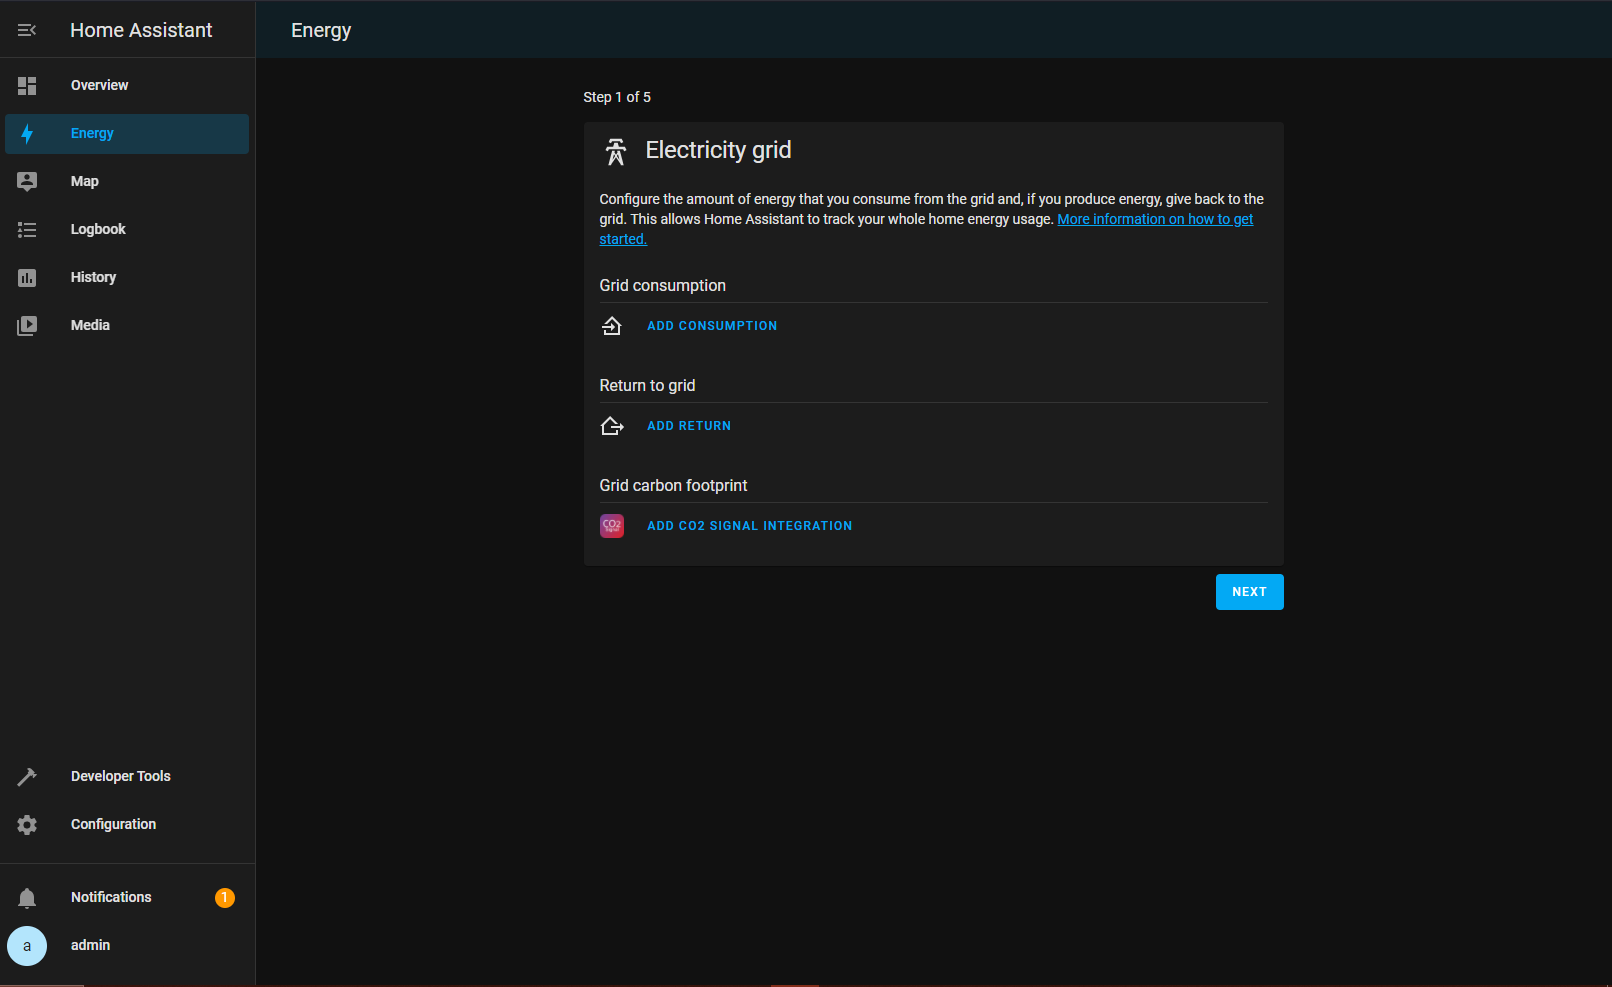
Energy; this is also a configurable dashboard, but not with the same freedom of design choice as an ordinary dashboard. By default it comes with a setup wizard to guide you through the configuration process.
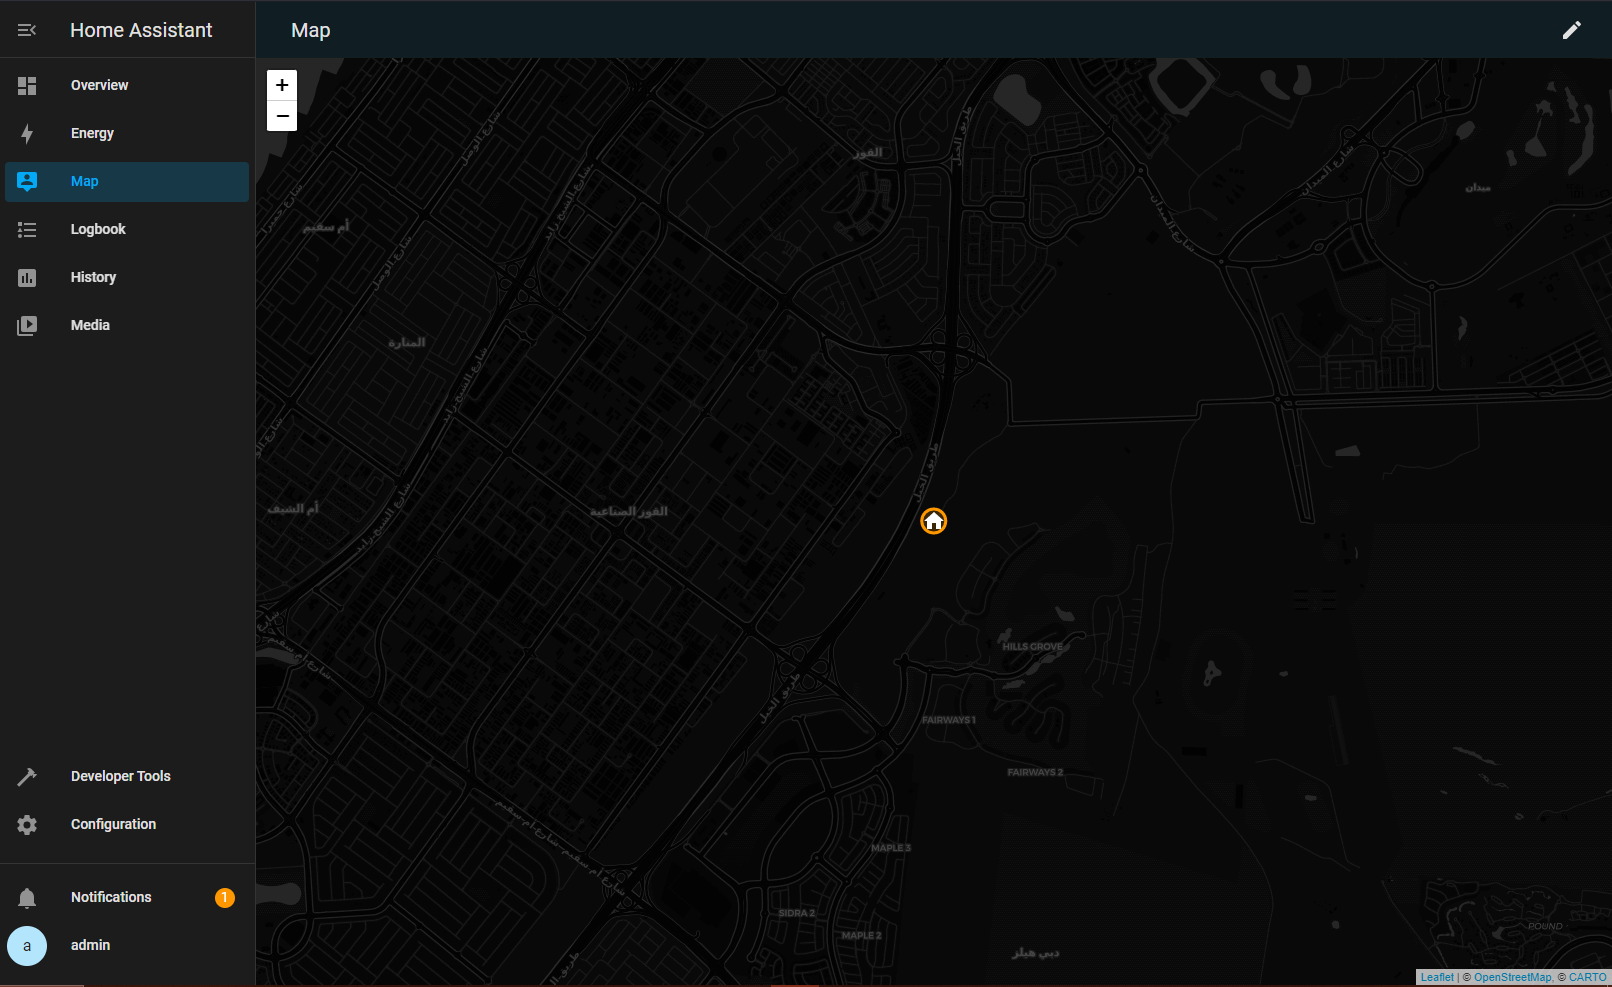
Map; displays a map around your home location.
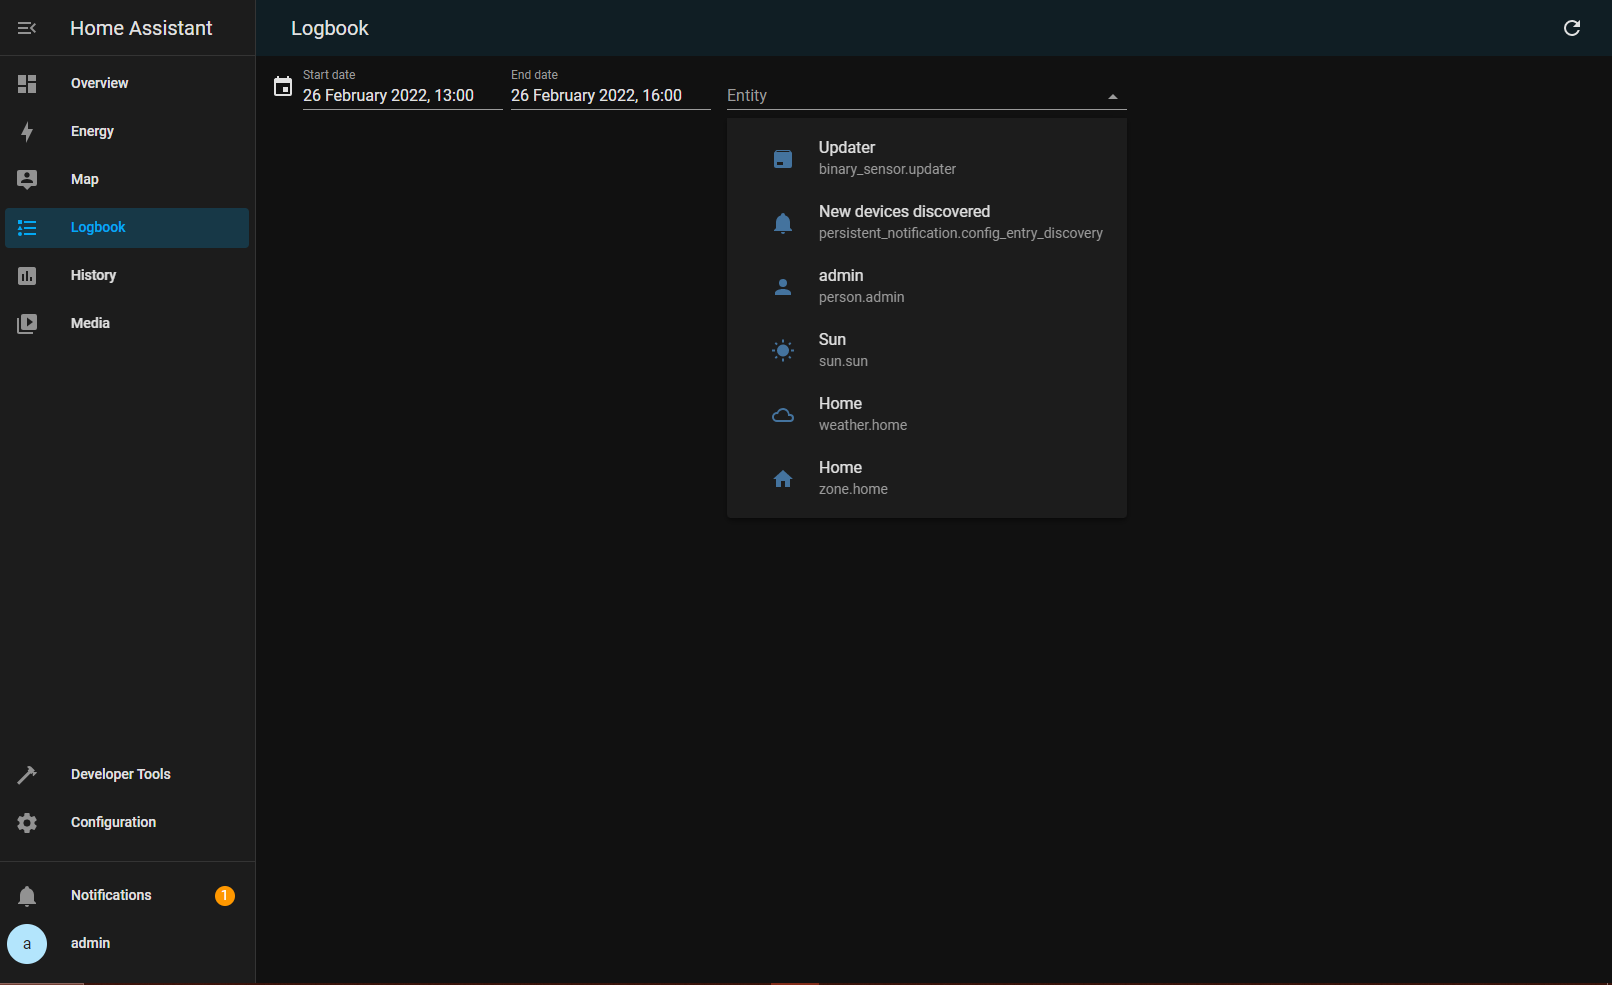
Logbook; displays all the changes taken place to all the entities or for a selected entity for a specific period of time. You can interact with this panel to specify date(s) and entity.
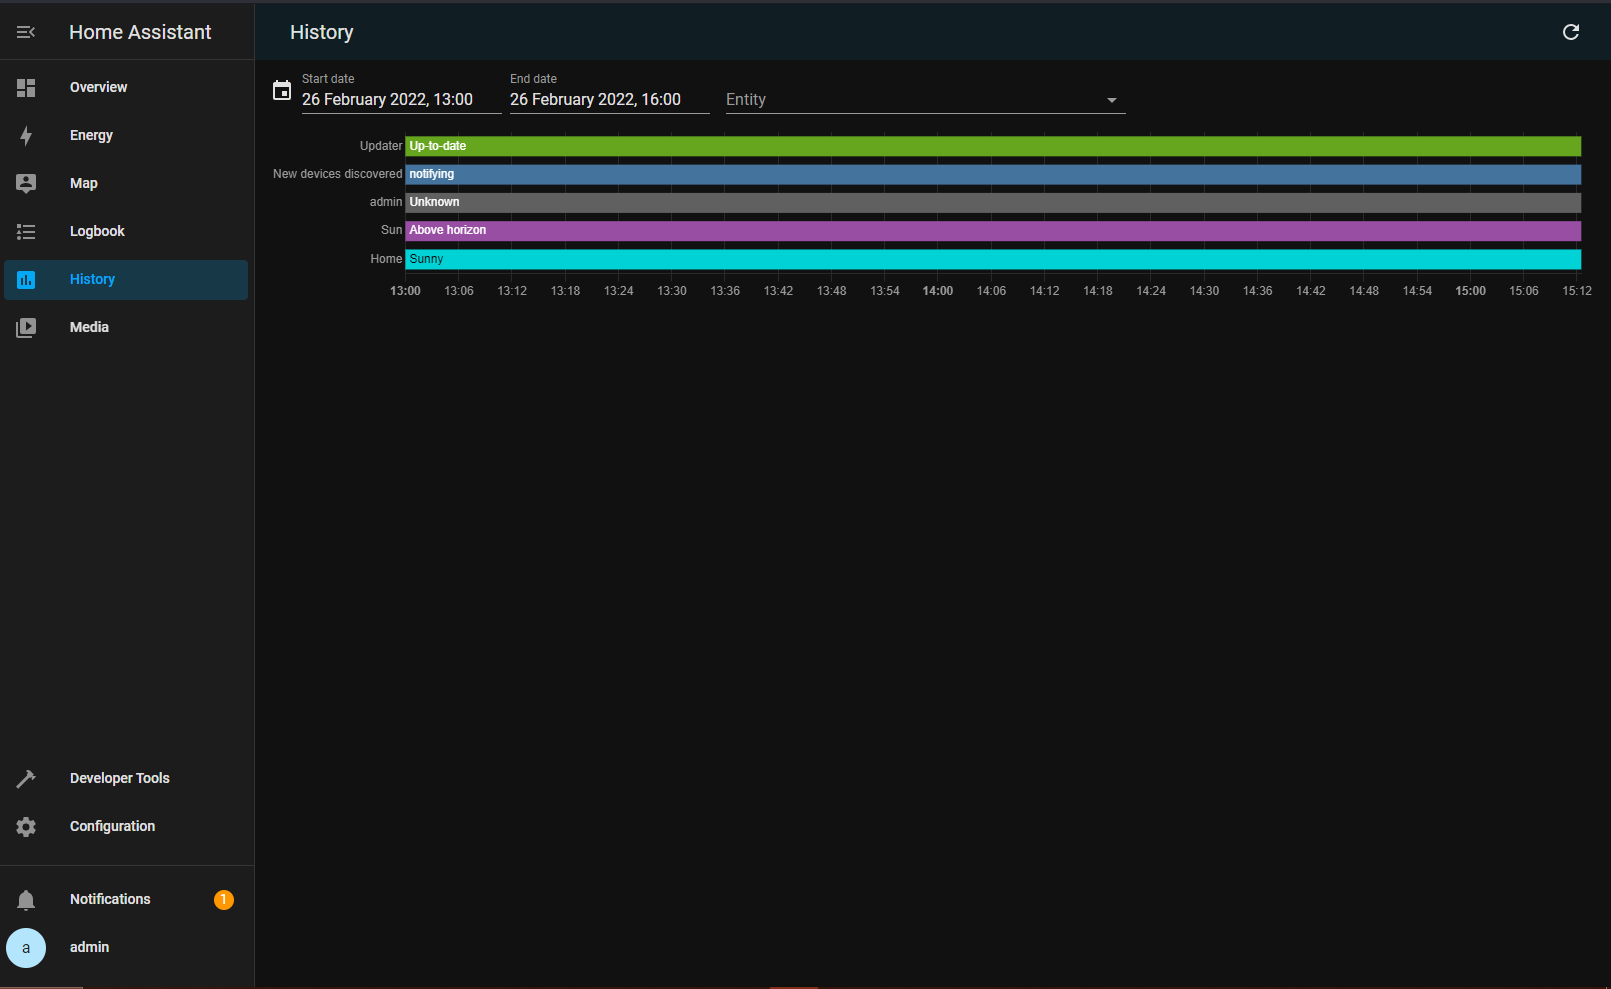
History; by default shows a history of all events in the system for all entities for today's date. You can interact with this panel to only display events for a specific entity for specific date(s).
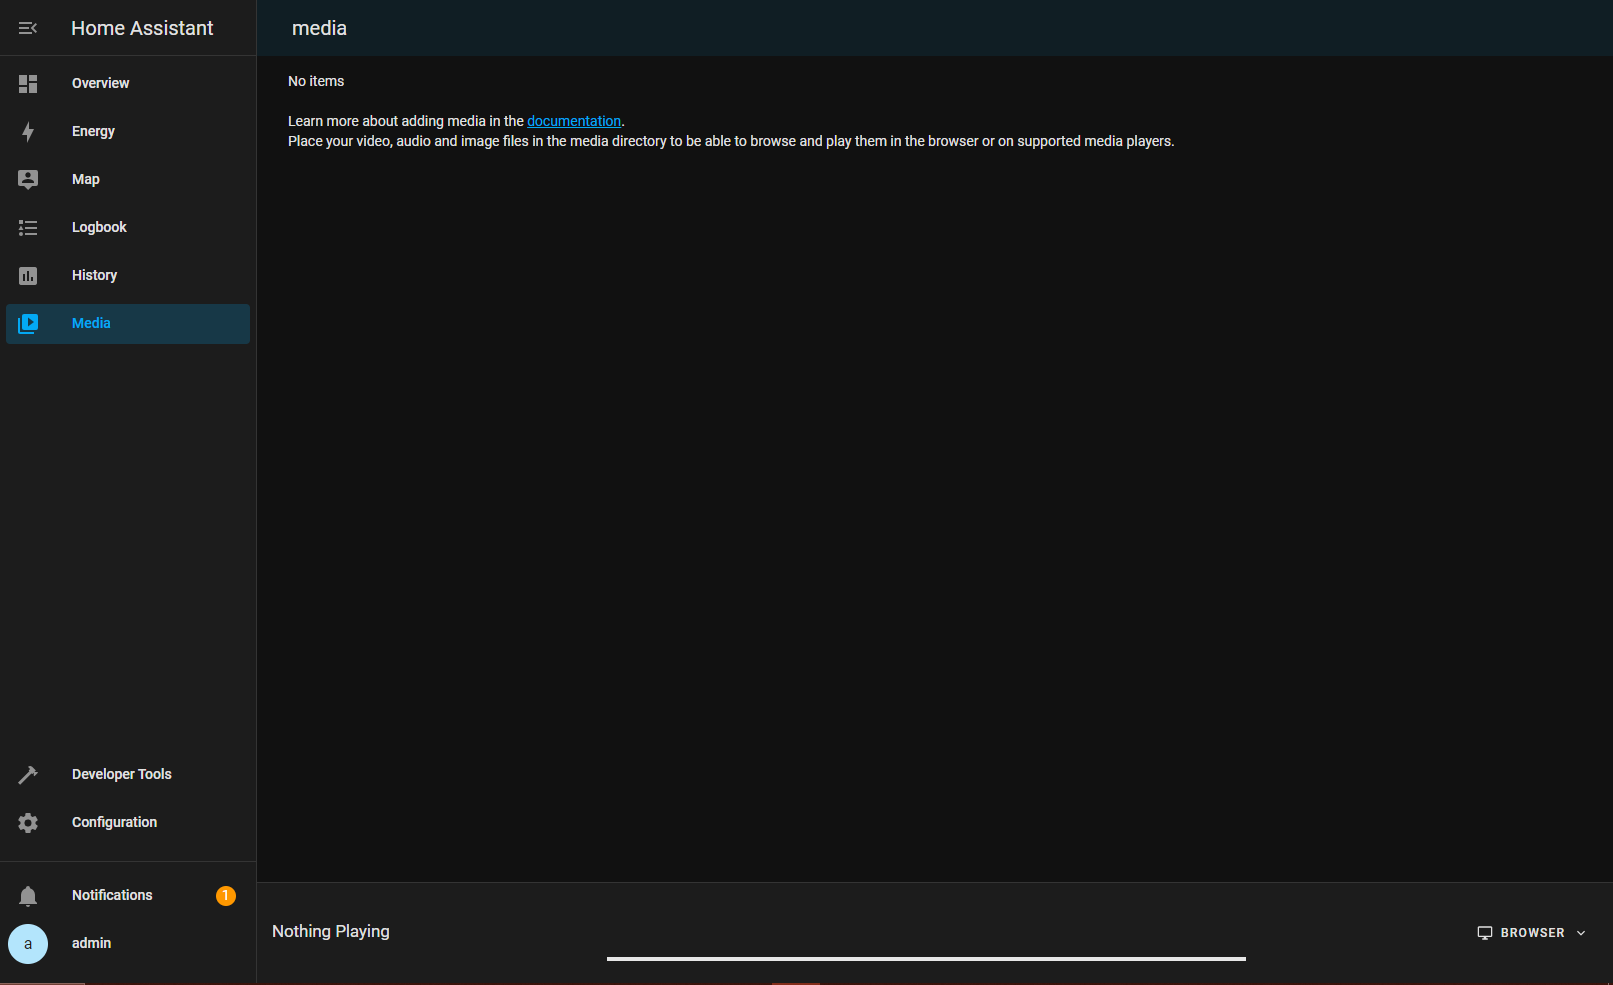
Media; HA can be used as a media centre and this panel is where you will find all information pertaining to your media files and be able to play them. It requires configuration to make good use of it and I will cover this in a future post.
Developer Tools; this panel has several views to allow you to troubleshoot as well as find tons of useful system information.
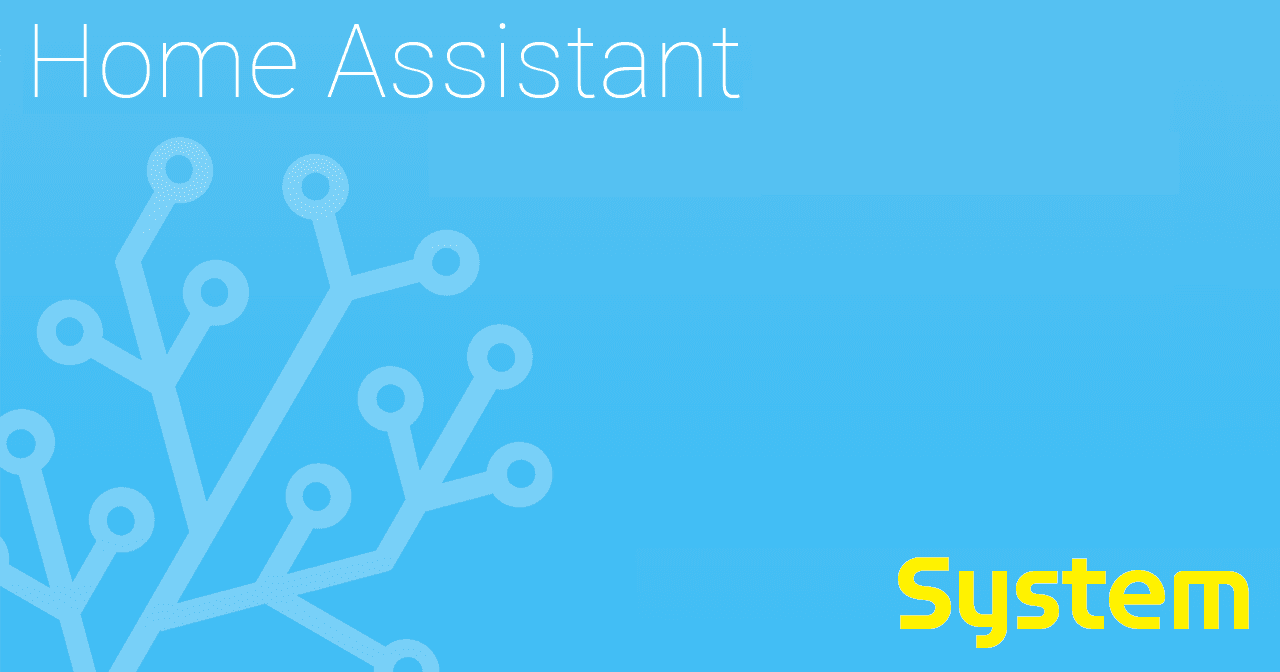
Configuration; this is the panel you use to configure, customise and manage HA to your requirements.
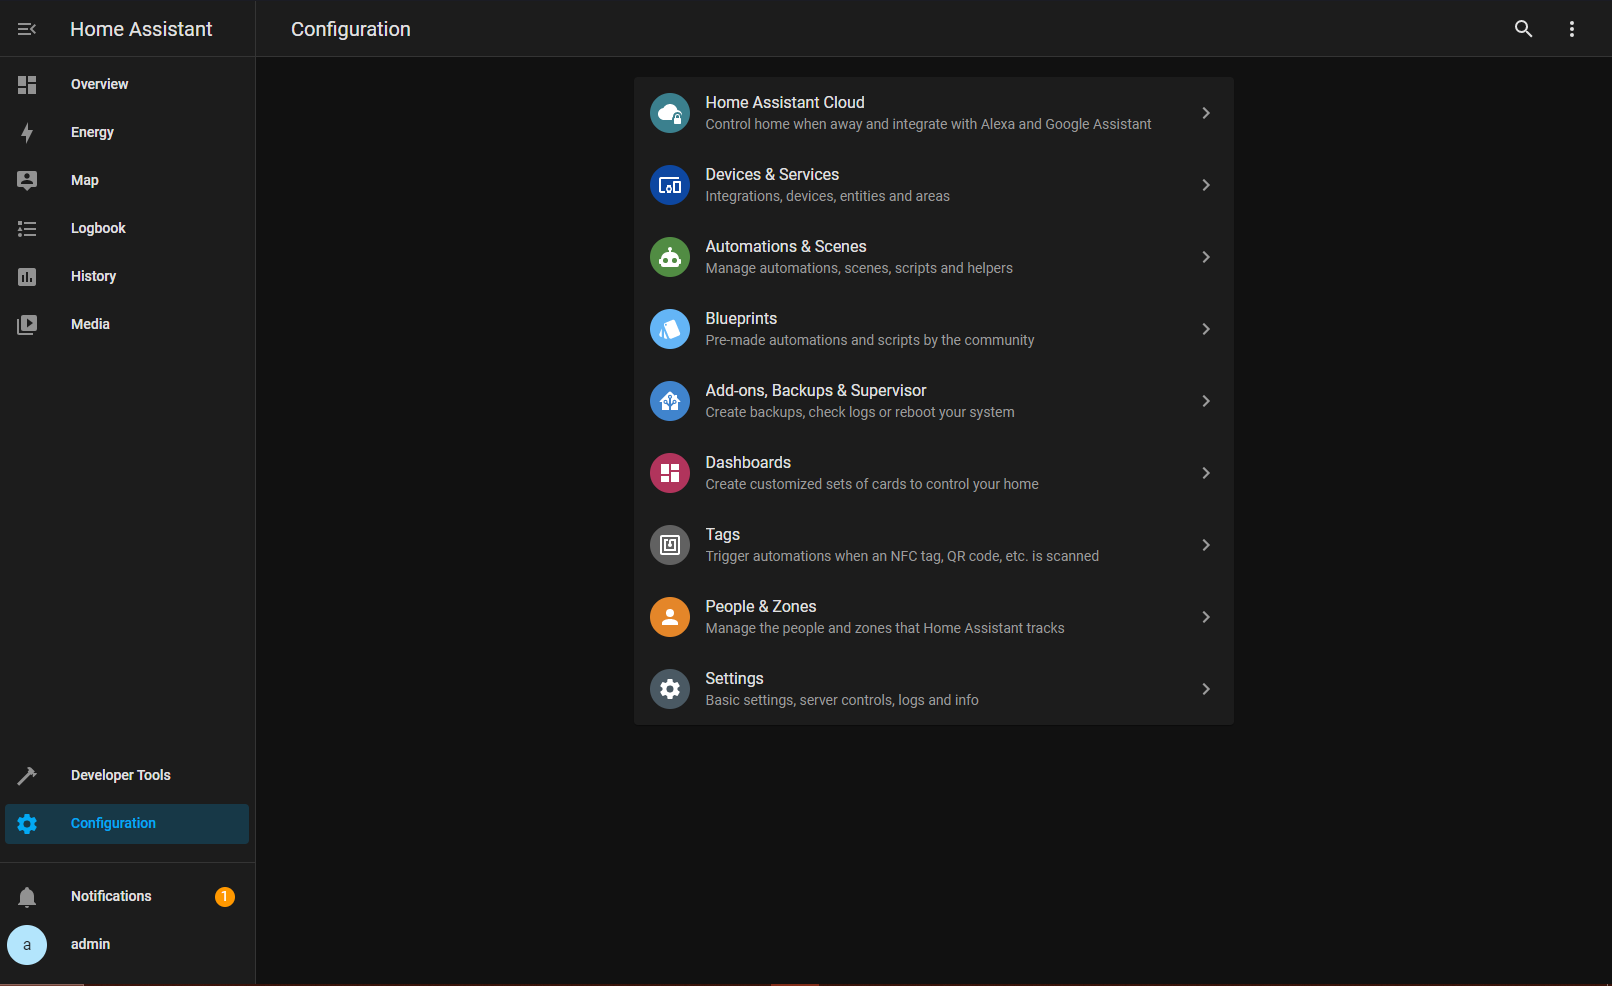
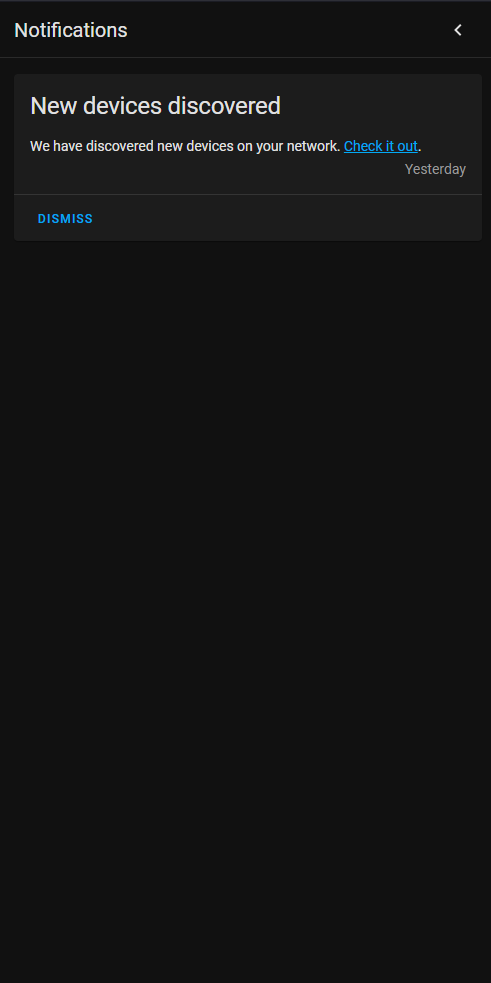
Notifications; the area (in UI parlance, this is a modal panel) HA is using to alert you of important findings.
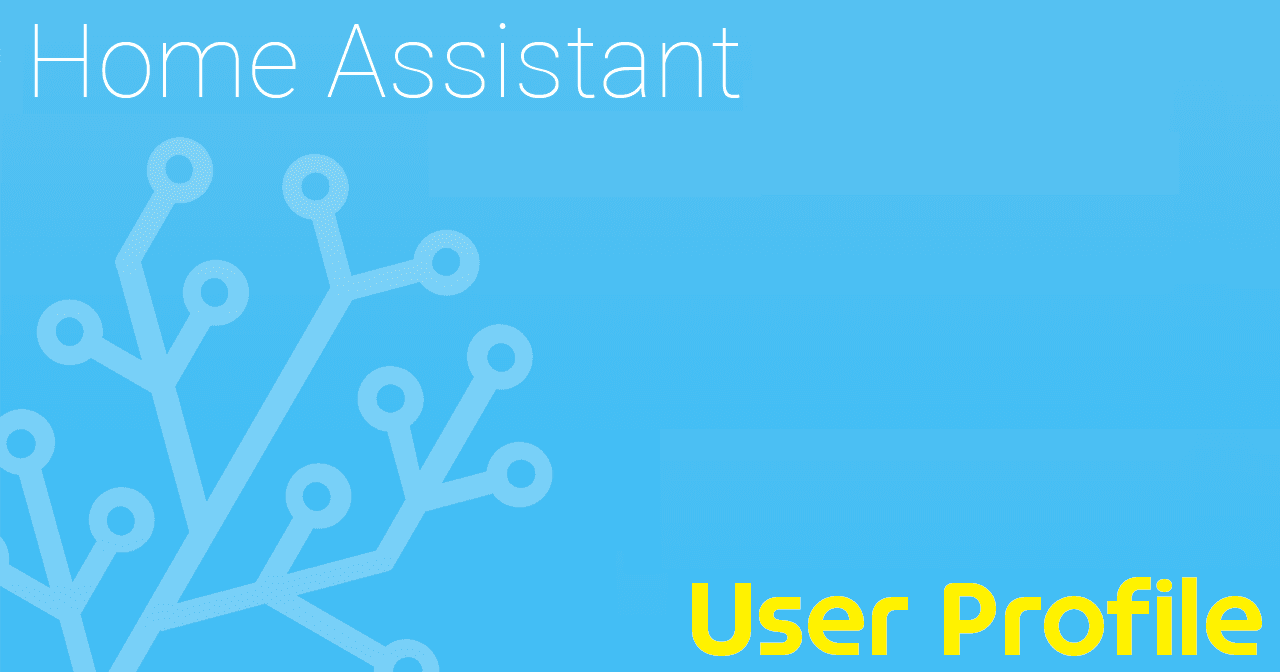
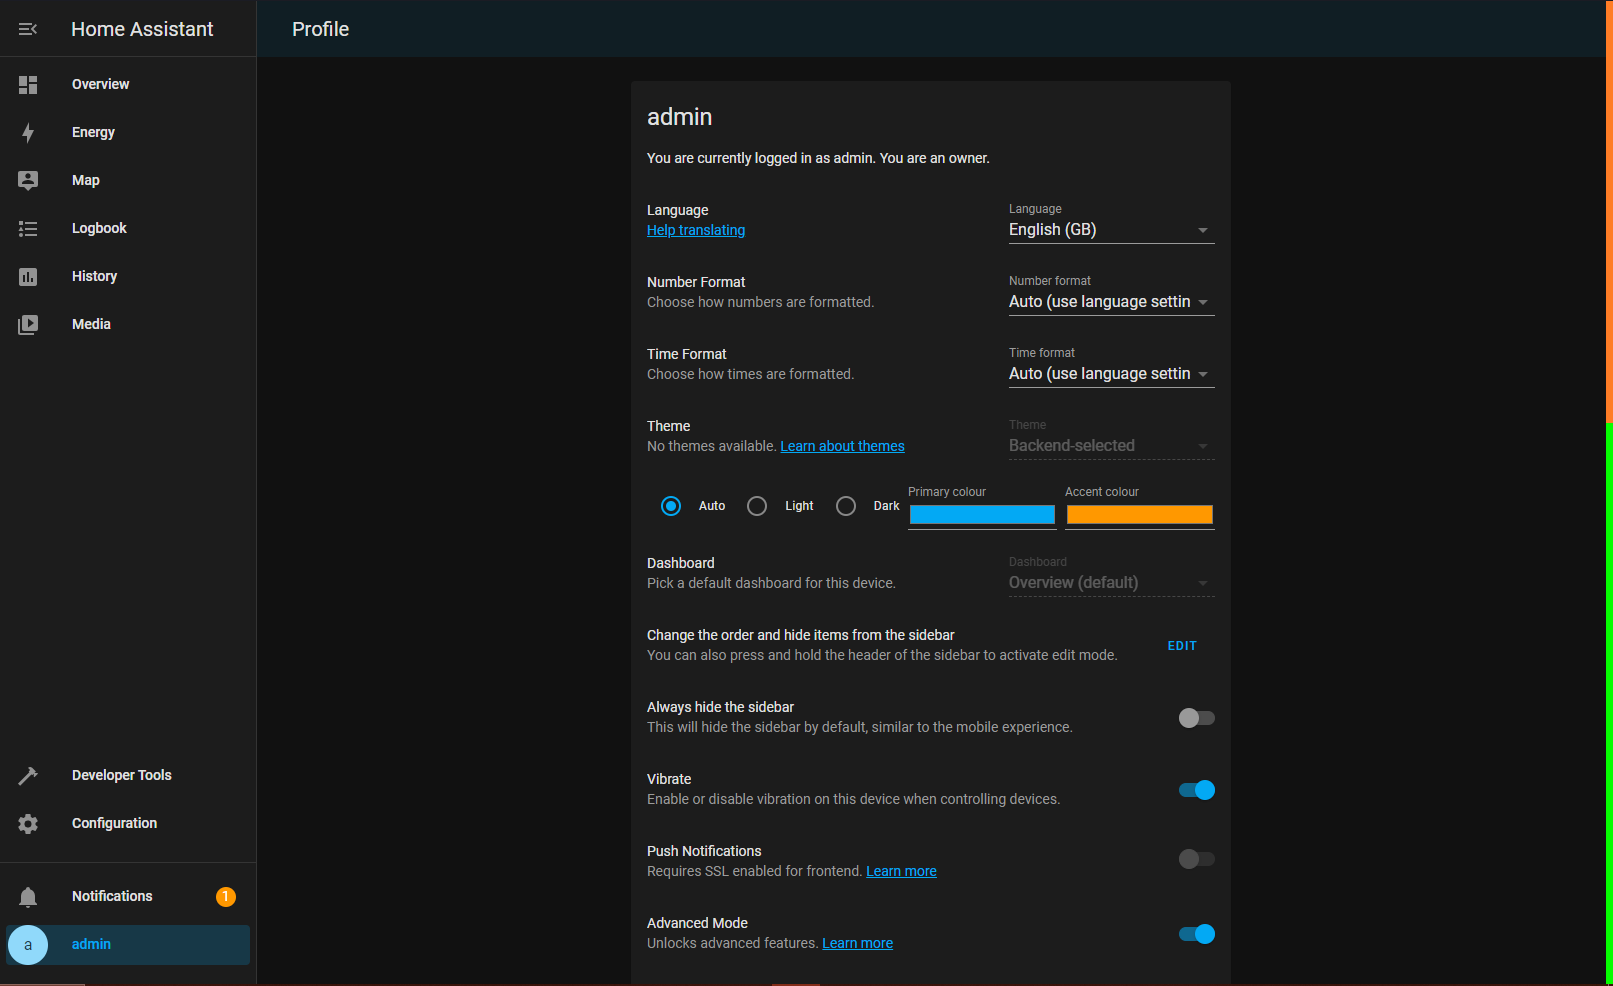
"Username"; in our example: admin; this is the user currently logged into the system; this panel displays the properties associated with the logged in user (as you might have noticed it is a scrollable panel).
Sidebar
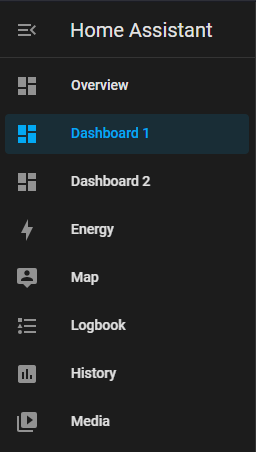
The sidebar can be customised in three major ways:
- Dashboards: add multiple dashboards (they can be, for example, rooms in a house or a service covering multiple locations in a house)
- Add-ons: when you add add-ons in HA, some have an associated panel allowing you to interact/interface with the add-on
- Web Consoles: define you own iframe panels, which can be web consoles accessing systems outside HA
Header
The header can be just a description with a single view or it can have multiple tabs, allowing different views of the same topic (e.g. sensors: temp - motion - light - smoke) or different topics (e.g. the different functions in your house).
For example, a Dashboard can be designed to have all the rooms in the house appear as tabs in the header (displayed as icons below).

Hopefully by now you have a good understanding of the HA UI architecture. If you would like to dive deeper consult the following HA references. In future posts, complemented by youtube videos, I will explore dashboard design in detail.

Other Useful References
My Posts:
Proxmox Setup Guides: Home Assistant, Pi-hole, Win10, Win11
HA Setup Guide Series: Part 0
HA links:
Developer Docs, API Documentation, Documentation, HA Integrations, Full Demo, GitHub, YAML, Smart Mirror
Other links:
Please consider subscribing to my blog, as you will only ever get quality content; no time wasting, advertising, spamming or other unproductive activities/practices.
Please also consider visiting and subscribing to our YouTube channel; we have recently started posting videos.
We are committed to improving and enhancing over time.
If there is something you would like us to cover in a future topic/guide please let us know.
Important Note: From time to time we enhance the content of our posts. It is therefore recommended you link to our original post in our https://blog.habitats.tech, by either subscribing to our https://blog.habitats.tech or visiting our subreddit https://www.reddit.com/r/HabitatsTech/ (our posts in Reddit link to our original posts).