HowTo configure ProxMox VE 7.1 - after a bare-metal installation
general notes on what steps are required to effectively configure Proxmox and how to setup DNS for reliability.
Passionate about science and technology and a strong believer the next big thing/think is yet to be discovered.
I will run a series of articles on how to configure Proxmox 7.1 following a bare-metal install. This configuration is what I would suggest you consider when you install your first Proxmox node and they include:
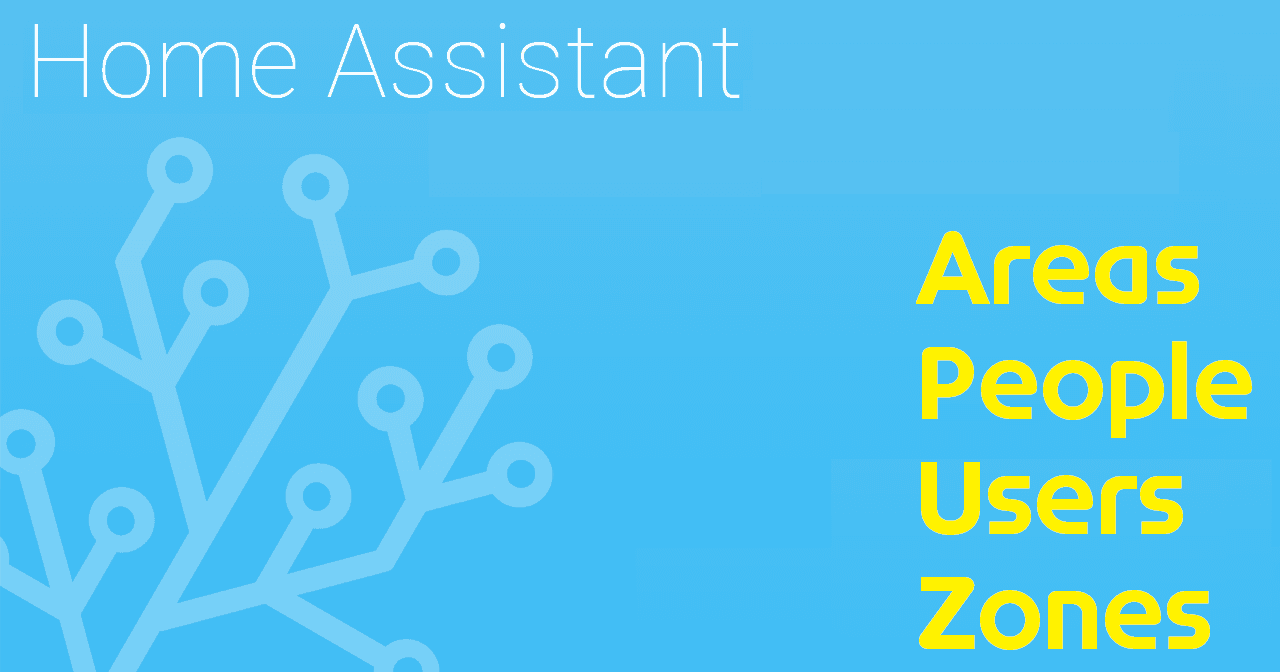
A. Datacenter
- Permissions
- Firewall
In future articles I will expand how to create Proxmox clusters, certificates, backup, replication and metric server - all options require multiple nodes in order to function at all or optimally.
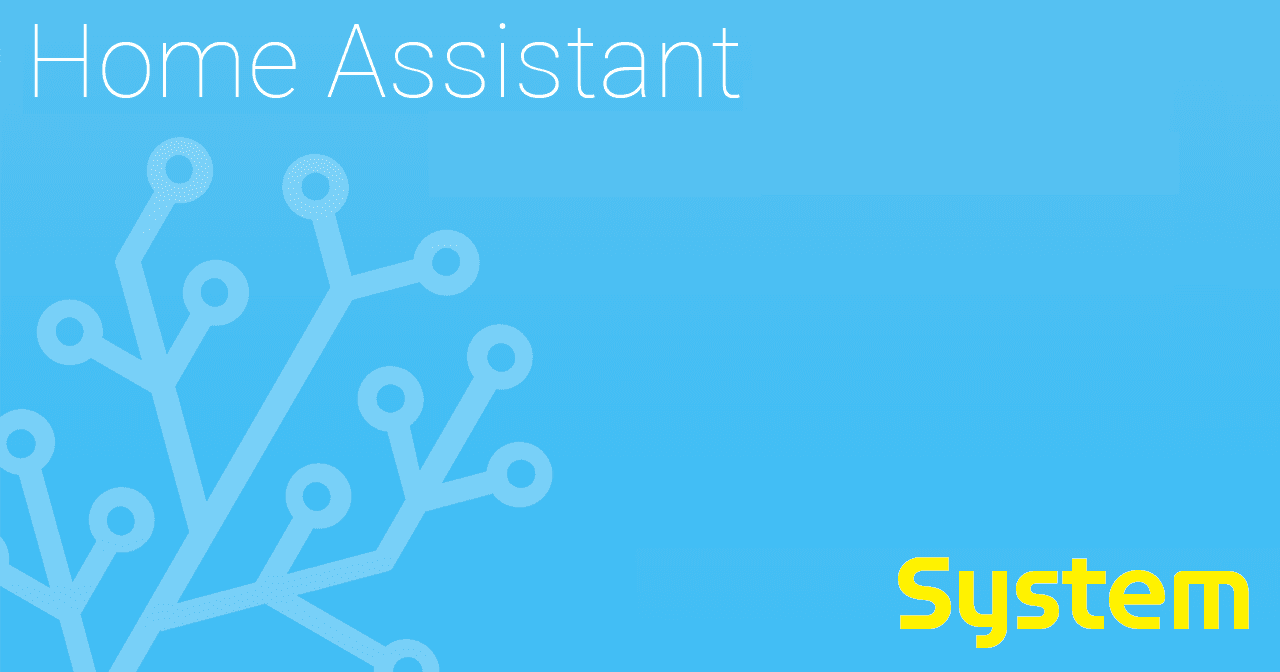
B. Node
- DNS
- Updates
- Firewall
In future articles I will expand how to create certificates, storage (disks, ZFS, Ceph) and replication.
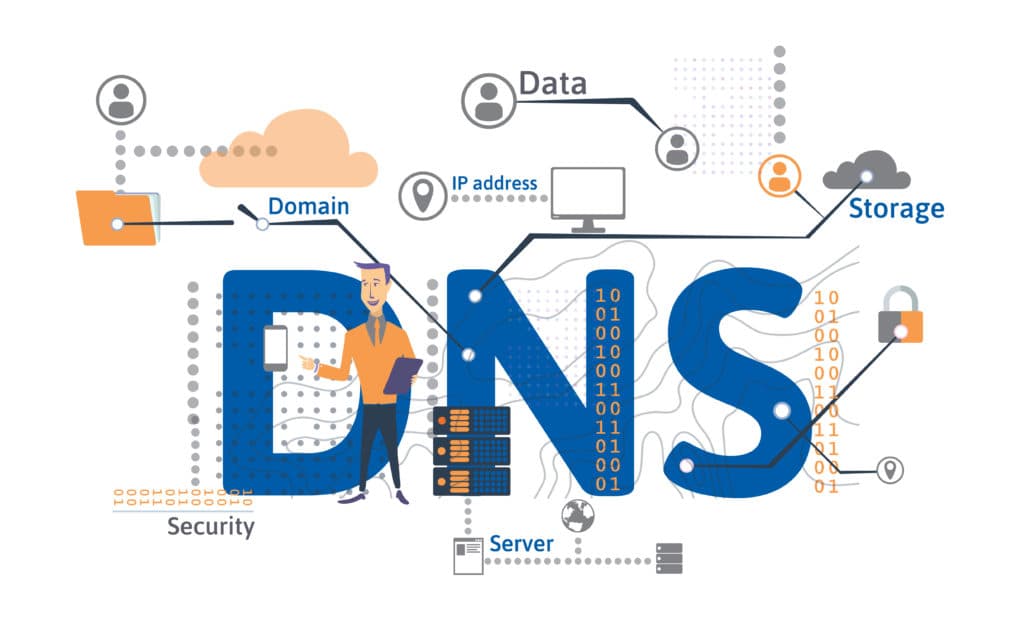
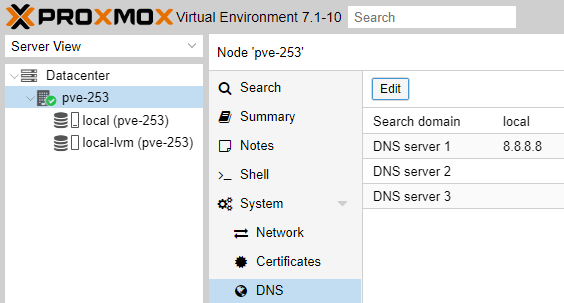
One of the most important aspects of Proxmox management is the ability to update it over the Internet. For this to function you require to point Proxmox to a reliable DNS server (resolver).
If you are following my articles you might remember I suggested during Proxmox installation to specify 8.8.8.8 as your DNS server (the public Google DNS server).
You might also want to include a secondary or possibly even a third DNS server in case the first is unresponsive.
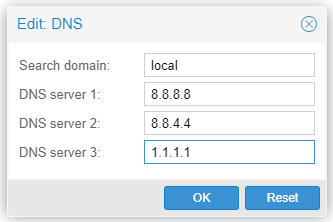
The above are easily accomplished by clicking node -> System -> DNS -> Edit
I suggest the following configuration. The first two DNS servers are from Google and the third is from Cloudflare. The suggested options are fast and available globally - (OpenDNS not in my books as it is now owned by Cisco).
Click OK when done. Changes take effect immediately.
On my next article I will cover the Updates (how you update Proxmox to the latest version).
If you found this article of any use please give it the thumbs up and if possible subscribe to our blog. We have a lot more in-depth tech coming.