HowTo setup a 3-node Proxmox VE 7.1 cluster and configure it for High Availability on a single machine - Part 1 - for learning & testing purposes only
Host a 3-node Proxmox VE 7.1 cluster on a single PC and configure for High Availability (HA) - node creation & configuration

Passionate about science and technology and a strong believer the next big thing/think is yet to be discovered.
This scenario is useful when you want to learn and test a Proxmox VE Cluster Setup.
PVE = Proxmox VE
WAC = Web Admin Console (the web browser GUI to administer any Proxmox VE node)
Suggested hardware for the best experience: 16 CPU threads (vcores), 32GB RAM, 2TB SSD (NVMe or SATA3). A lesser system will also do but it will be slower to very slow depending on the resource constraints of your setup. Whatever you do try to avoid HDDs.
We assume you have a running bare-metal Proxmox VE 7.1. If not please read our guide.
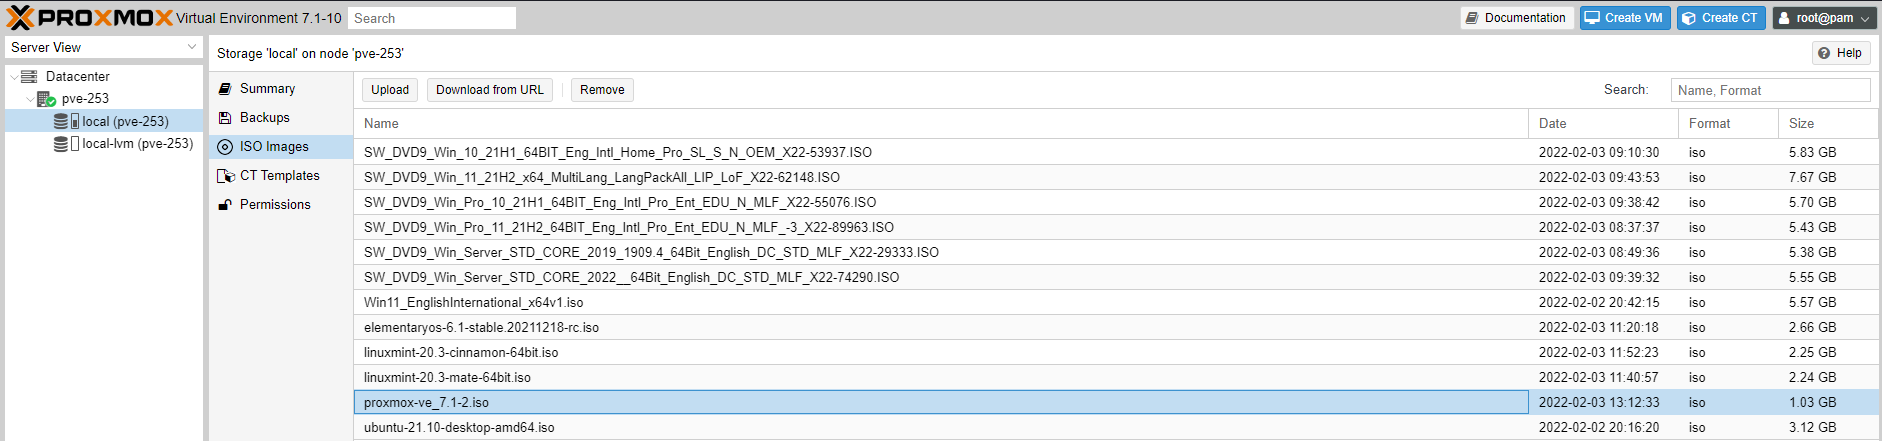
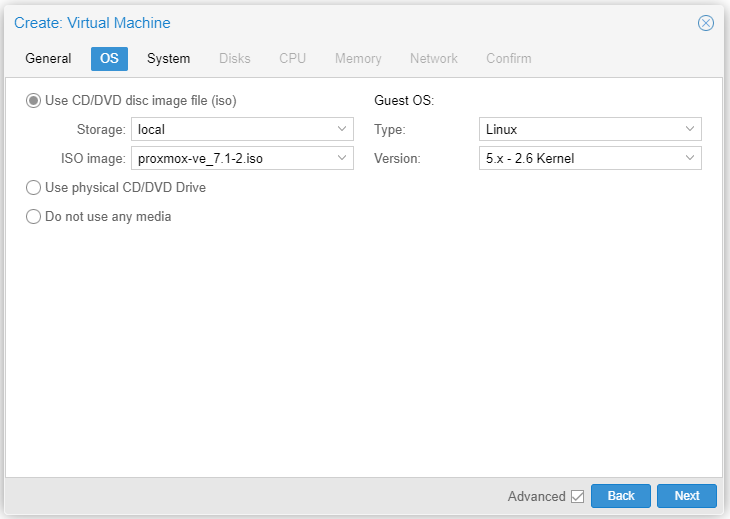
Copy the PVE ISO file in your PVE server (in our case pve-253).
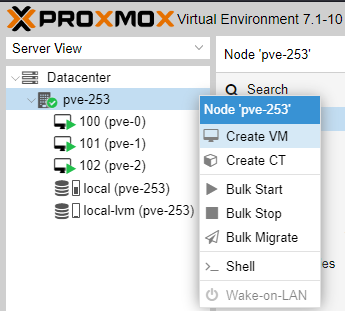
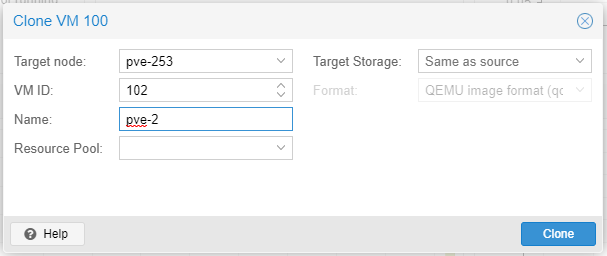
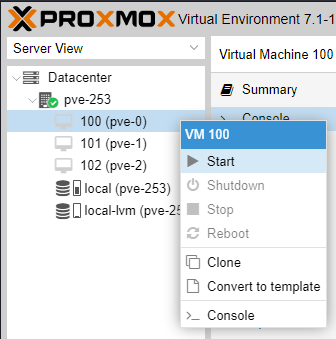
We will create three VMs in total. Create the first VM, which we will subsequently copy, while empty, as follows (right click on the node pve-253):
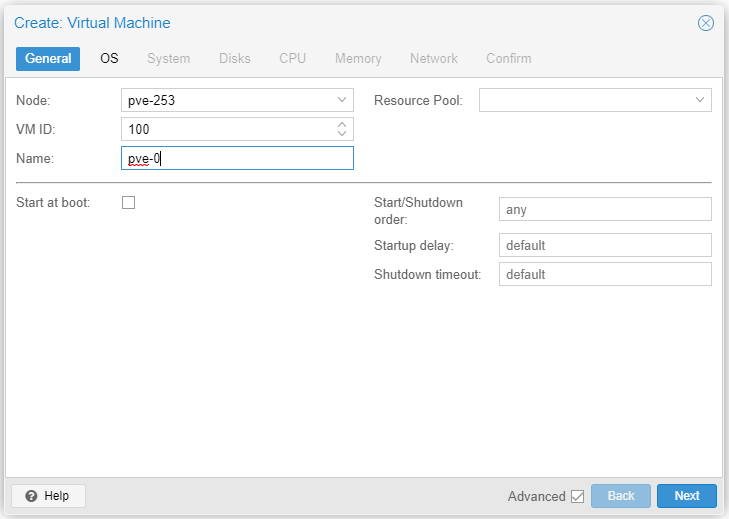

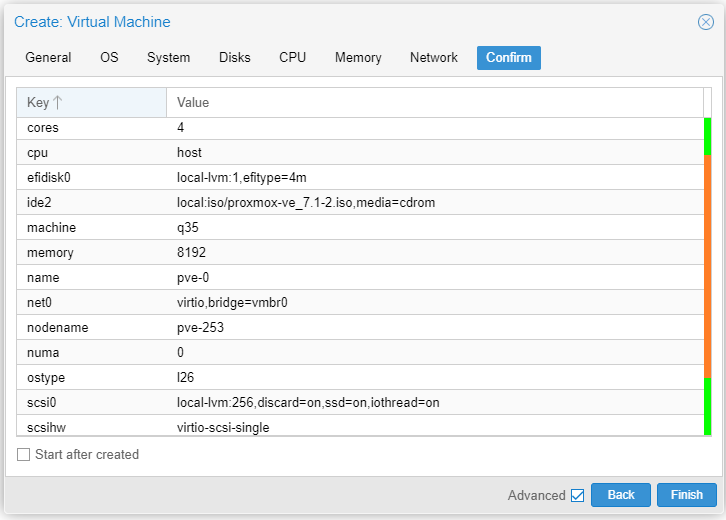
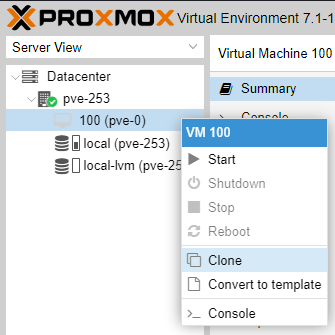
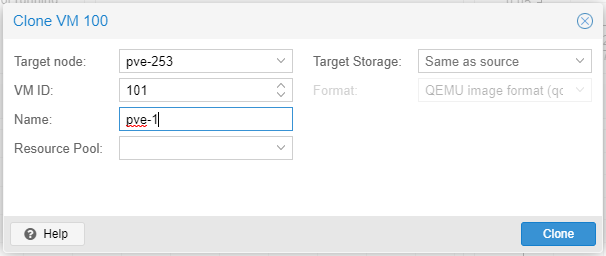
Wait until VM 100 (pve-0) has been created. We will clone this VM twice to create a total of three VMs.
Wait until all three VMs have been created (wait until the lock next to the VM icon disappears).
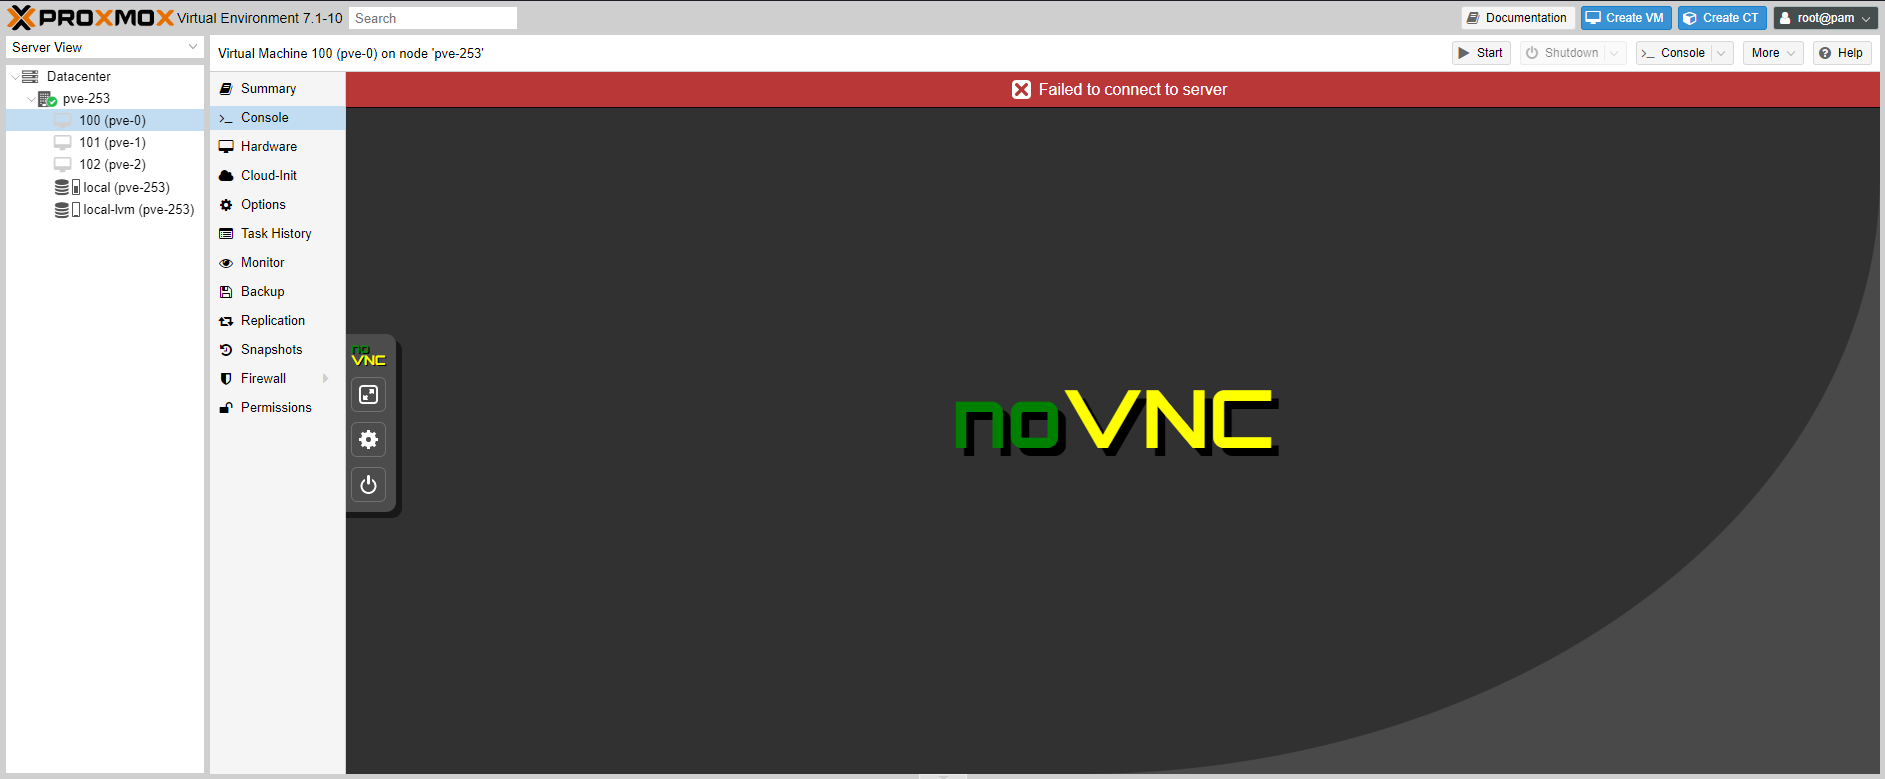
Select VM 100 >_ Console, then right click to start the VM.
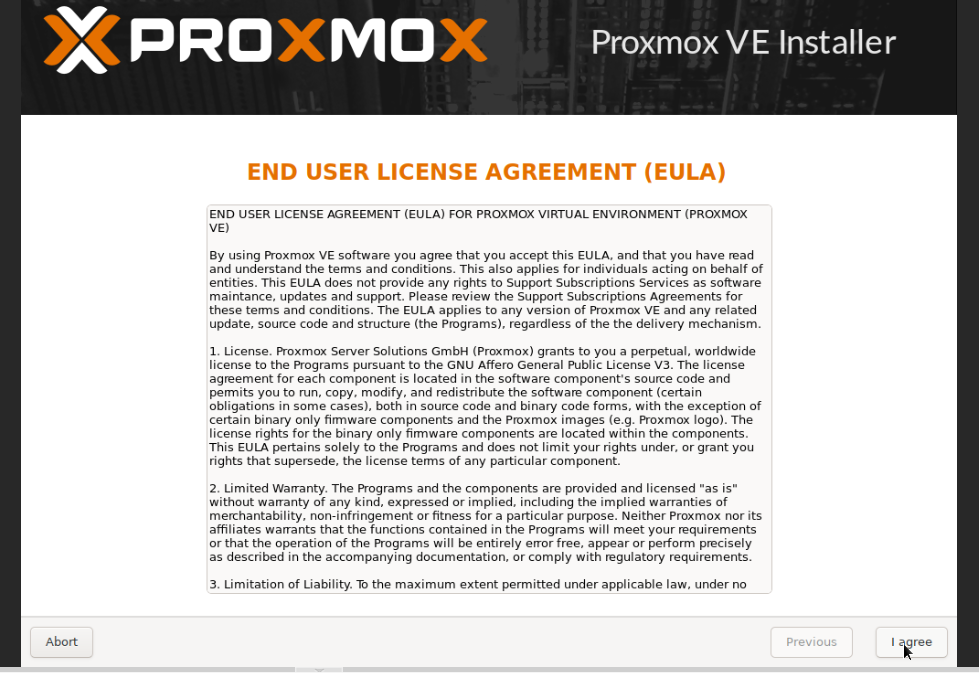
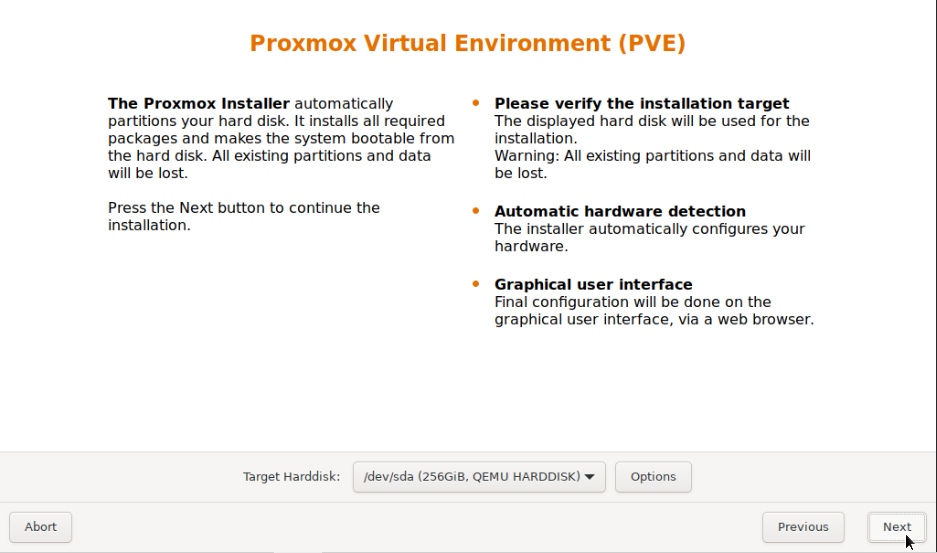
We will now install Proxmox VE.

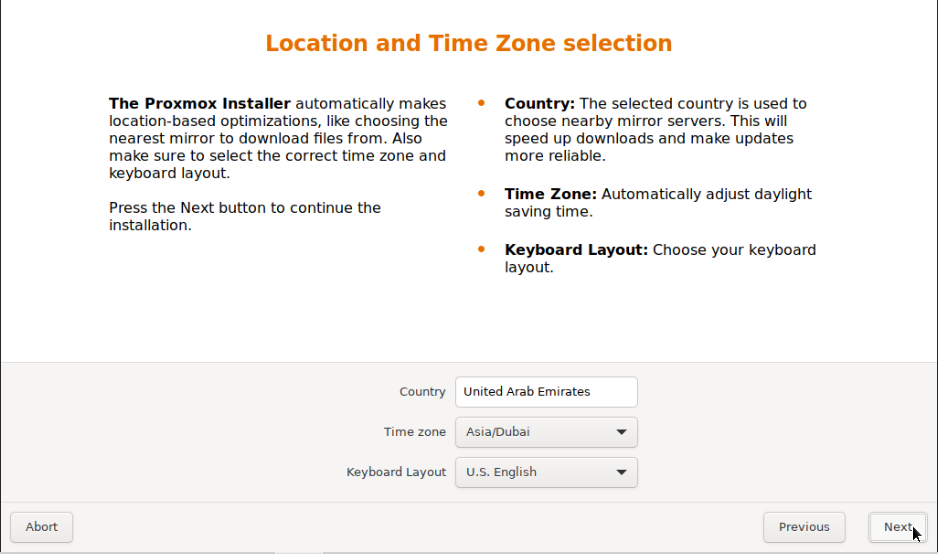
Select your country.
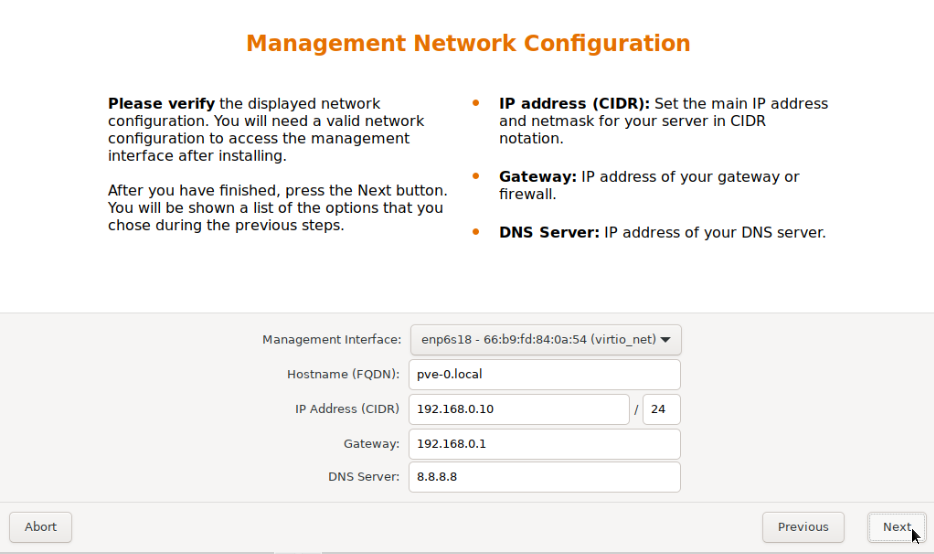
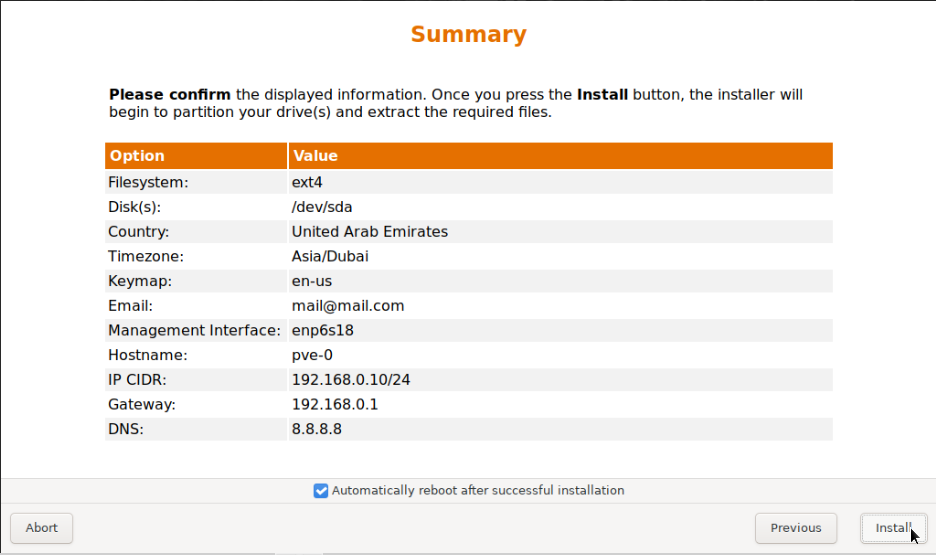
Type pve-0.local, a static IP address (suggestion x.x.x.10), valid gateway IP address and 8.8.8.8 for DNS server IP address.
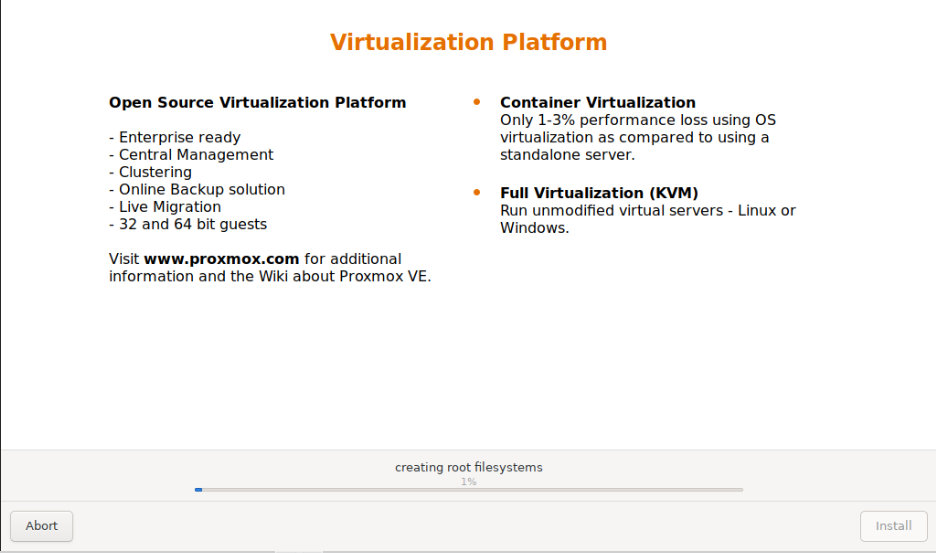
Installation process starts.
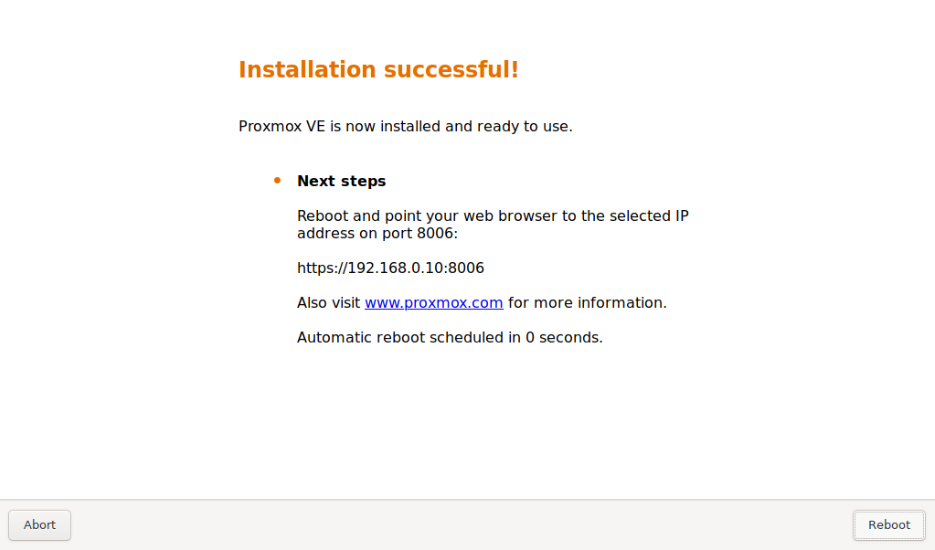
If everything went well you get the following screen and the VM will reboot automatically.
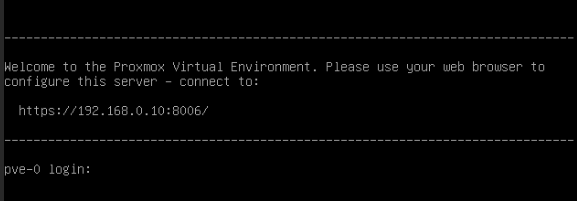
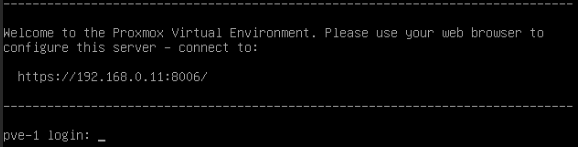
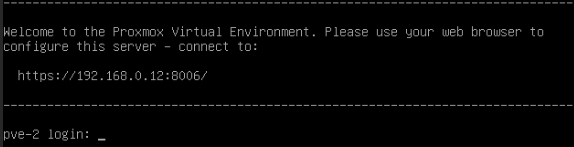
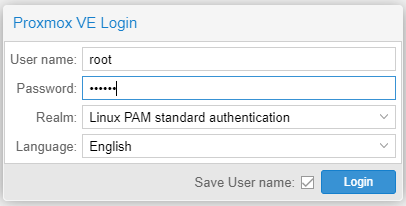
Following the reboot you should see the following login screen.
Now we have to repeat the same installation process for the other two VMs as follows:
101 (pve-1): type pve-1.local, a static IP address (suggestion x.x.x.11), valid gateway IP address and 8.8.8.8 for DNS server IP address.
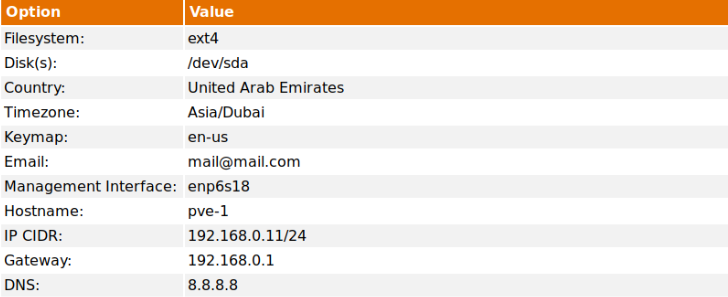
102 (pve-2): type pve-2.local, a static IP address (suggestion x.x.x.12), valid gateway IP address and 8.8.8.8 for DNS server IP address.

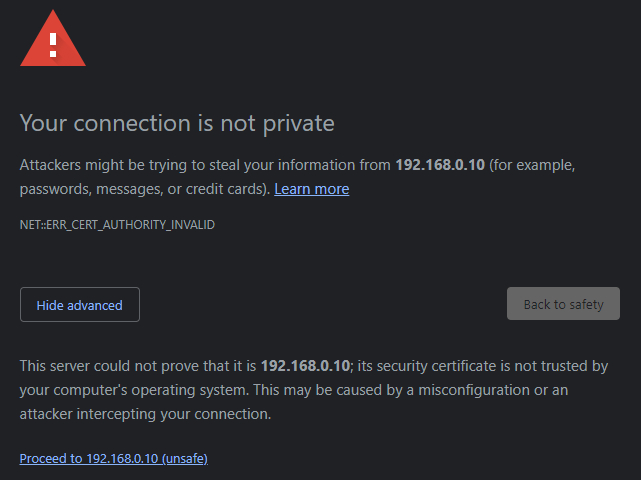
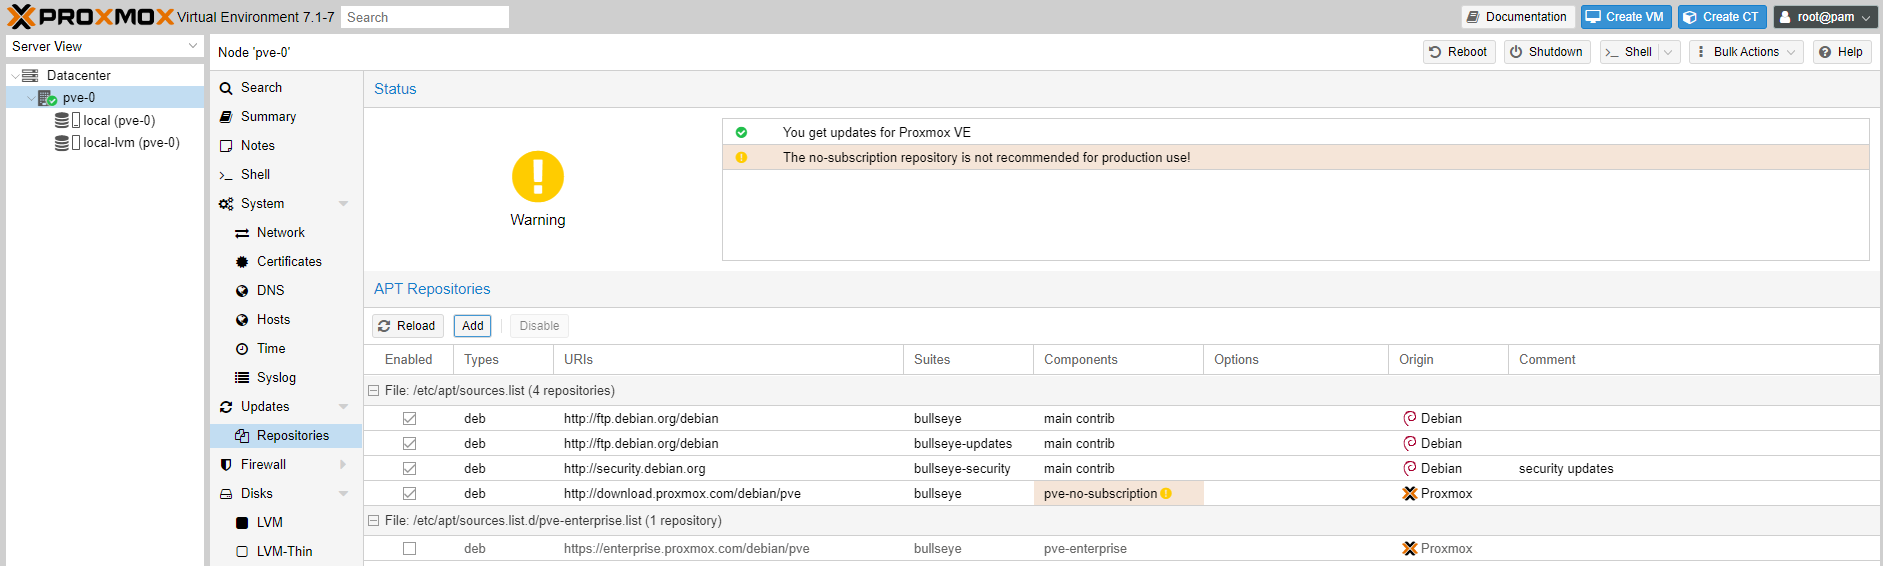
After all three VMs have been created we need to configure them by accessing their WAC as follows:
> https://192.168.0.10:8006 <
> https://192.168.0.11:8006 <
> https://192.168.0.12:8006 <
We will provide quick installation instructions below. For detailed instructions please visit our earlier article.


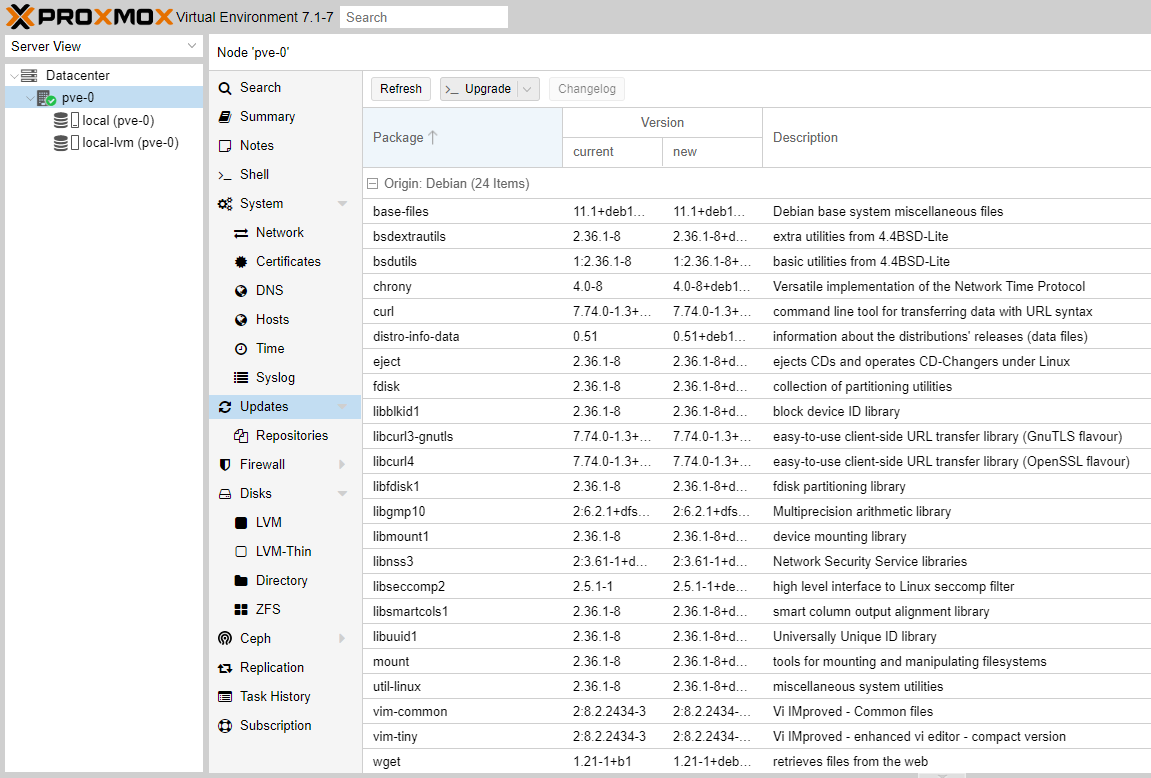
Click >_ Upgrade
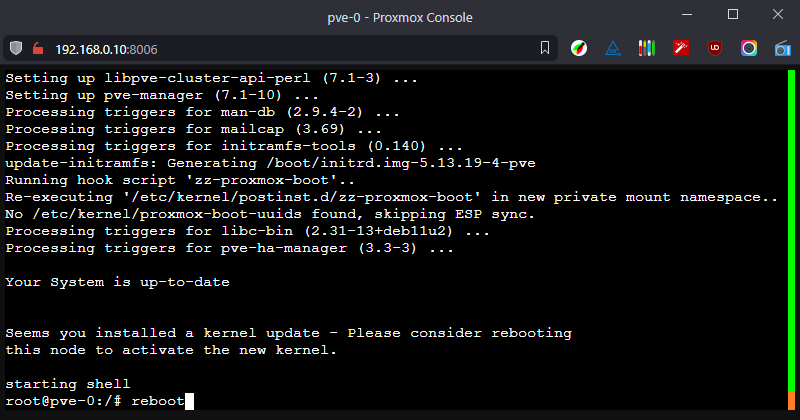
Reboot by typing reboot.
At this point we have completed configuration of the first Proxmox node (pve-0). We need to repeat the above steps for the other two Proxmox nodes (pve-1 and pve-2). All three nodes (pve-0, pve-1, pve-2) will be used to create a Cluster in part 2 and in subsequent parts we will discuss HA.
Please consider subscribing to my blog, as you will only ever get quality content; no time wasting, advertising, spamming or other unproductive activities/practices.
Please also consider visiting and subscribing to our YouTube channel; we have recently started posting videos.
We are committed to improving and enhancing over time.