HowTo setup a 3-node Proxmox VE 7.1 cluster and configure it for High Availability on a single machine - Part 3 - for learning & testing purposes only
Host a 3-node Proxmox VE 7.1 cluster on a single PC and configure for High Availability (HA) - Cluster configuration & operation

Passionate about science and technology and a strong believer the next big thing/think is yet to be discovered.
In our earlier Part 2 article we covered how to create a 3-node Proxmox cluster (based on three VMs running on the same physical machine).
This article is all about configuring the cluster and understanding cluster usefulness. For a detailed understanding read the official Proxmox VE Clustering Guide.
Guest = a CT or VM allocated virtualised hardware resources to run
CT = Container (LXC)
VM = Virtual Machine (KVM)
FS = FileSystem
HA = High Availability
PVE = Proxmox VE
WAC = Web Admin Console (the web browser GUI to administer any PVE node or cluster)
Clustering works using a mechanism known as the Quorum, which the PVE cluster uses to maintain a consistent cluster state on all cluster nodes.
For production environments the cluster nodes should use dedicated network interfaces, using their own segregated LAN to achieve network latencies < 2ms. For our learning purposes we will run all network traffic over the same network interface (we use a single interface for all network traffic - VMs, CTs, storage, cluster, DNS, network, HA, etc).
A PVE cluster is a group of physical servers (nodes), which can be managed from a single WAC. It does not provide any other functionality, unless you take further configuration/installation steps.
Basically a cluster is only useful to allow you to manage PVE nodes (any node inside the cluster) using one WAC, instead of having to use multiple WACs for the different nodes (one web-browser tab v multiple web-browser tabs), if you have used the default PVE installation method.
A PVE cluster can be configured in one of four ways (every one is a superset of the previous):
- Centralised node management, plus Guest migrations between Nodes, plus backups, which is the default state following cluster creation
- Guest replication and failover, when using ZFS (no EXT4, XFS, BTRFS)
- HA, using ZFS
- HA, using CEPH
Steps 2, 3 and 4 require additional cluster configuration/installation which we will cover in future articles.
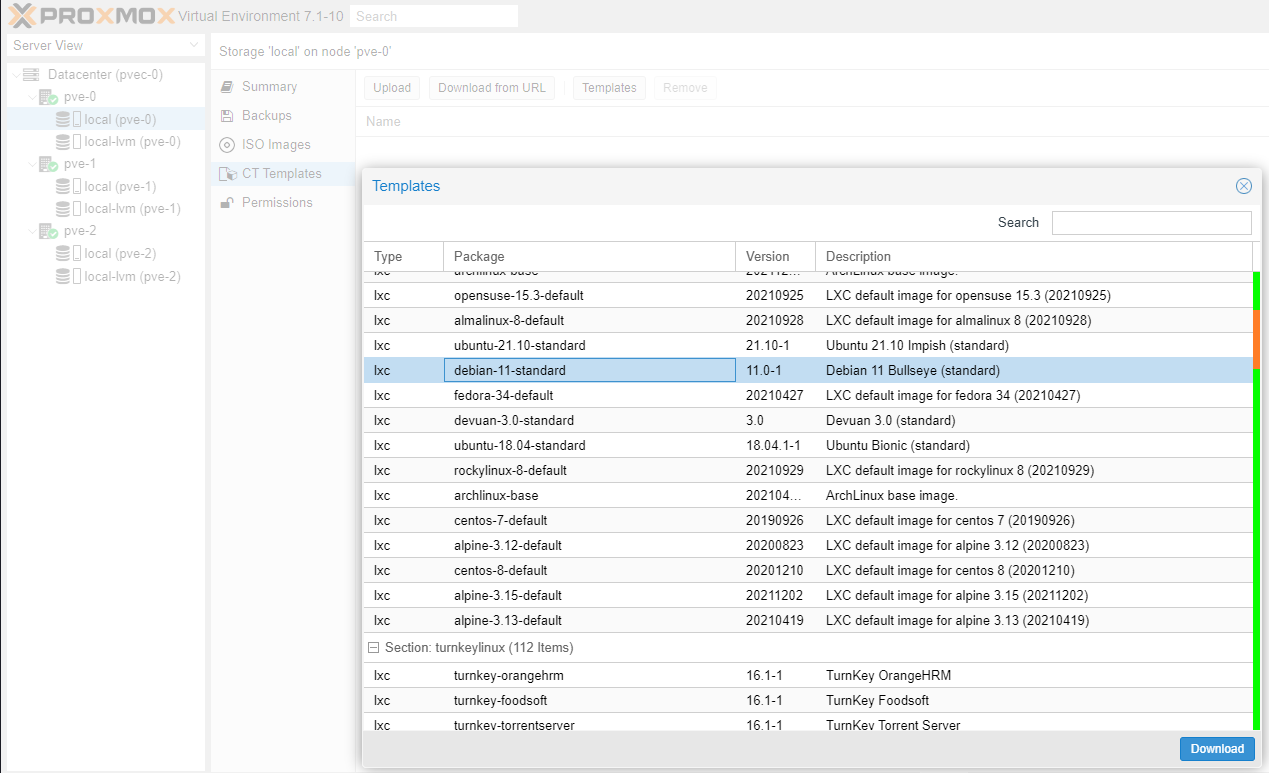
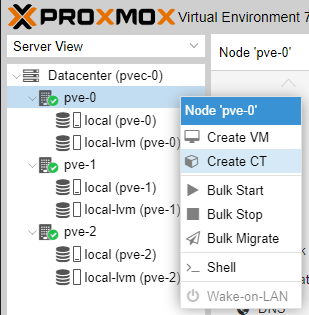
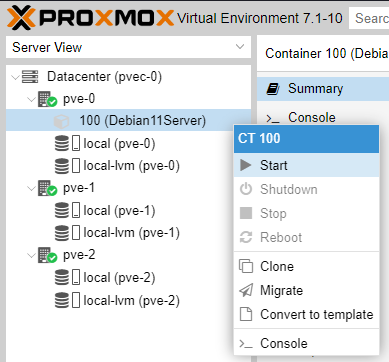
Let's create a CT on pve-0.
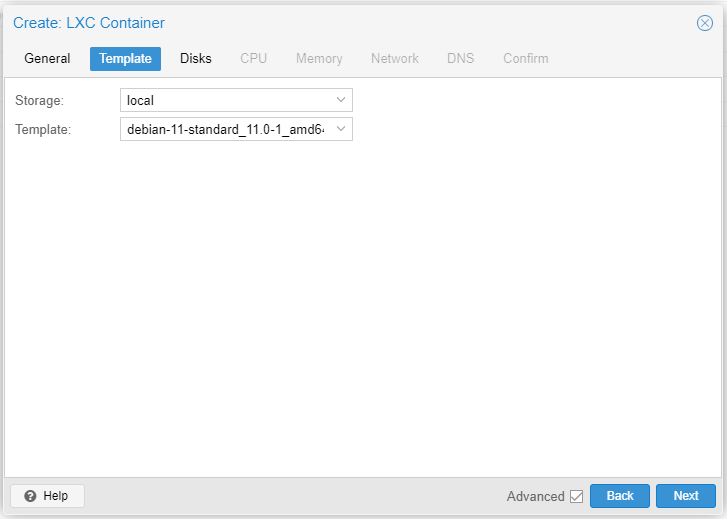
First download a template.
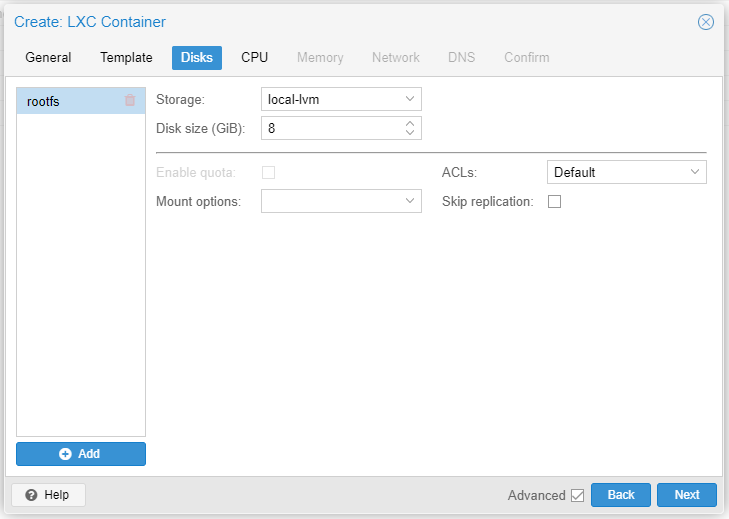
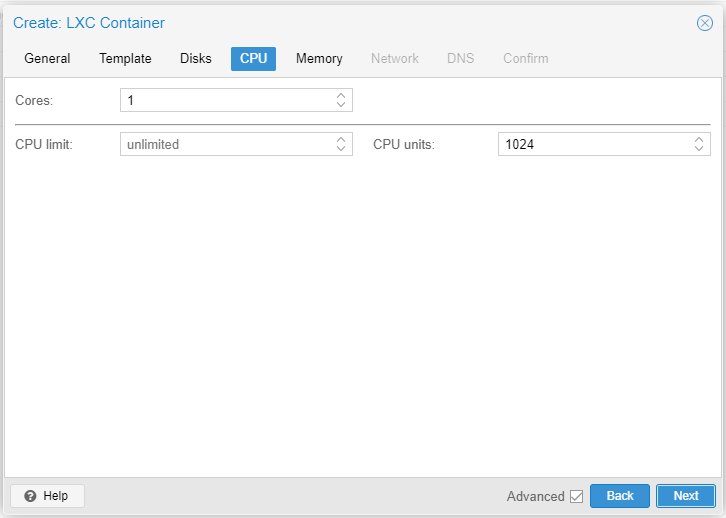
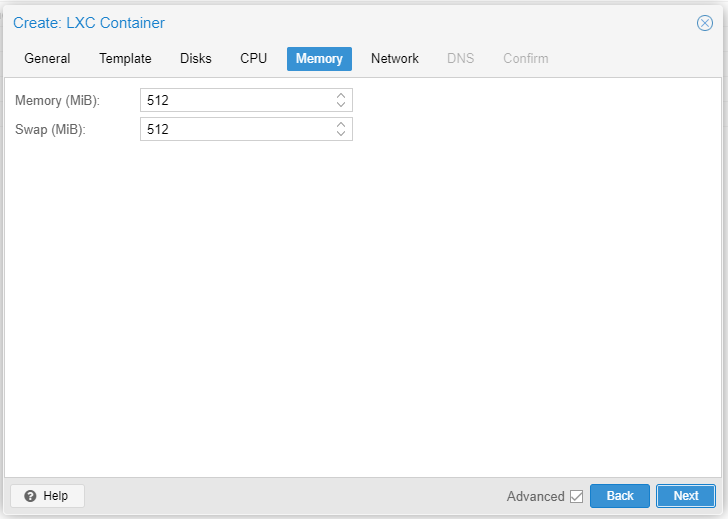
Create the CT.
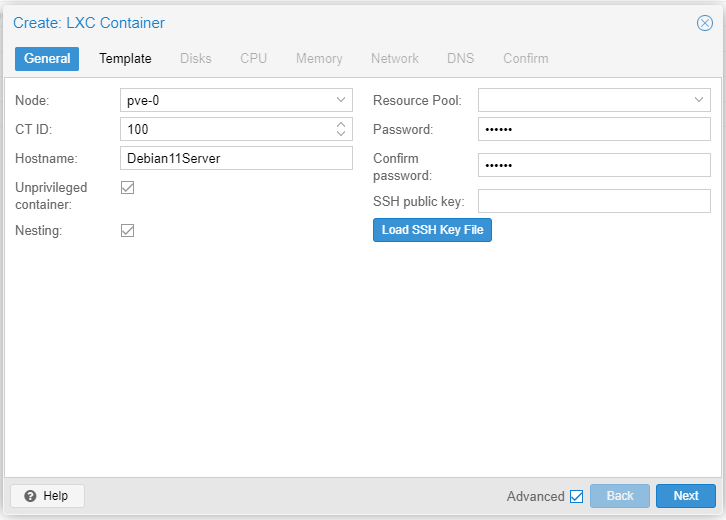
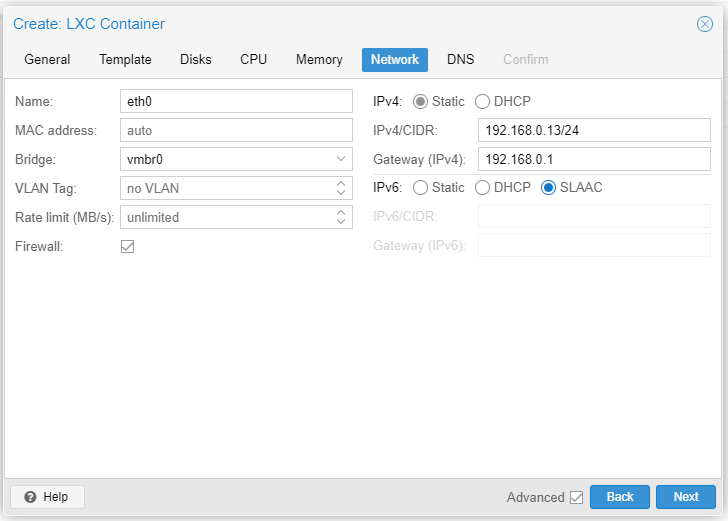
Provide a static IP address to the CT (Debian 11).
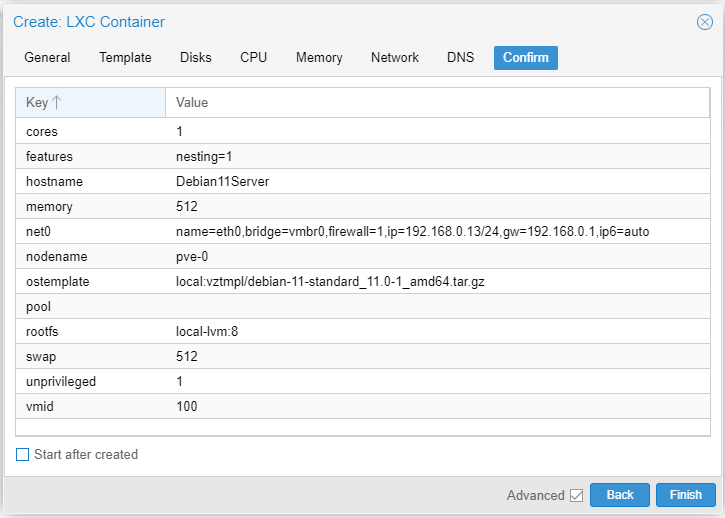
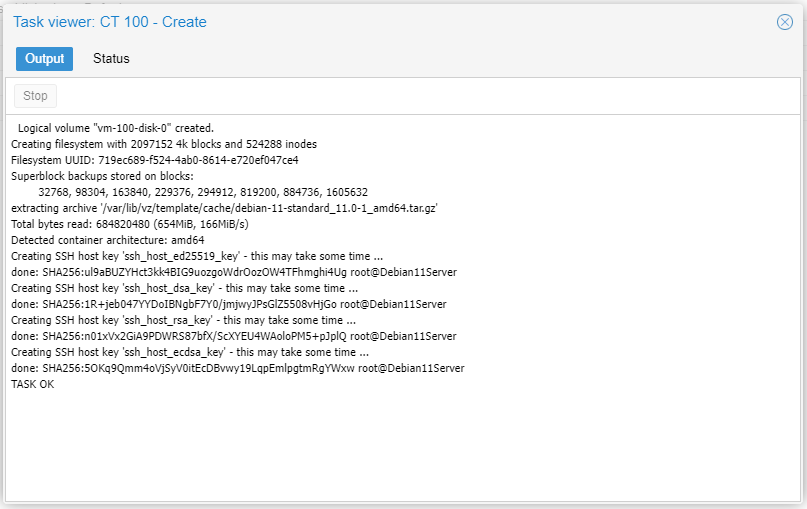
Make certain no errors creating the CT.
Start the CT.
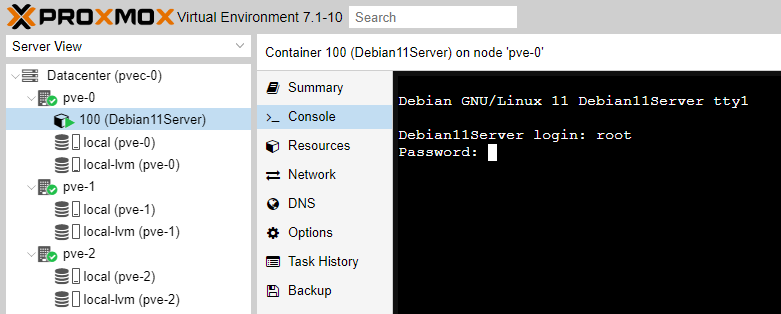
Go to >_ Console and login as user root with the password you specified on the first step of the CT creation.
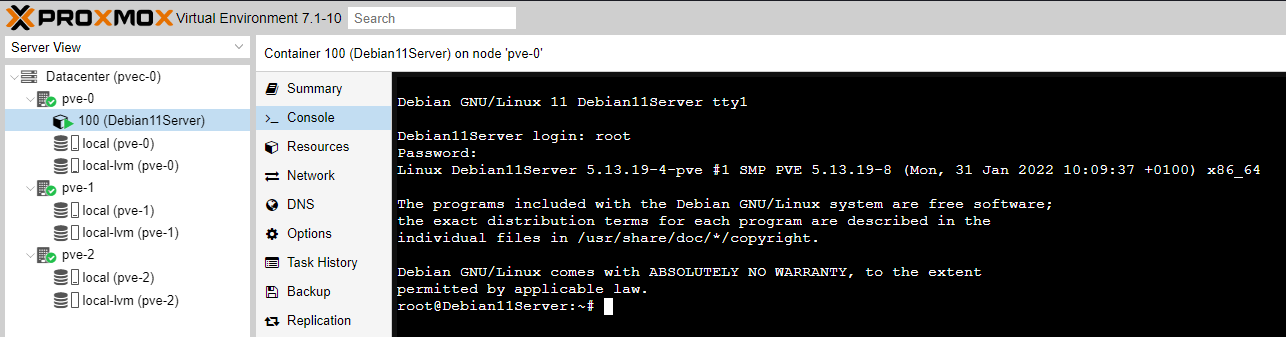
If successfully logged in, you get the following message.
At this stage our newly created CT exists inside node pve-0. Let's say we want to replicate this node every so often to nodes pve-1 and pve-2 to provide us with an ability to, at the worst case scenario, only lose some work while having the ability to manually bring another instance up if the active instance goes down.
Migration
Because of the way we have installed PVE (we used EXT4, the default, as the FS) it is not possible to use replication and automated failover for our guest (the Debian 11 CT volume created above). The only method we can use is migration of the CT to another node, which will necessitate CT downtime, although very fast.
Migrations are also useful when we want to replace an old node with a new more powerful node (e.g. increase CPU and RAM). Note, ideally nodes should be identical in specification (especially CPU and chipset model).
With all that said let's attempt to migrate the CT from pve-0 to pve-1.
The Guest can be a running instance or shutdown (switched-off). Right click on the Guest and select Migrate.
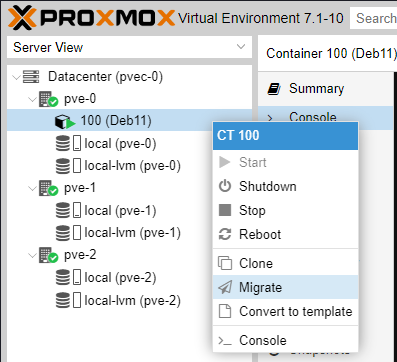
Select the node you want to migrate the Guest to.
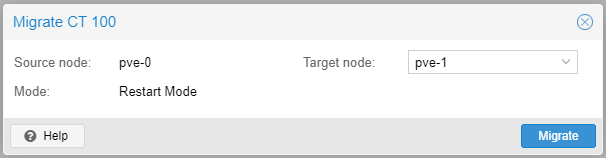
PVE will automatically shutdown the Guest, if it is a running instance, migrate the guest and start it again.
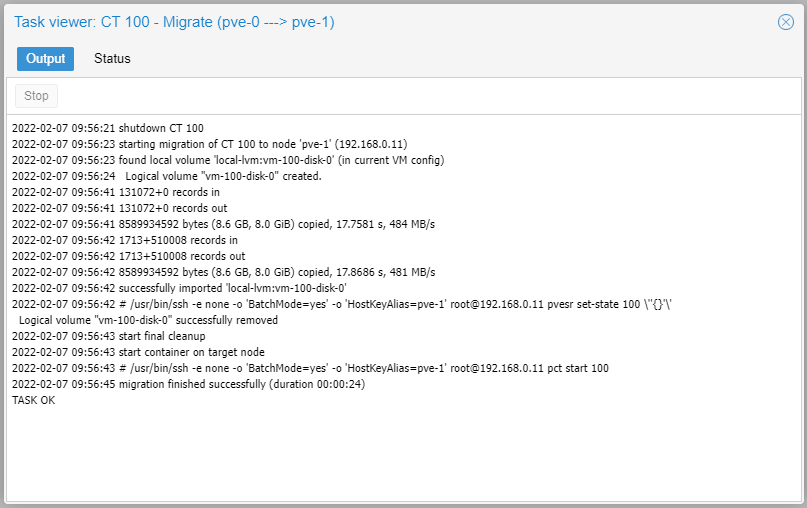
Voilà, you Guest is now running on another node. Simple as that!
Backup
Let's learn how to backup. Backing up is a process performed on the same Node as the running Guest instance. Back up of a running Guest instance is not done while the Guest is live; it is suspended while the backup process takes place and automatically run again once the backup process is complete.
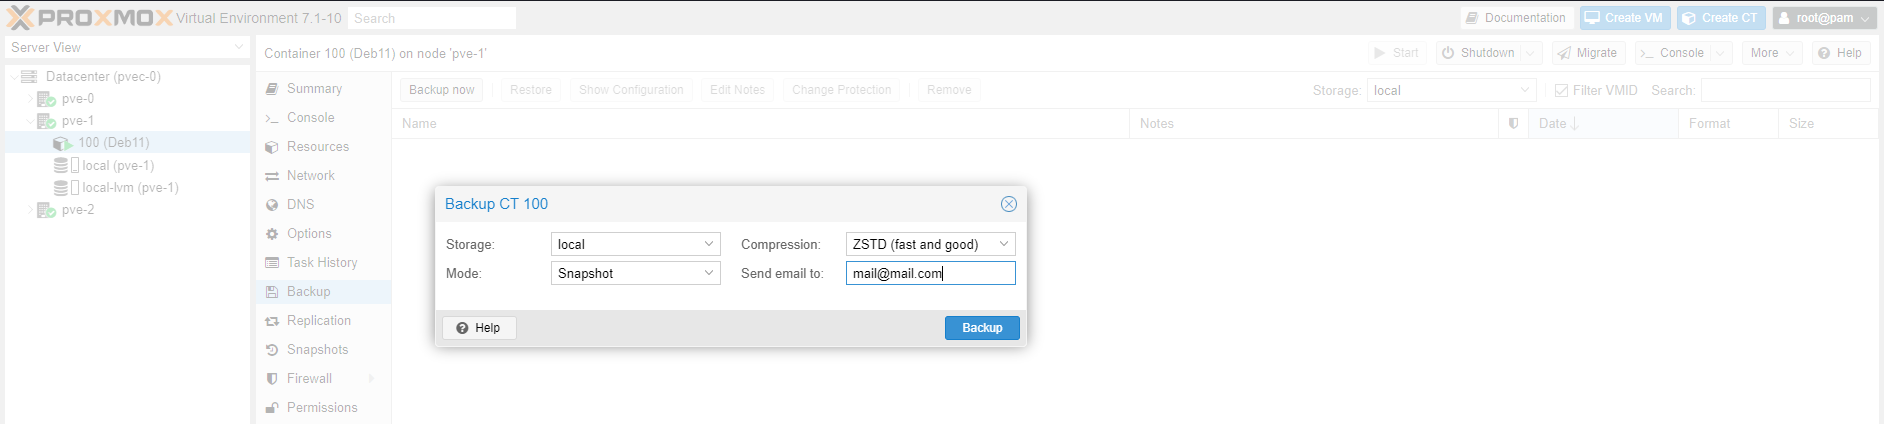
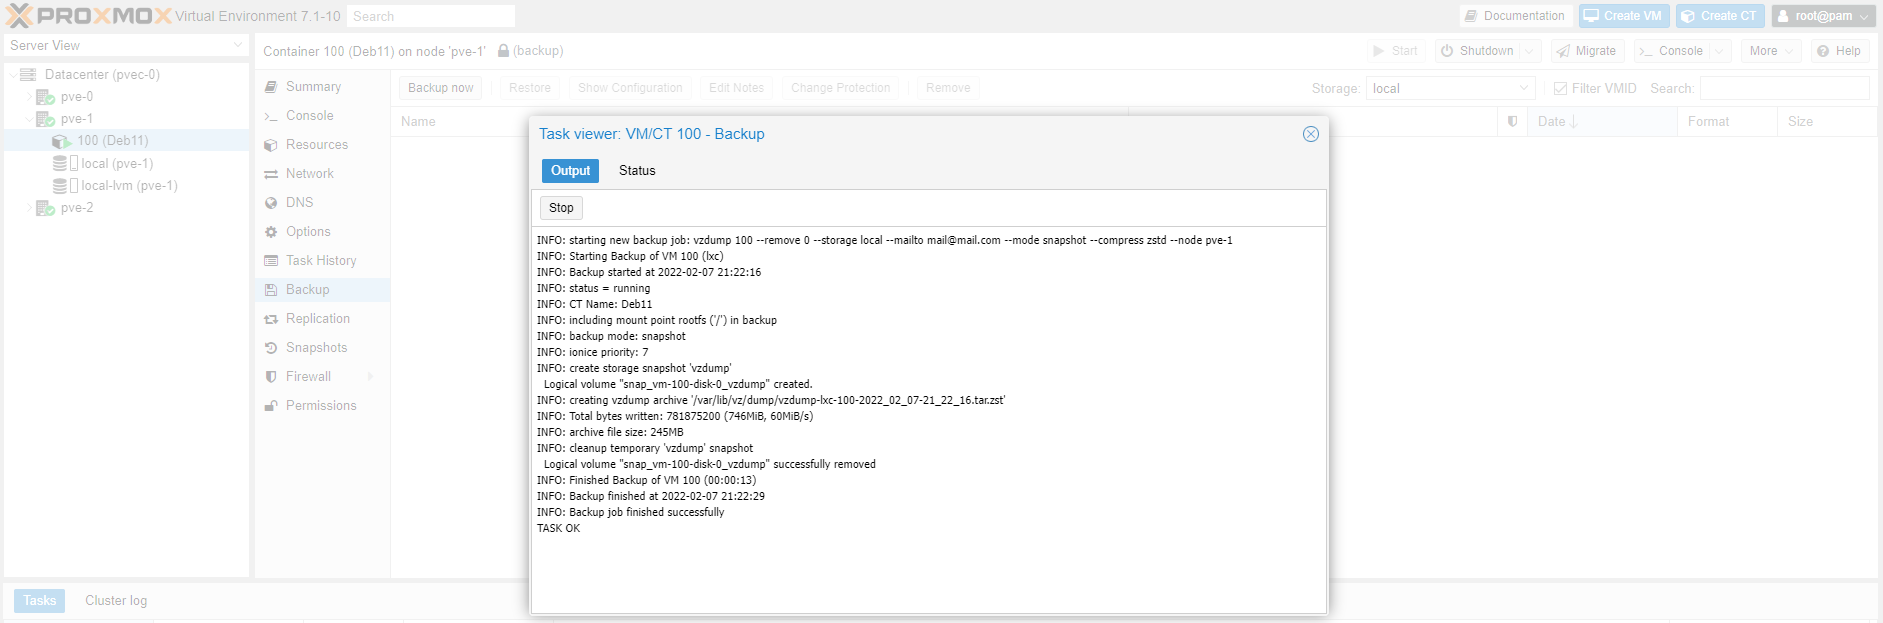
Let's backup our running Guest CT 100 (Deb11). Click the Backup now button while the appropriate CT has been selected - in our case 100 (Deb11). Make the same selections as the screenshot below and click Backup.
If backup completed successfully you will see the TASK OK prompt. Close the window and ...
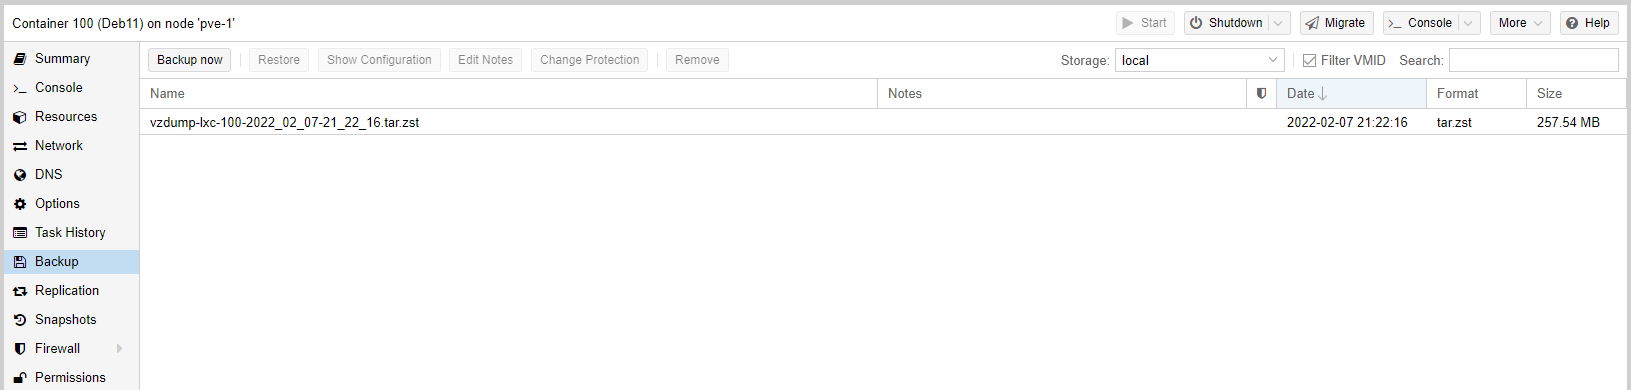
you will see your backup file created.
At this point you can click on Change Protection button to make the backup read only.

Click again to make it read/write, so you can remove it if you wish.

A bit of trivia. If you migrate CT 100 (Deb11) to pve-0 from pve-1, will the backup(s) you have taken for this guest also be transferred over? The answer is no, only the guest will be migrated not its backups, as you can see from the following screenshot.

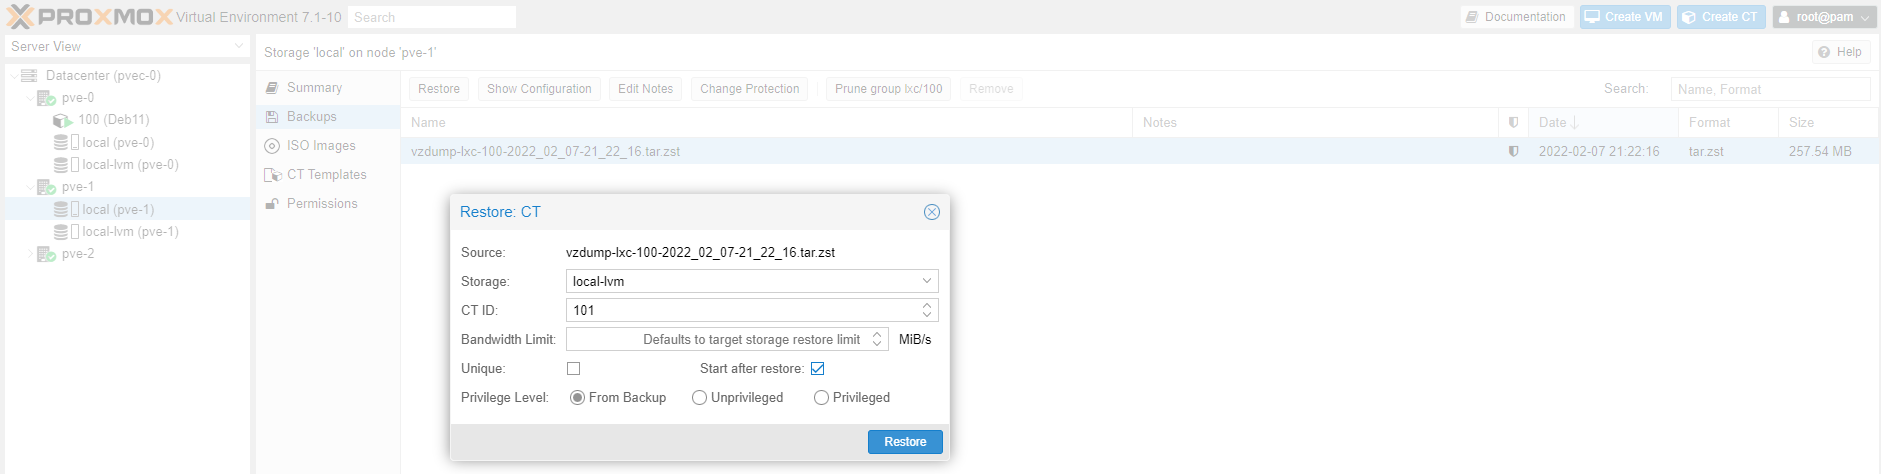
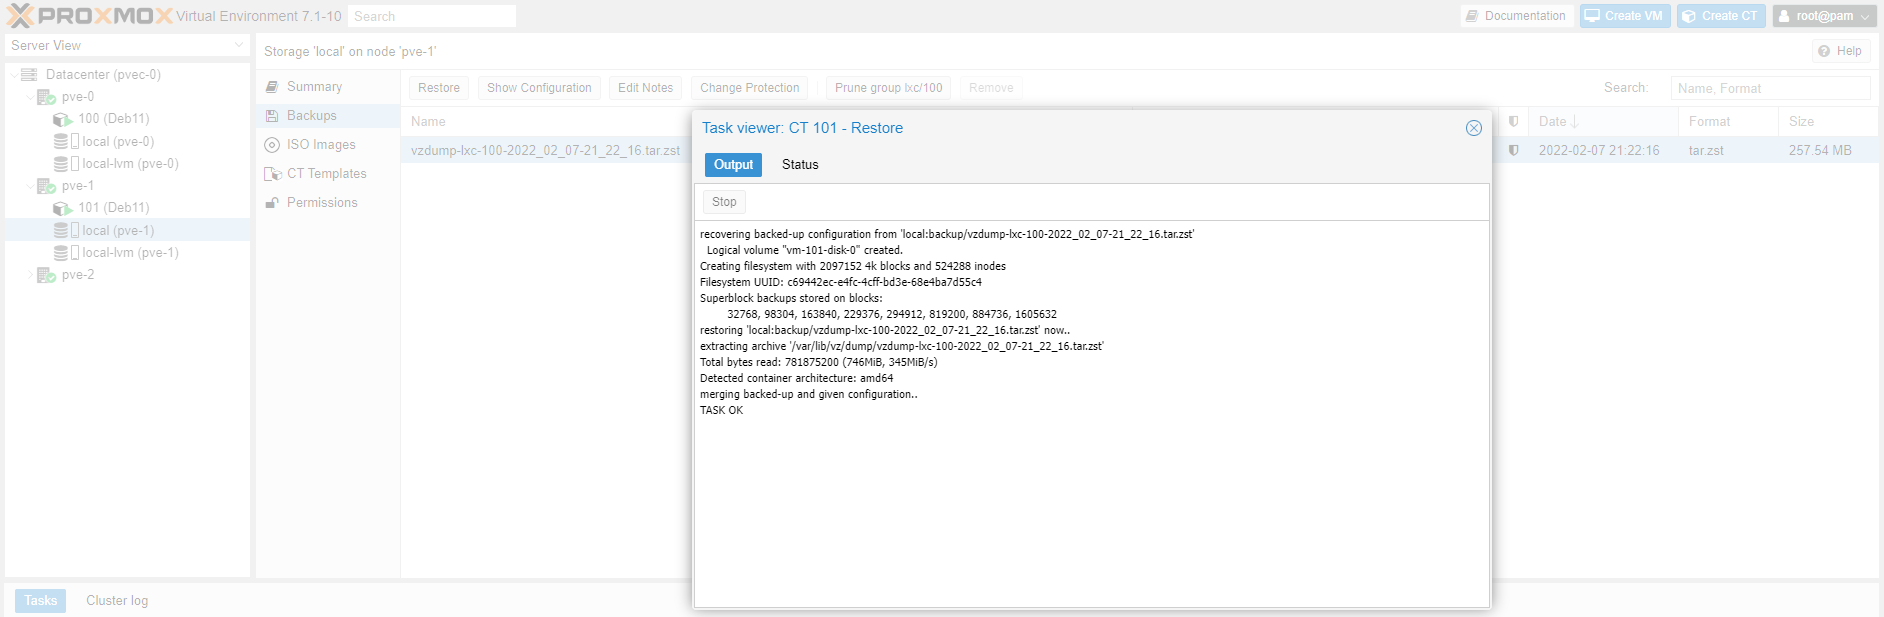
Backup restore can only take place in the same node the backup was taken in the first place. See screenshot below. The CT ID is automatically assigned.
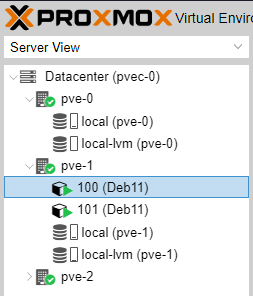
As you can see below we now have two CTs with the same name but different Guest-ID running on two different nodes. Try to see what happens if you attempt to migrate CT 100 from pve-0 to pve-1.
You can now see why Guest-ID must be unique within a cluster.
In Part 4 we will explore Guest replication.
Please consider subscribing to my blog, as you will only ever get quality content; no time wasting, advertising, spamming or other unproductive activities/practices.
Please also consider visiting and subscribing to our YouTube channel; we have recently started posting videos.
We are committed to improving and enhancing over time.