HowTo setup a 3-node Proxmox VE 7.1 cluster and configure it for High Availability on a single machine - Part 4 - for learning & testing purposes only
Host a 3-node Proxmox VE 7.1 cluster on a single PC and configure for High Availability (HA) - Guest VM/CT replication

Passionate about science and technology and a strong believer the next big thing/think is yet to be discovered.
In our earlier Part 3 article we covered how to configure a 3-node PVE cluster to perform migrations from one node to another, as well as backups.
Guest = a CT or VM allocated virtualised hardware resources to run
CT = Container (LXC)
VM = Virtual Machine (KVM)
FS = FileSystem
HA = High Availability
PVE = Proxmox VE
WAC = Web Admin Console (the web browser GUI to administer PVE nodes & clusters)
This article is all about configuring the cluster for automated replication. For a detailed understanding read the official PVE Clustering Guide.
Replication
To setup replication we need to use local storage filesystems which support replication. The storage types and their functionality is covered in this official PVE Storage Guide. However there is no mention of replication, especially when using a single storage disk for all PVE functions (OS, PVE, Guests).
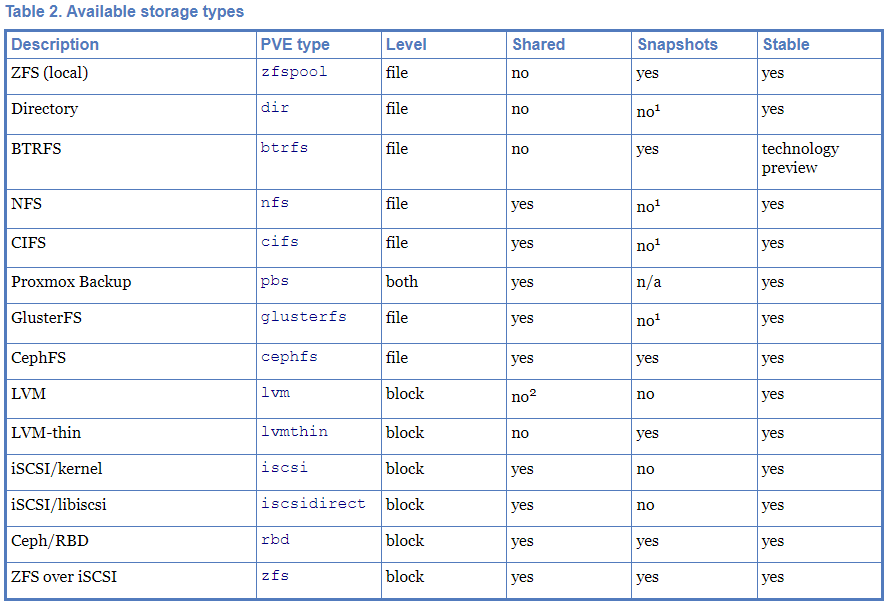
Replication is only supported when using a ZFS file storage system (BTRFS is not supported for replication). CEPH is an advanced topic and we will cover it on its own when we talk about Hyper-Converged setups. To dive deeper into LVM and ZFS, study the official PVE LVM/ZFS guide.
A side note on BTRFS. It creates a single volume for everything (unlike EXT4 and ZFS):
- Backups
- VM Disks
- CT Volumes
- ISO Images
- CT Templates

If you have followed the clustering guides so far, at this point we need to stop (stop DO NOT shutdown) the three VMs created on node pve-253, then remove them.
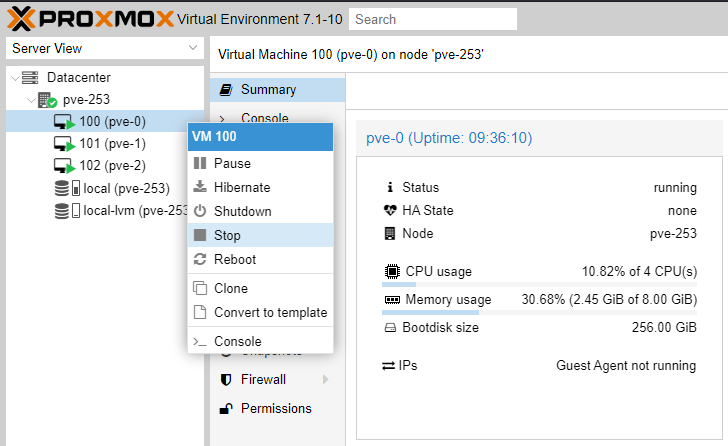
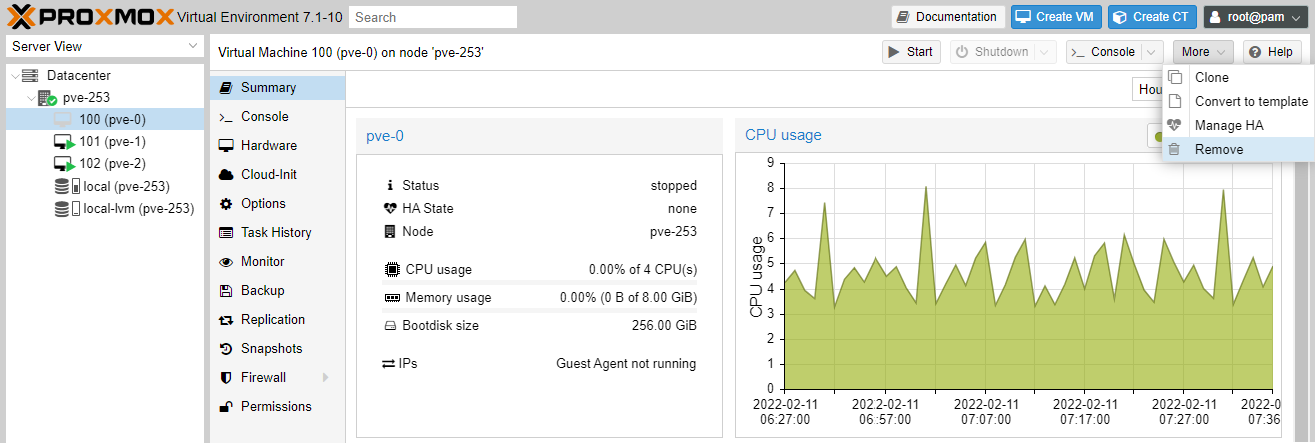
We will recreate the three VMs below.
In our bare-metal PVE system pve-253, let's create the VM, which will eventually be our first cluster node named pve-0, by following our Part 1 guide.
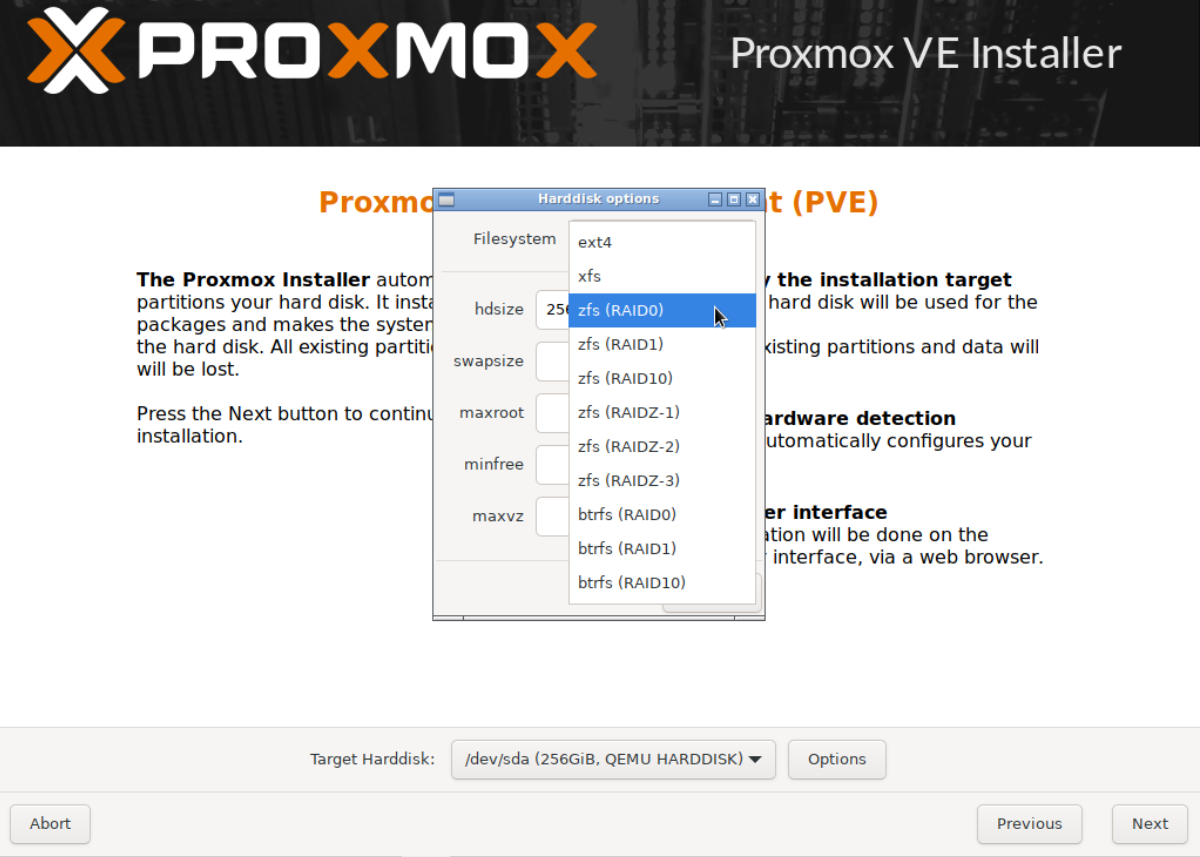
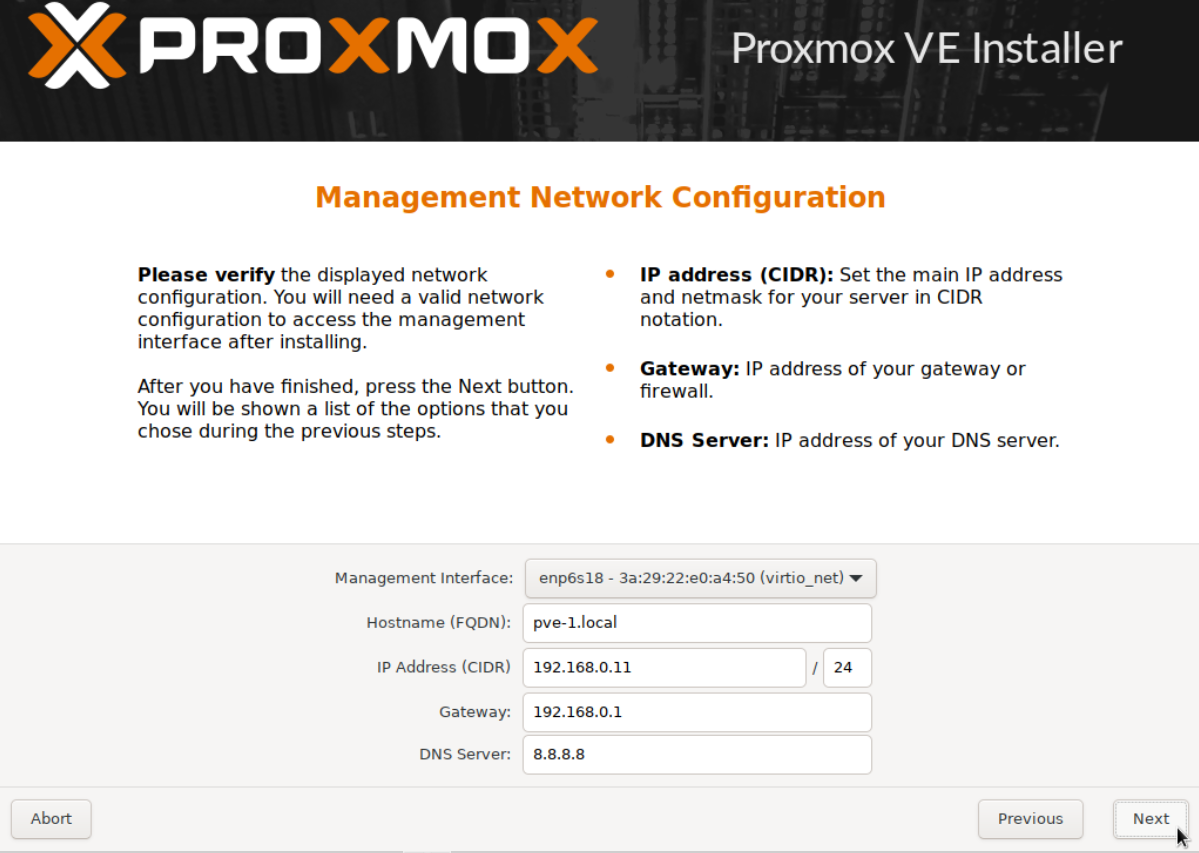
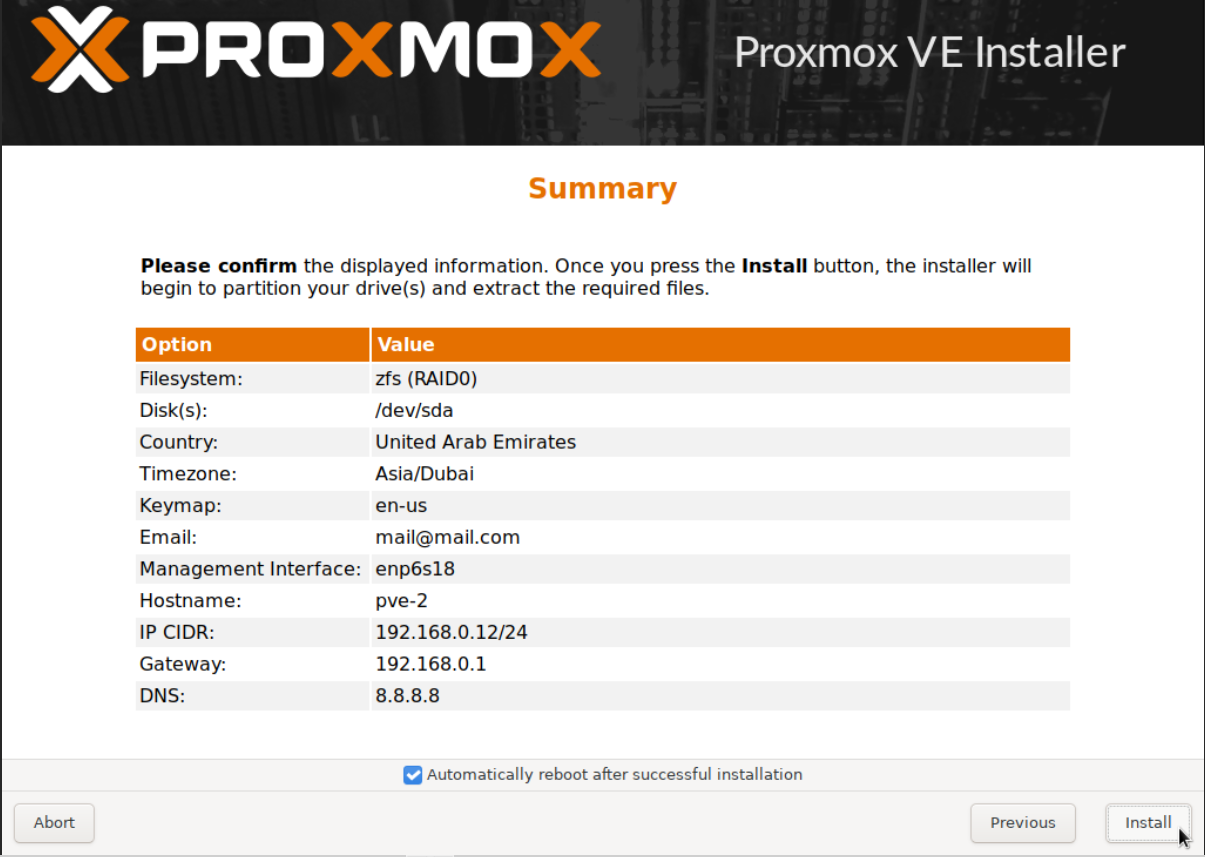
Next let's install PVE 7.1 on this newly created VM, which will be our first cluster node pve-0. The steps are exactly the same as in our earlier Part 1 guide, the only difference being the FS selection. In our earlier setup we selected the default FS, which is ext4. In this setup we will select zfs. Follow along, quick instructions below.

Click Options (Target Harddisk).

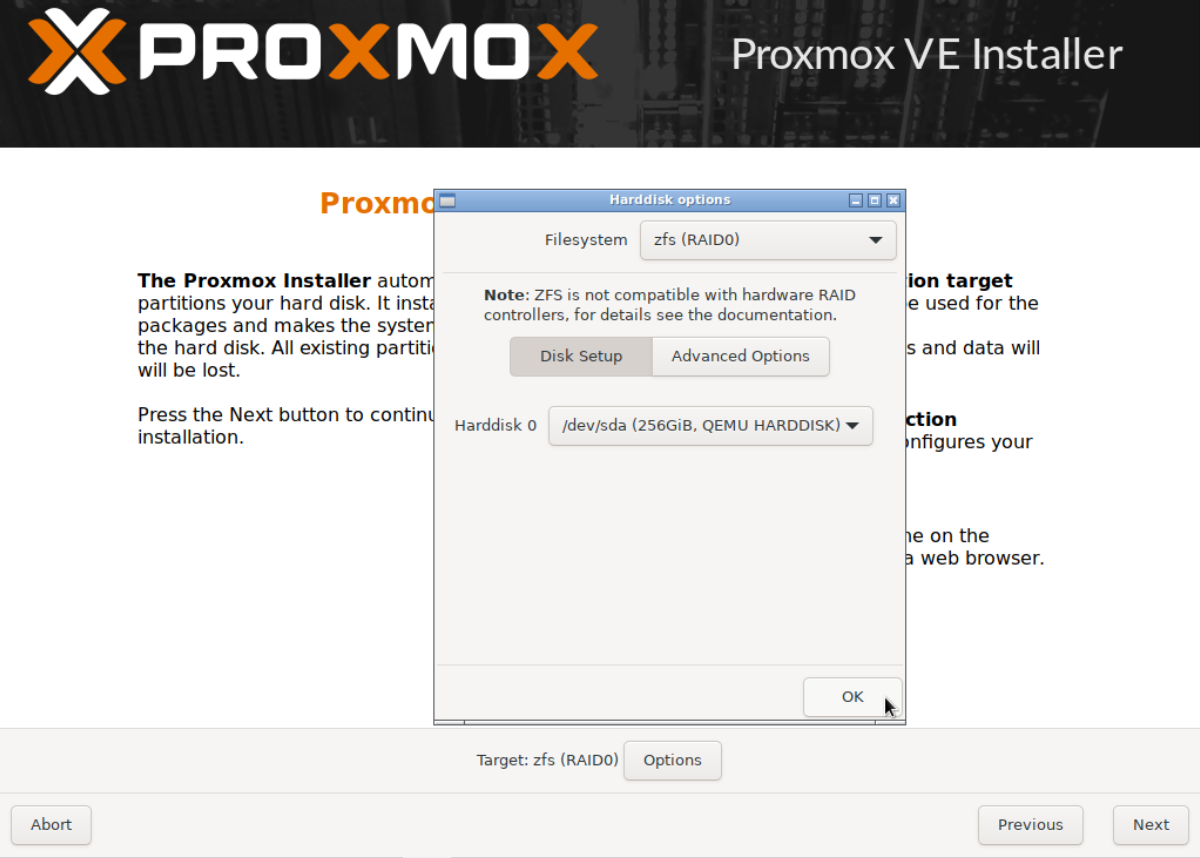
Expand Filesystem, select zfs (RAID0) and click OK.

Select country.


Wait until the system reboots, then repeat the same setup for pve-1 and pve-2.


Access the WAC of each node separately as per our Part 1 guide and update the repositories.
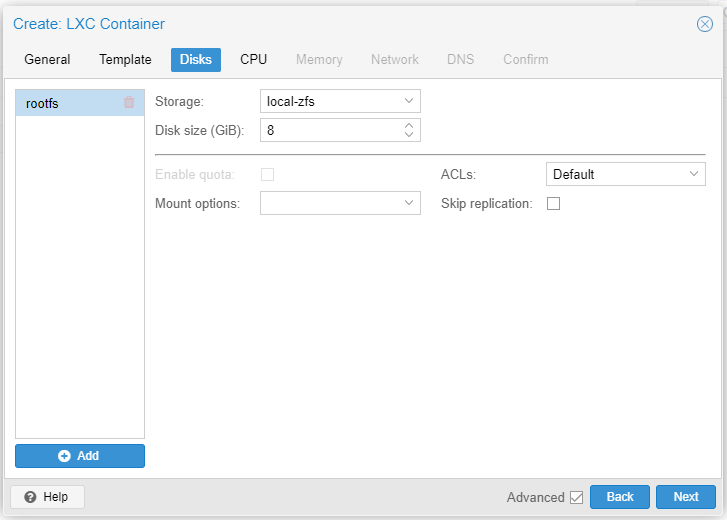
You might have noticed our local-lvm is now named local-zfs, which will allow us to setup replication.

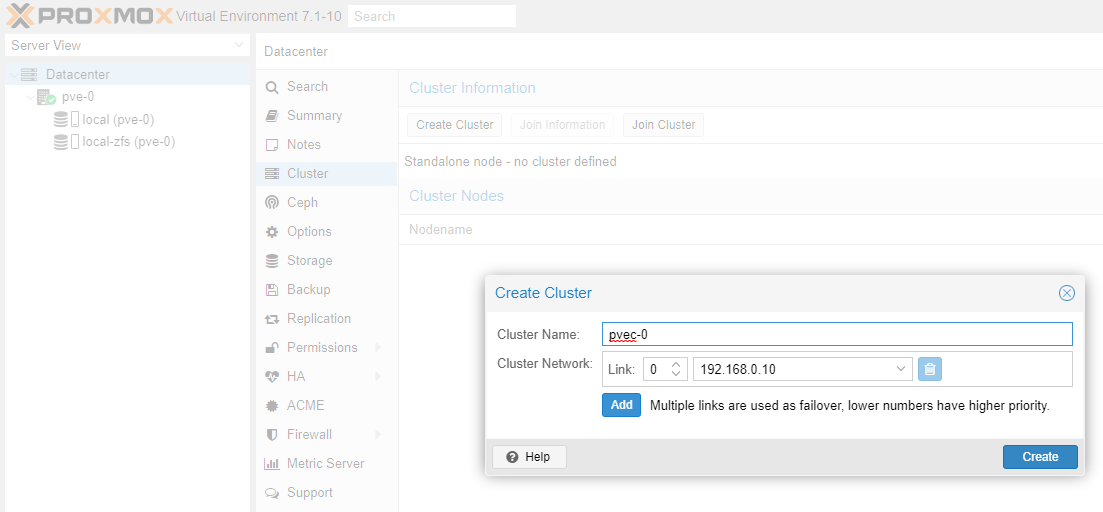
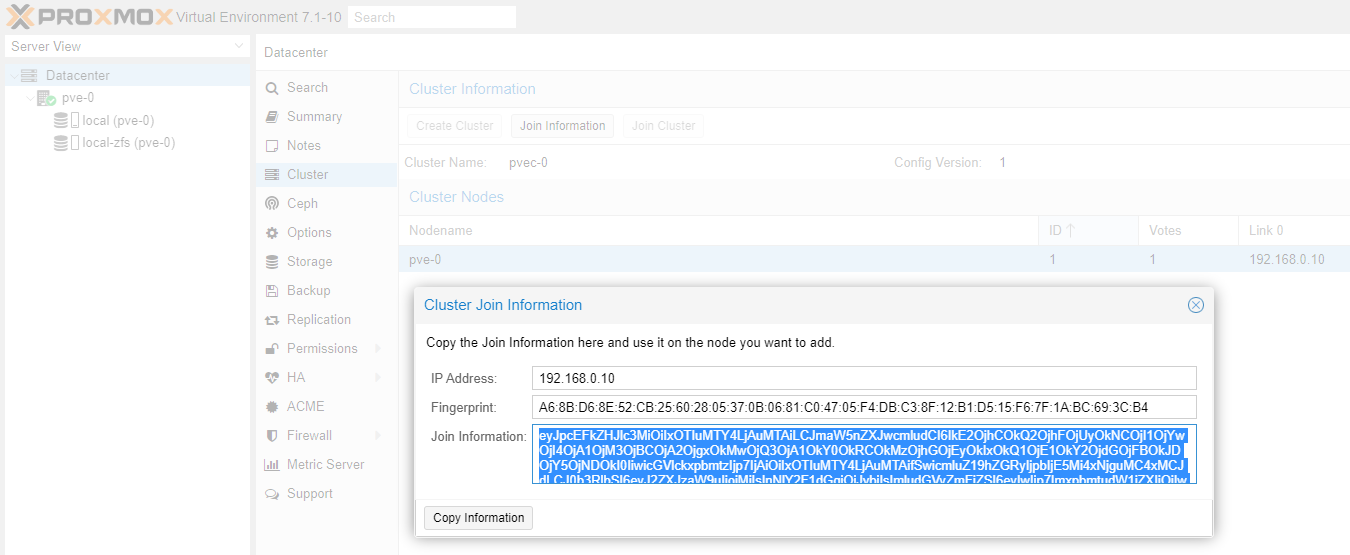
Once pve-0, pve-1 and pve-2 has been updated we are ready to create the cluster. Follow the detailed instructions in our Part 2 guide or the quick instructions below.
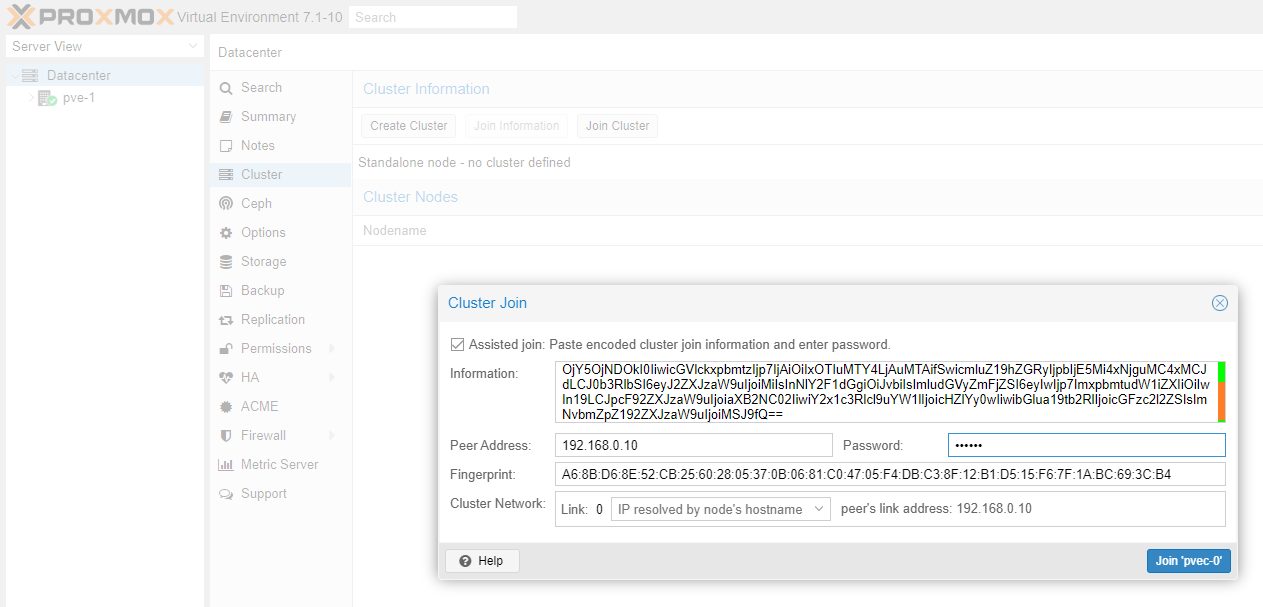
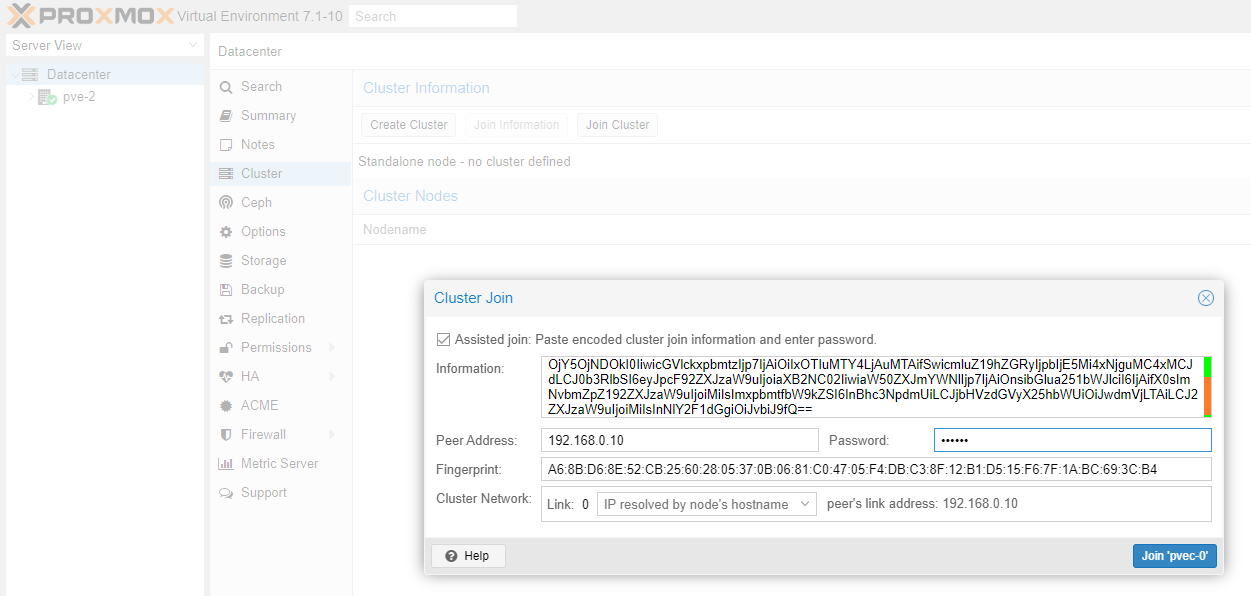
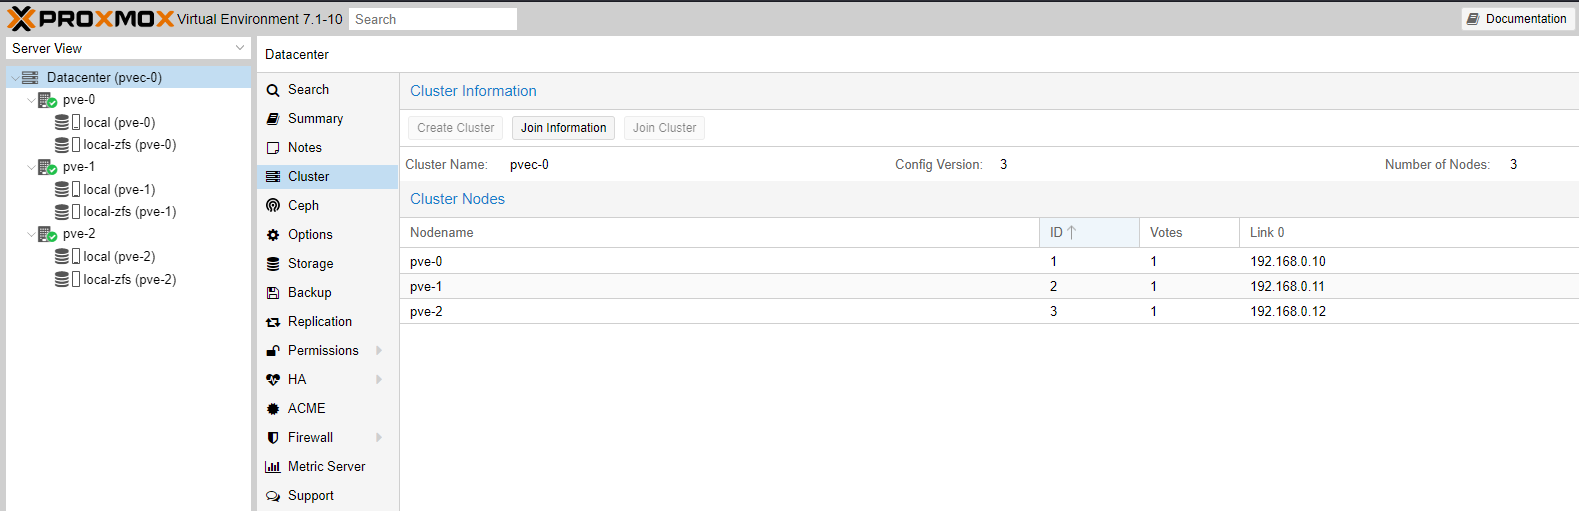
Once you receive connection error on nodes pve-1 and pve-2 you can close their WAC. Go to the WAC of node pve-0 and you should now see all three cluster nodes (pve-0, pve-1 and pve-2) which you can manage from a single WAC.
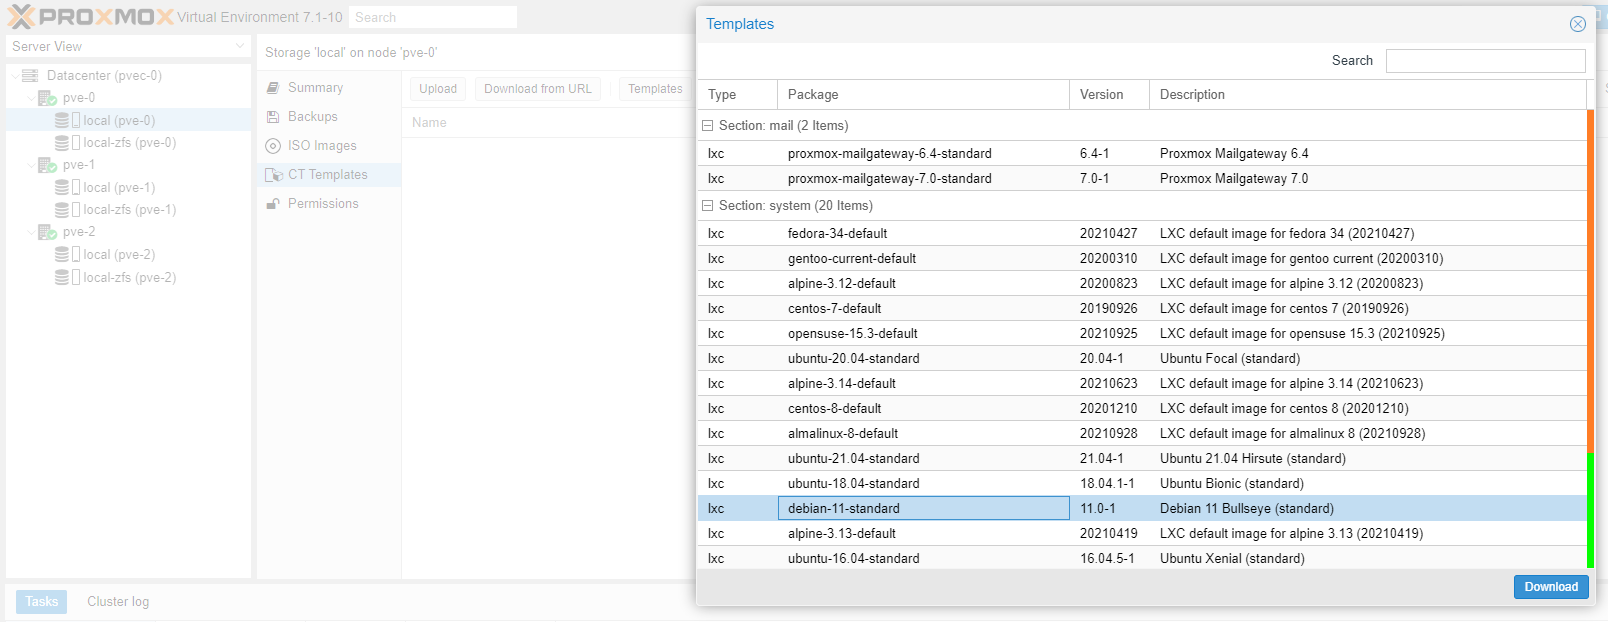
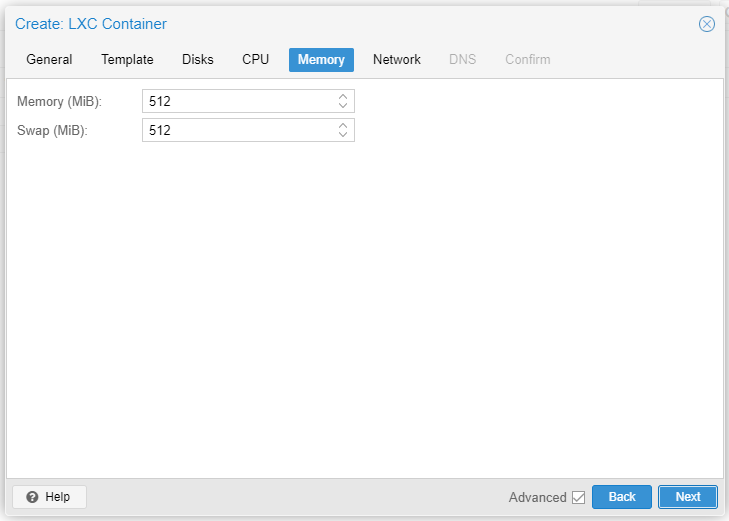
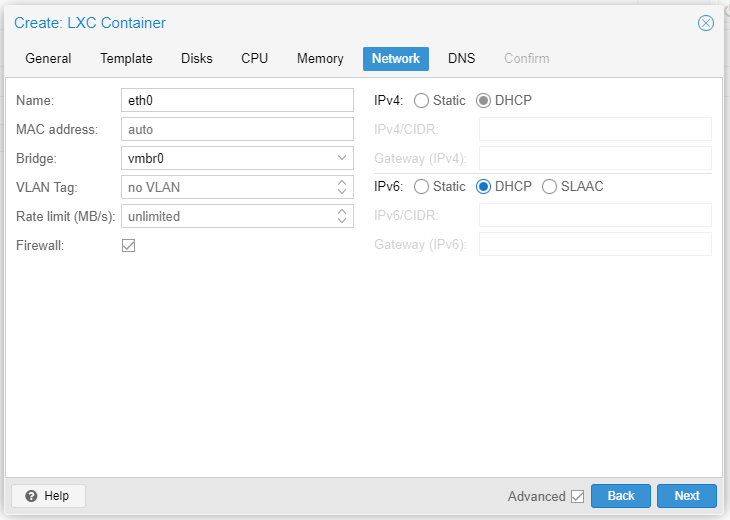
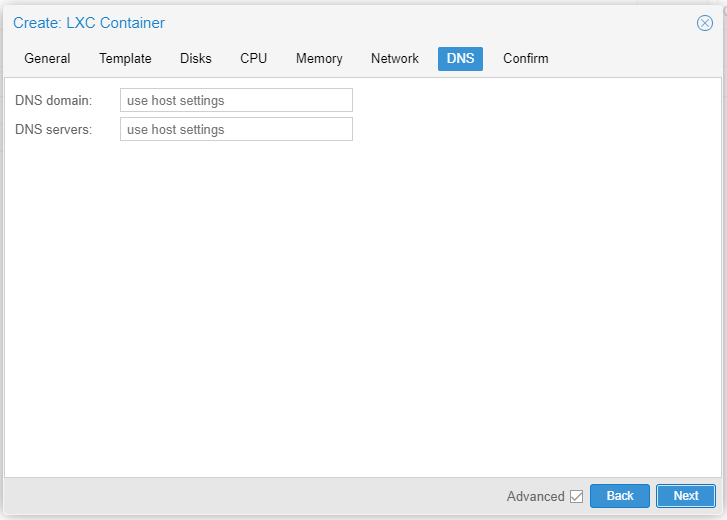
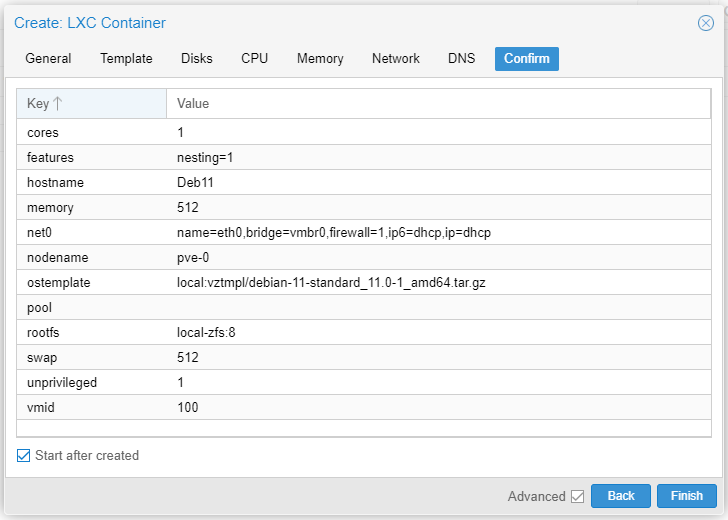
Let's create a CT based on Debian 11 on node pve-0. Read our earlier Part 3 guide. Quick instructions below.
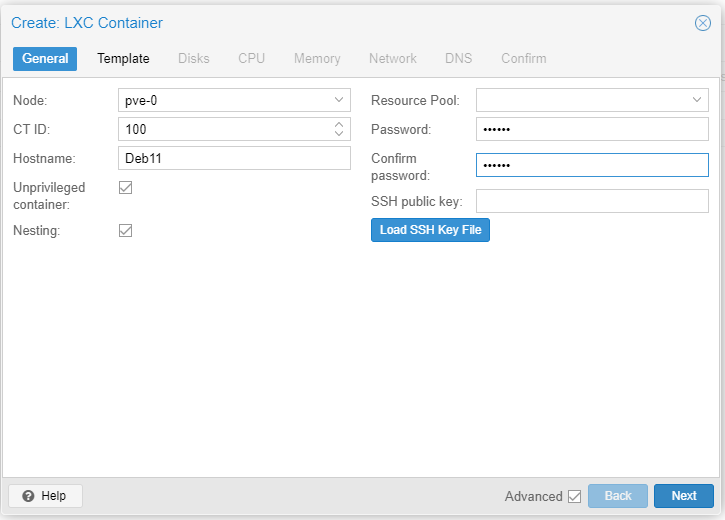
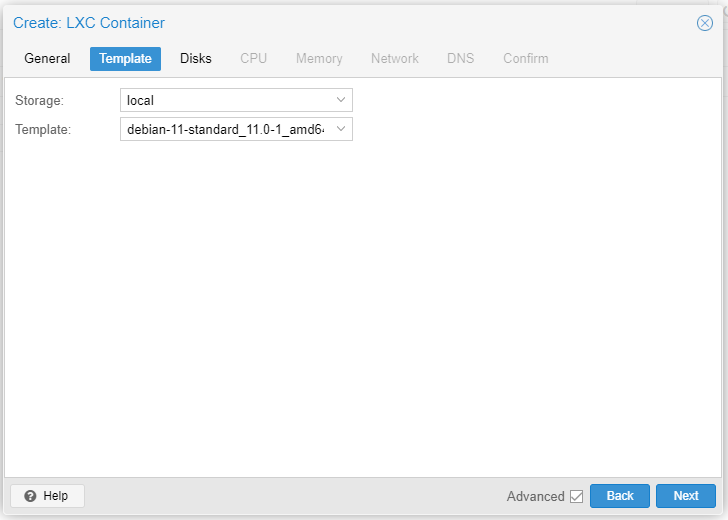

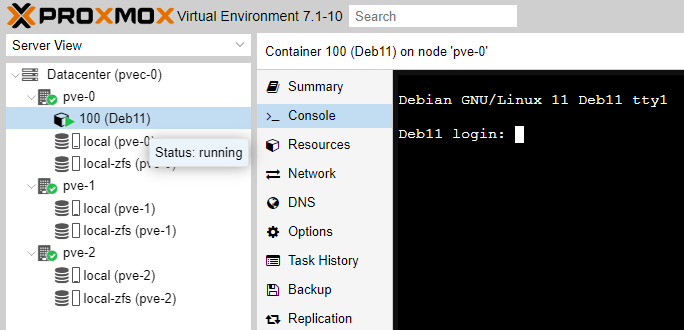
The Deb11 CT takes considerable time to spin up. Once Deb11 is up and running let's attempt to replicate it to pve-1.
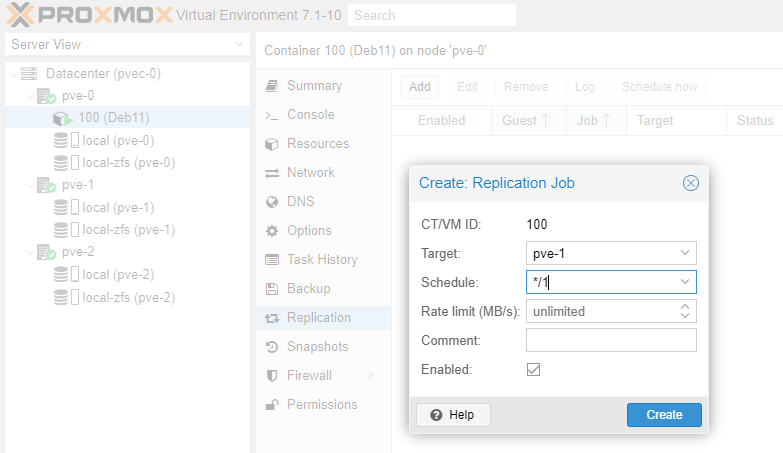
Under Replication click Add. We will replicate every minute. Click Create.
You can see the status of the replication job we have added, taking place every minute.
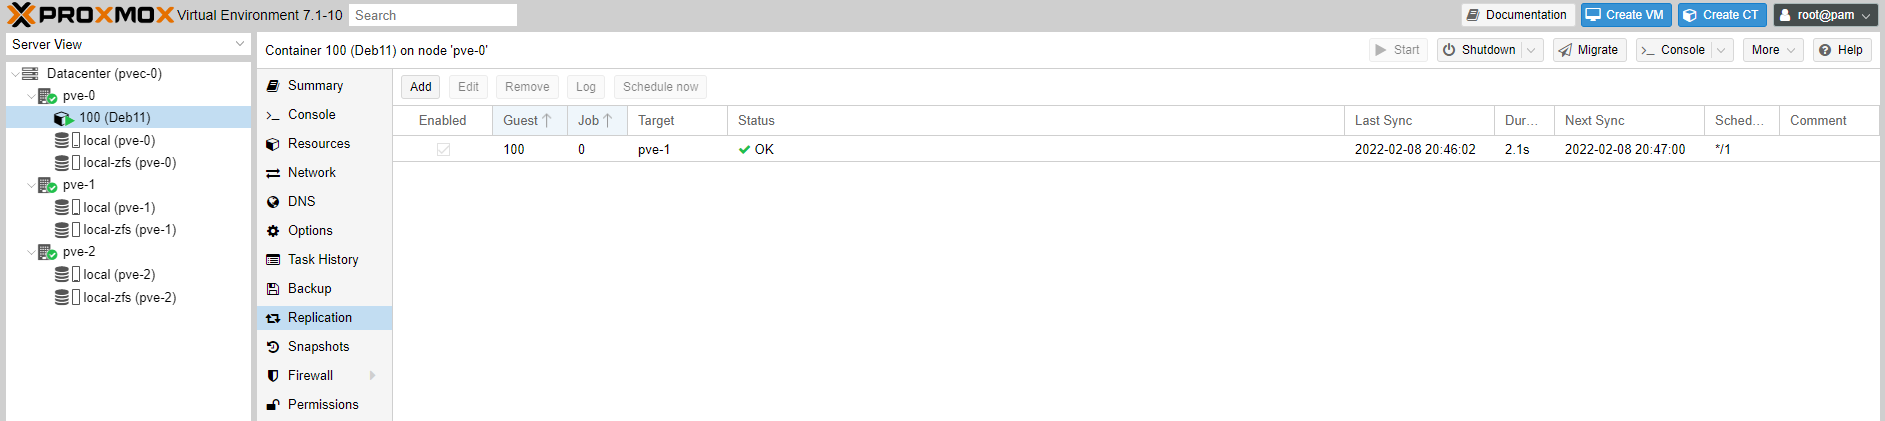
When we created the Deb11 CT, its volume can be found under local-zfs (pve-0) -> CT Volumes, identified by the CT ID 100.

It is this volume which is replicated in pve-1, under local-zfs (pve-1) -> CT Volumes.

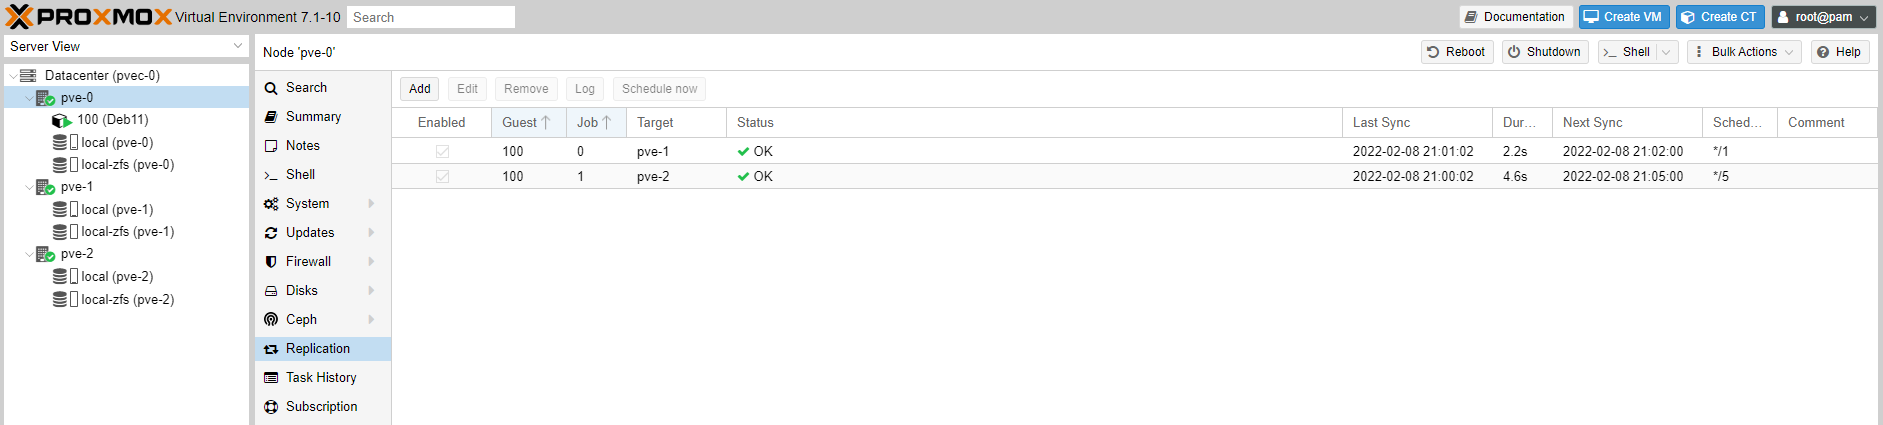
Can you replicate the same Deb11 CT to node pve-2, say every 5 mins? Let's see.
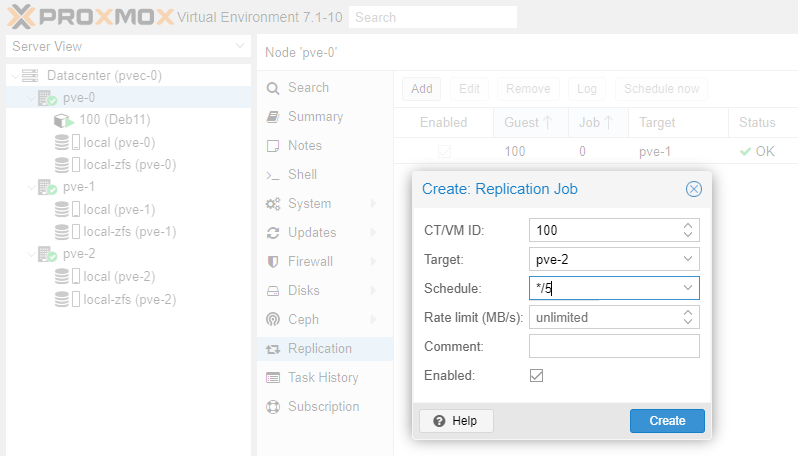
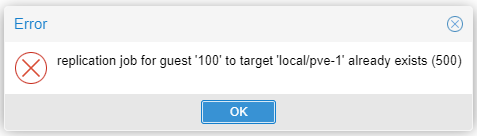
Of course you can. You can replicate any Guest to as many Nodes in the cluster as you wish, but you cannot replicate the same Guest to the same Node more than once.

A Cluster is helpful when a Node goes down for whatever reason. The other 2 or more Nodes will automatically assume the workload of the failed node carrying on servicing Guests as if nothing has happened. When you add another Node to the Cluster, you add more redundancy to your Cluster and you spread the workload more evenly when Nodes fail.
We will explore failover, also known as HA, in a future guide.
Please consider subscribing to my blog, as you will only ever get quality content; no time wasting, advertising, spamming or other unproductive activities/practices.
Please also consider visiting and subscribing to our YouTube channel; we have recently started posting videos.
We are committed to improving and enhancing over time.
If there is something you would like us to cover in a future topic/guide please let us know.