HowTo setup a 3-node Proxmox VE 7.1 cluster and configure it for High Availability on a single machine - Part 5 - for learning & testing purposes only
Host a 3-node Proxmox VE 7.1 cluster on a single PC and configure for High Availability (HA) - Cluster/Node operations recap + cloning & snapshoting

Passionate about science and technology and a strong believer the next big thing/think is yet to be discovered.
In our past guides (Part 1, Part 2, Part 3, Part 4) we covered a few concepts regarding Cluster, Node and Guest setup. In this guide we will summarise and consolidate what we discussed so far, prior to taking a dive into HA.
Visit the Corosync website to dive deeper into the technology PVE uses for Clustering & HA.
Guest = a CT or VM allocated virtualised hardware resources to run
GID = Guest ID (CTID or VMID) - a unique number > 100 across a cluster
CT = Container (LXC)
VM = Virtual Machine (KVM)
FS = FileSystem
HA = High Availability
PVE = Proxmox VE
WAC = Web Admin Console (the web browser GUI to administer PVE nodes & clusters)
Nodes
On a physical x86 PC (suggested 8 core / 16 thread, 32GB RAM, 1TB SSD) bare-metal install PVE 7.1 (FS = ext4 the default) and name it:
> pve-253 < ---> IPv4: 192.168.0.253 | WAC: https://192.168.0.253:8006 <---
note: the X86 PC must support virtualisation PVE Admin Guide - System Requirements.
Read this guide: How to install PVE
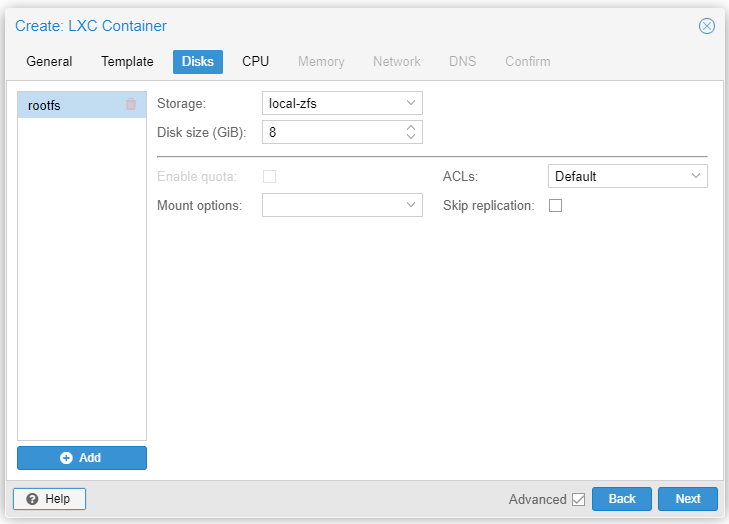
On node pve-253 we create three VMs (suggested 4 Core, 8GB RAM, 256GB SSD) to host PVE 7.1 (FS = zfs (RAID 0)). The three PVE nodes are named:
> pve-0 < ---> IPv4: 192.168.0.10 | WAC: https://192.168.0.10:8006 <---
> pve-1 < ---> IPv4: 192.168.0.11 | WAC: https://192.168.0.11:8006 <---
> pve-2 < ---> IPv4: 192.168.0.12 | WAC: https://192.168.0.12:8006 <---
Read this guide: How to create a 3-node PVE cluster
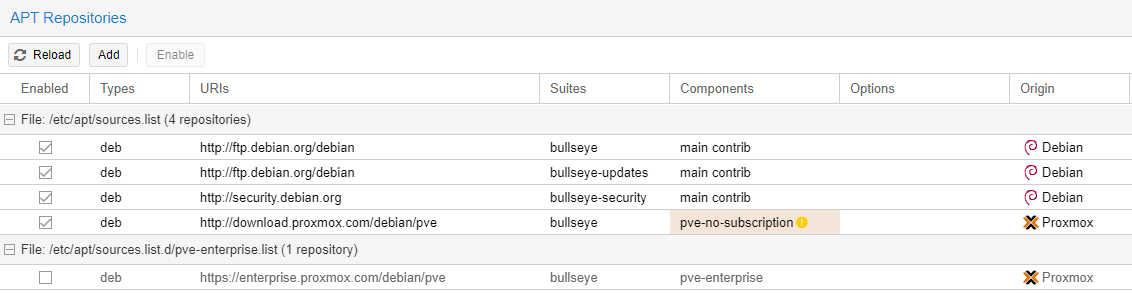
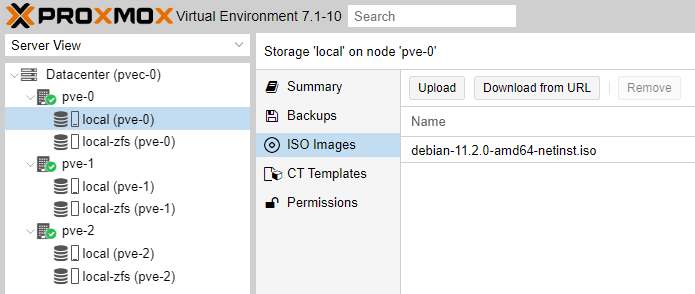
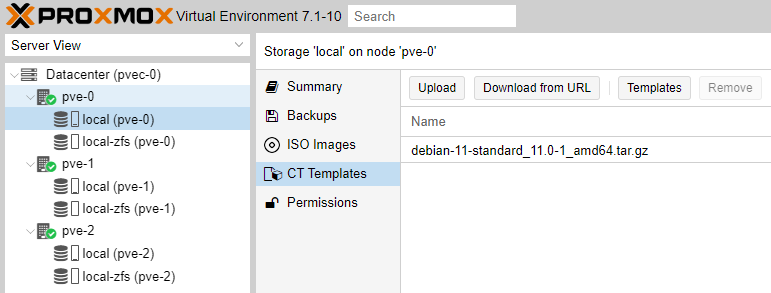
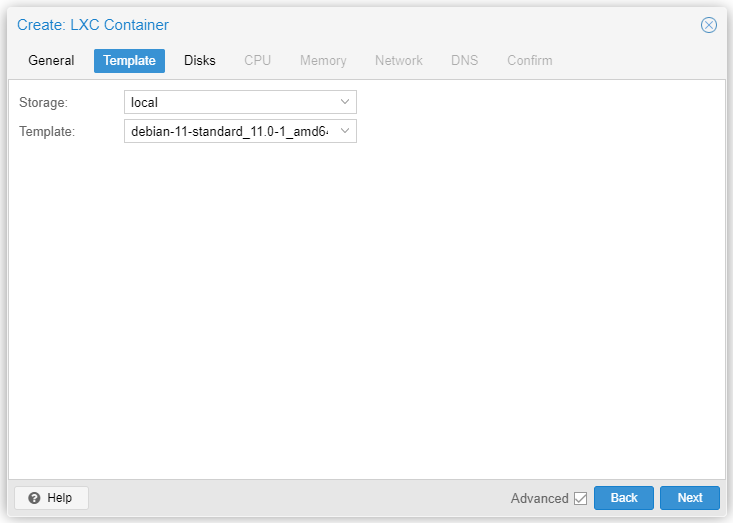
On each Node, update the node repositories and save a Debian 11 ISO file/image and a Debian 11 CT Template.
Cluster
We then create the Cluster and name it:
# pvec-0 # ---> IPv4: 192.168.0.10 | WAC: https://192.168.0.10:8006 <---
# pvec-0 # ---> IPv4: 192.168.0.11 | WAC: https://192.168.0.11:8006 <---
# pvec-0 # ---> IPv4: 192.168.0.12 | WAC: https://192.168.0.12:8006 <---
Guests
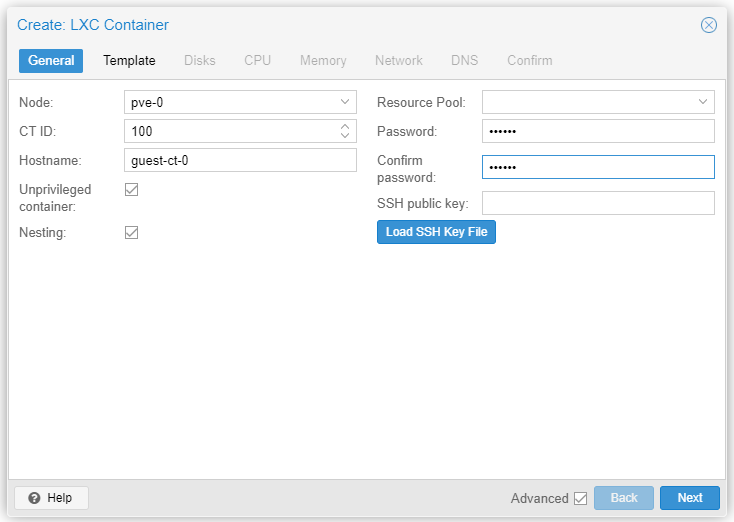
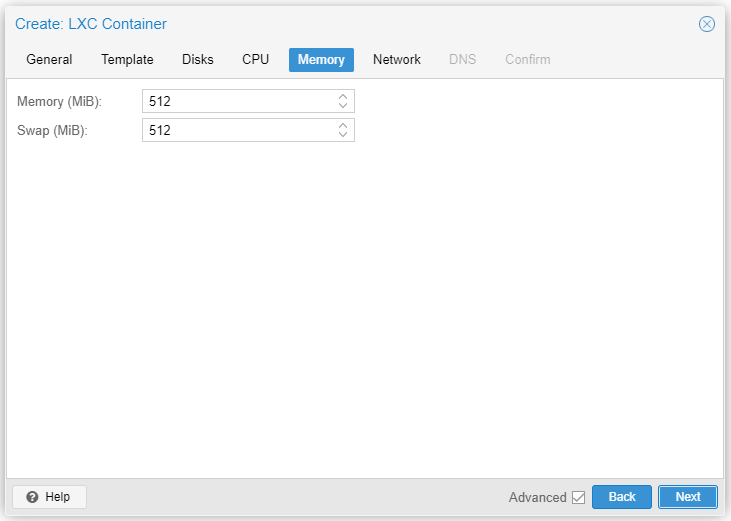
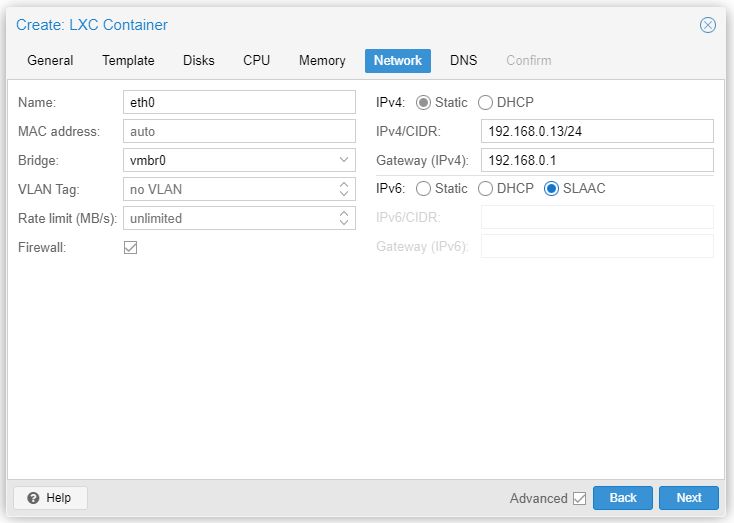
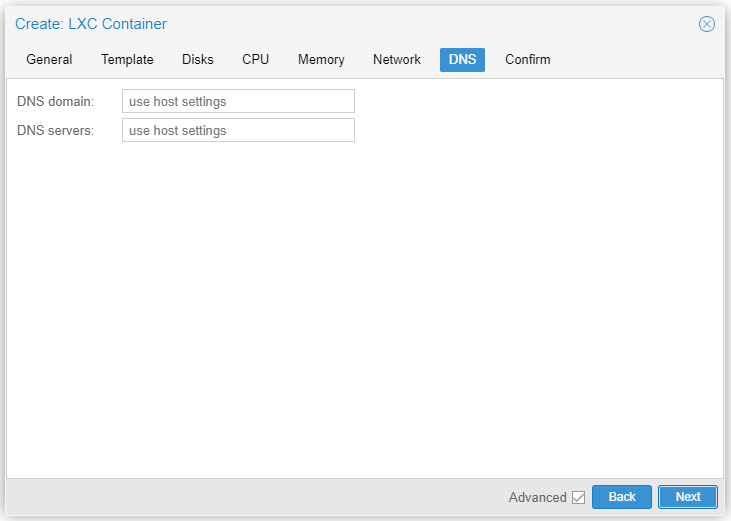
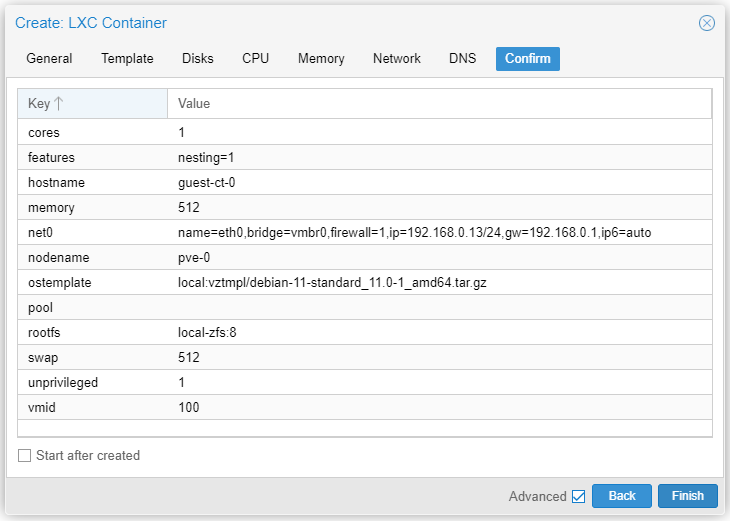
On each of the three Clustered Nodes, let's create a CT and a VM based on Debian 11 to test a number of things. To keep a consistent environment we name Guests as follows.
# pve-0 # > guest-ct-0 < ---> GID: 100 | IPv4: 192.168.0.13 <---
# pve-0 # > guest-vm-0 < ---> GID: 101 | IPv4: DHCP <---
# pve-1 # > guest-ct-1 < ---> GID: 102 | IPv4: 192.168.0.14 <---
# pve-1 # > guest-vm-1 < ---> GID: 103 | IPv4: DHCP <---
# pve-2 # > guest-ct-2 < ---> GID: 104 | IPv4: 192.168.0.15 <---
# pve-2 # > guest-vm-2 < ---> GID: 105 | IPv4: DHCP <---
Guests - CT
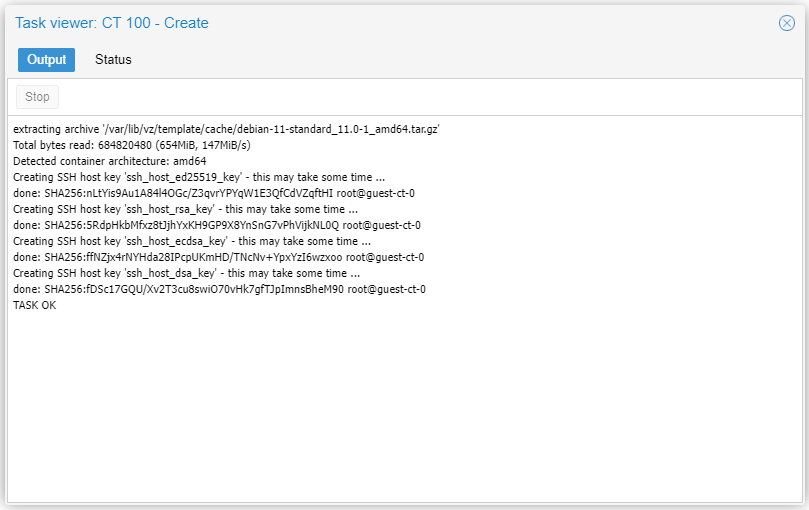
Start the CT and there is nothing to install, Debian 11 server already running.

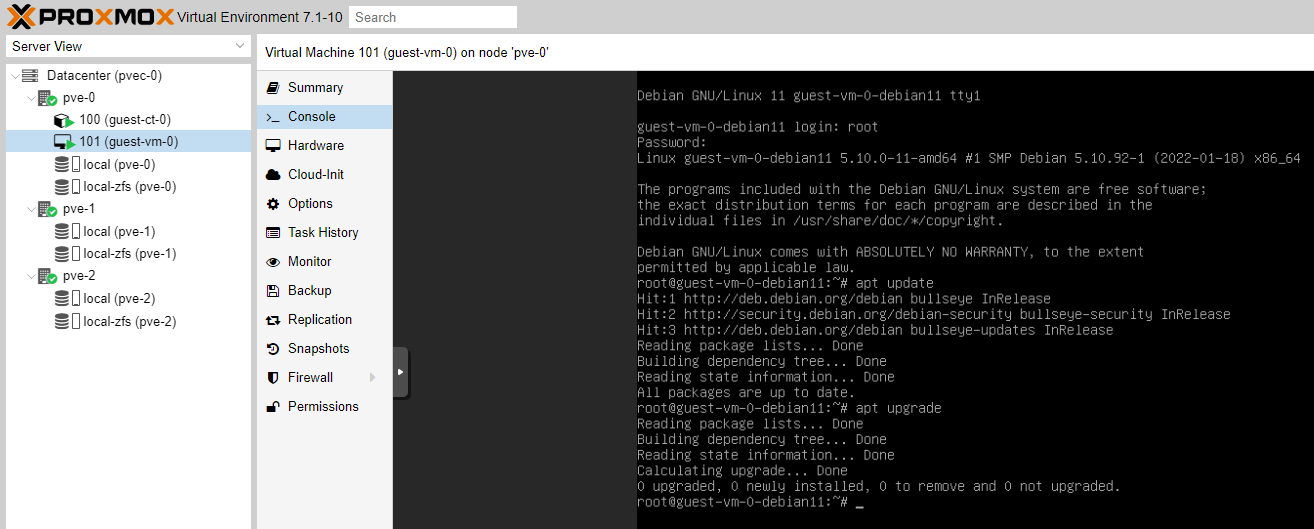
Guests - VM
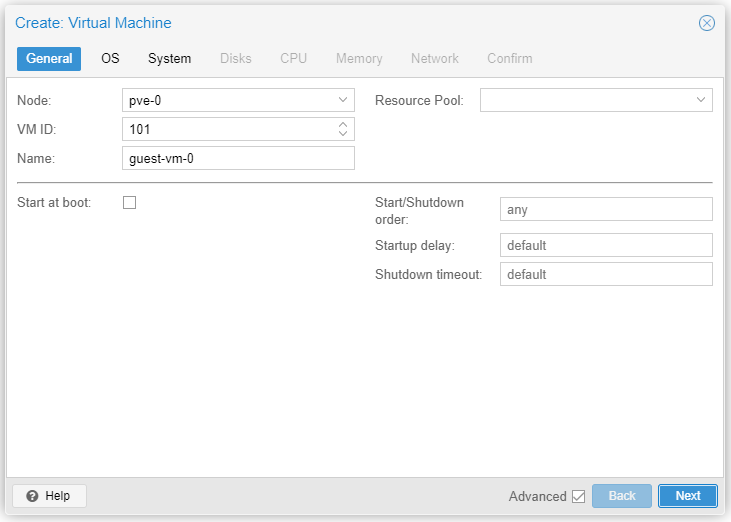
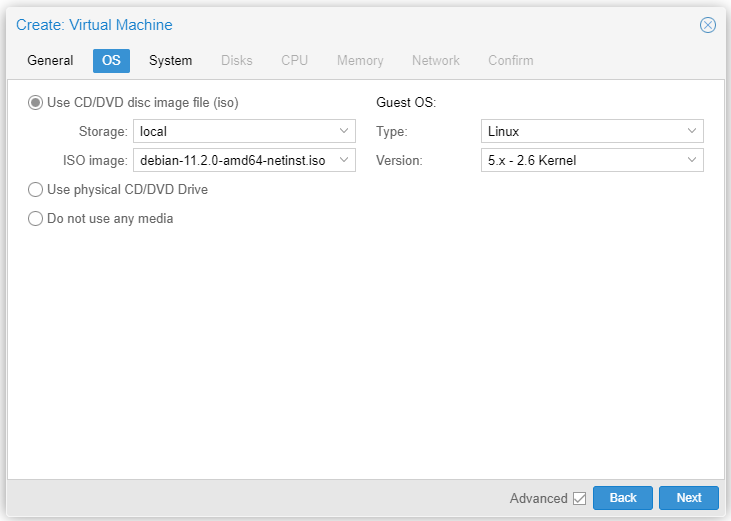
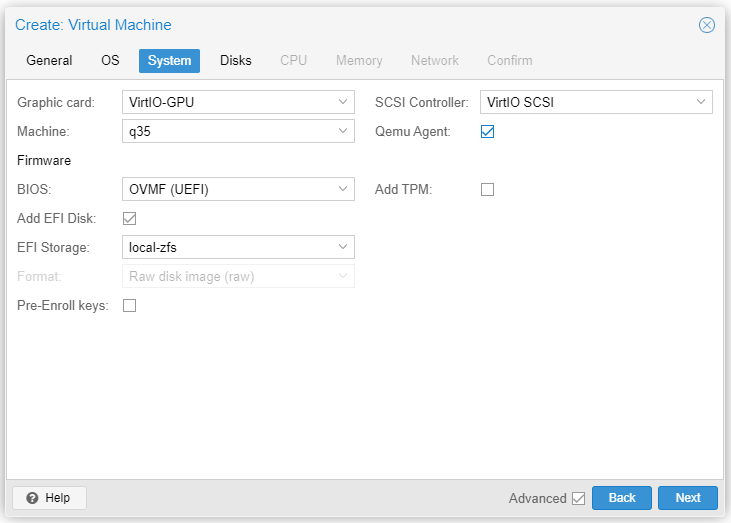
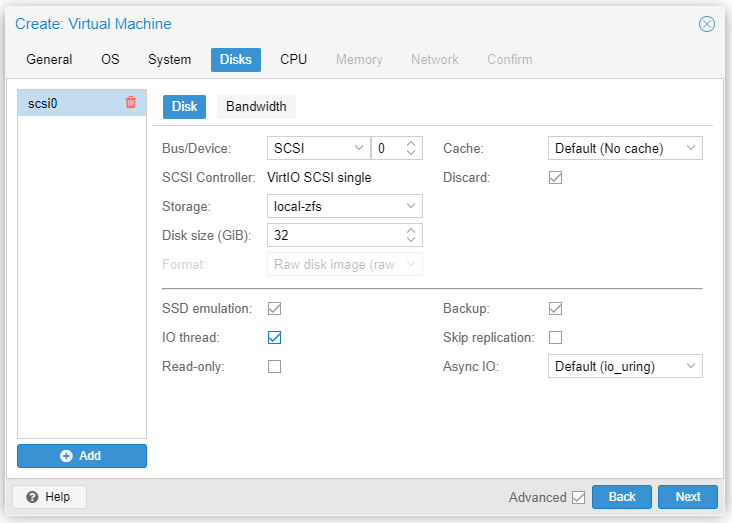
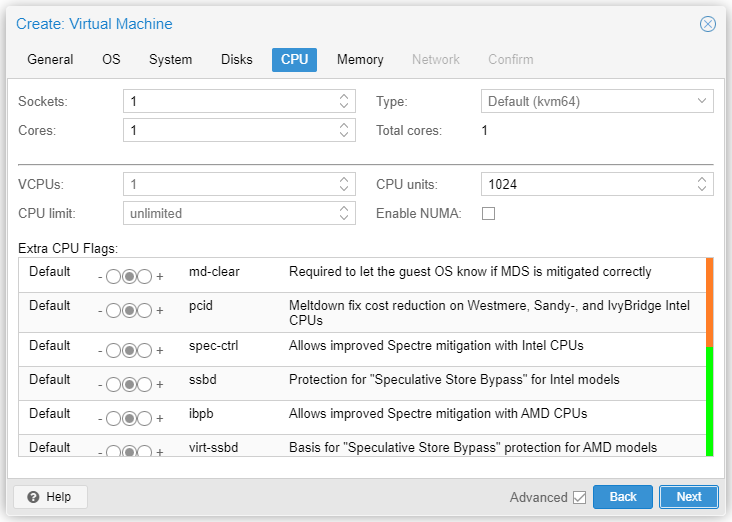
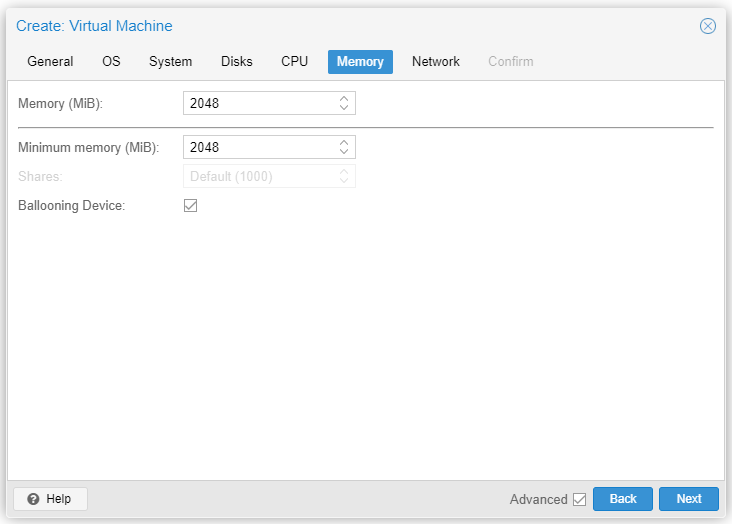
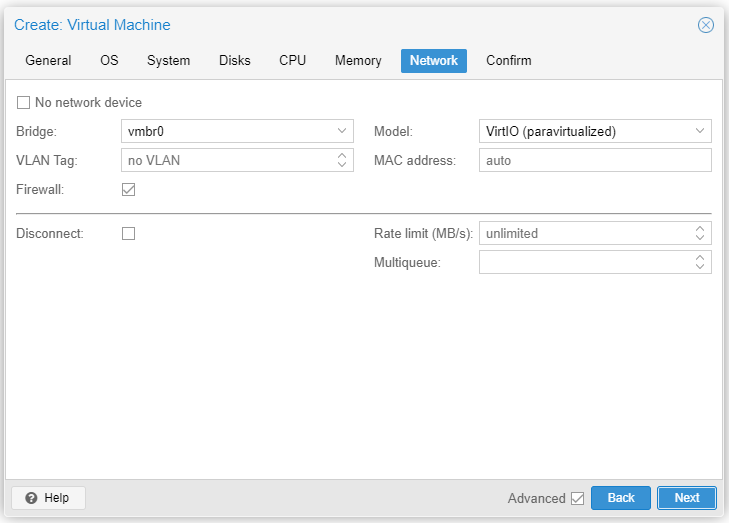
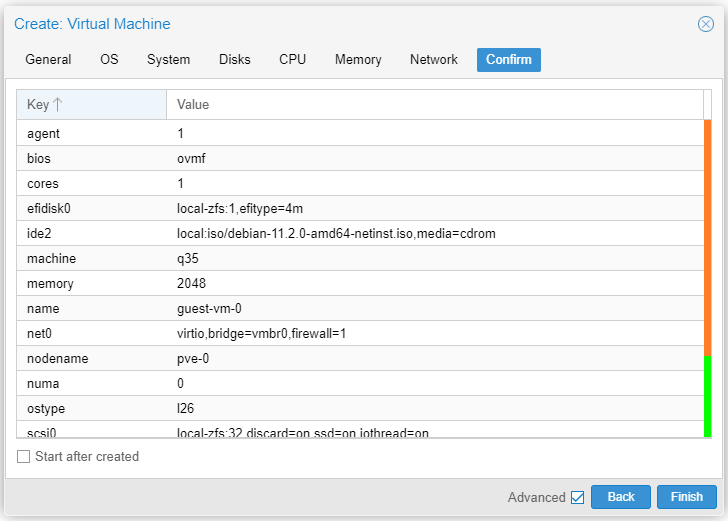
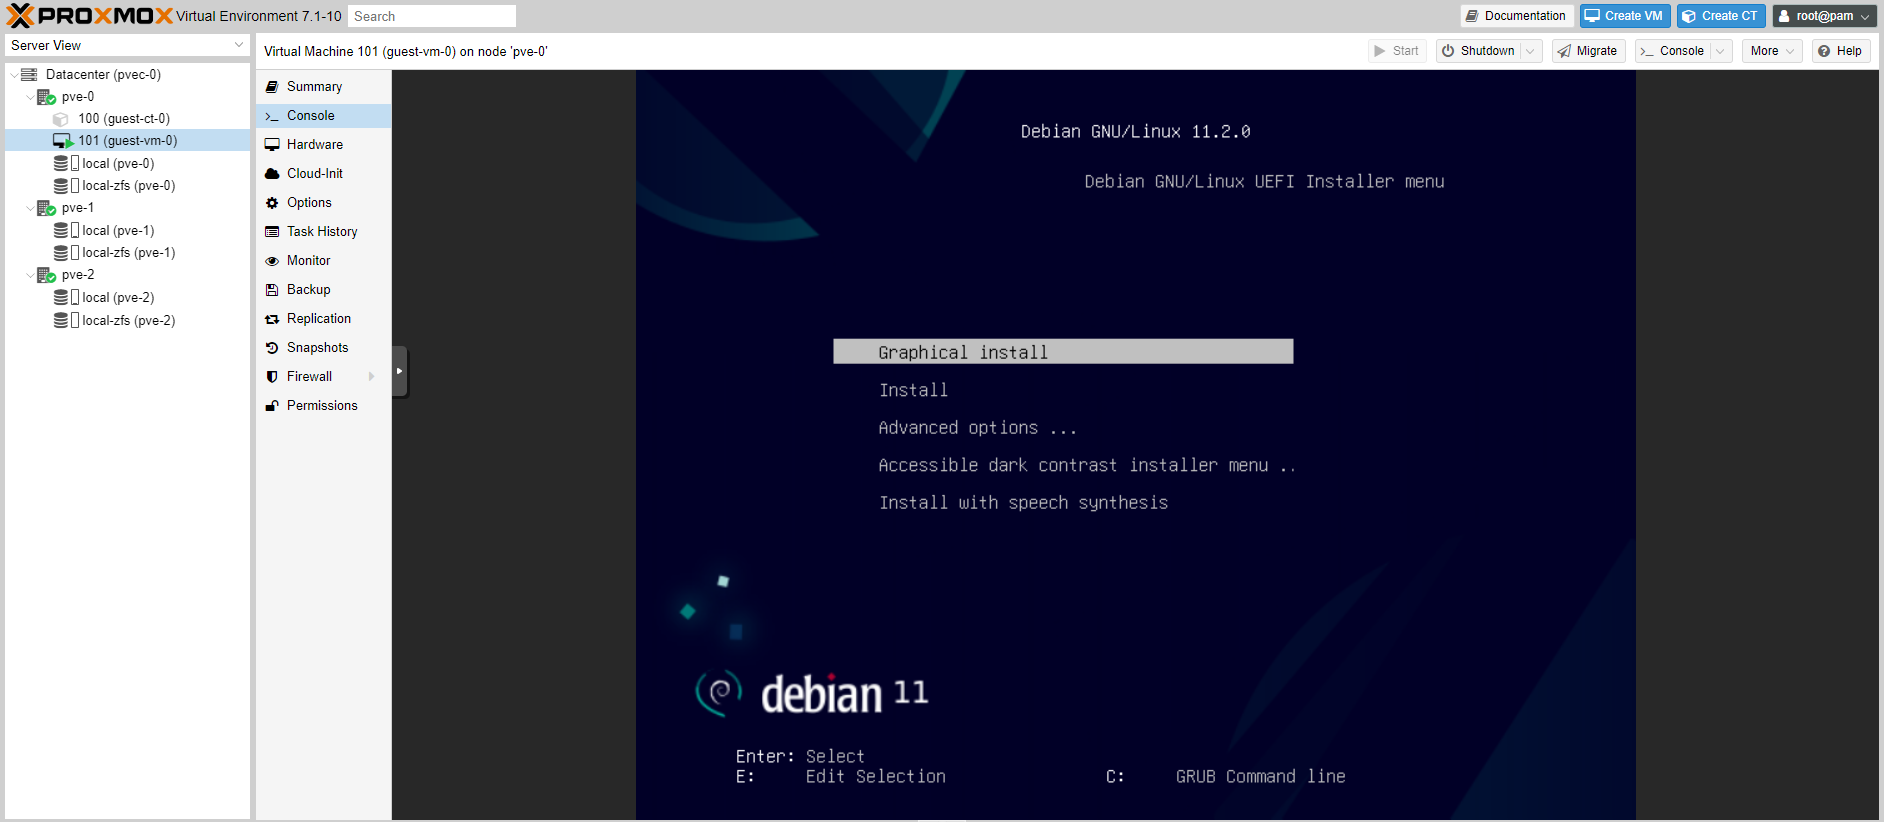
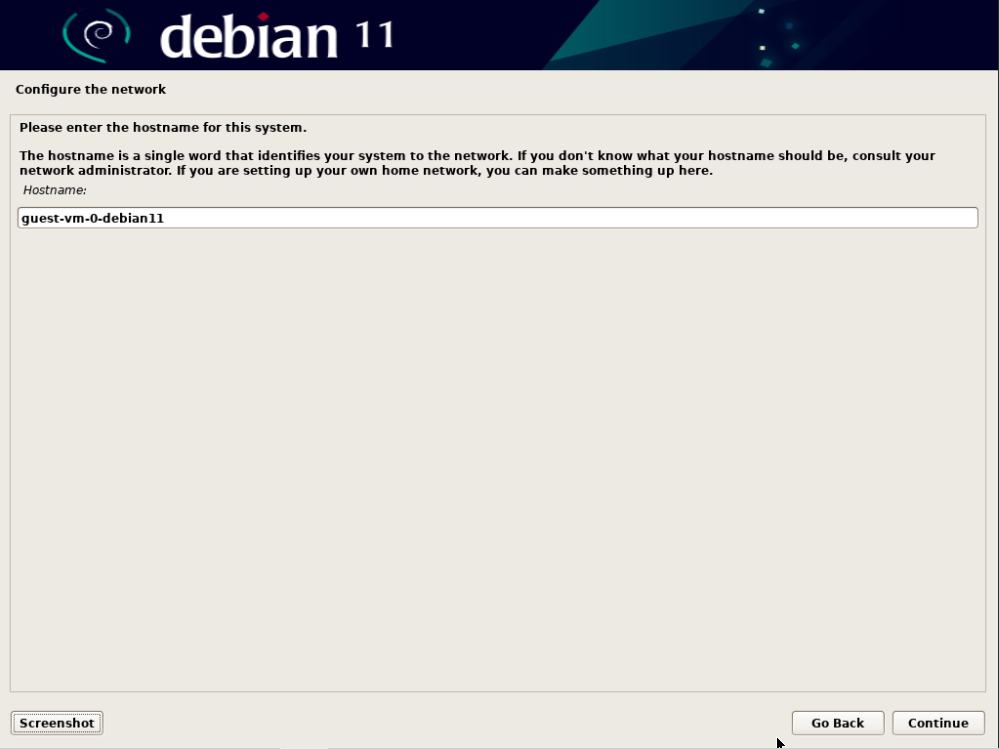
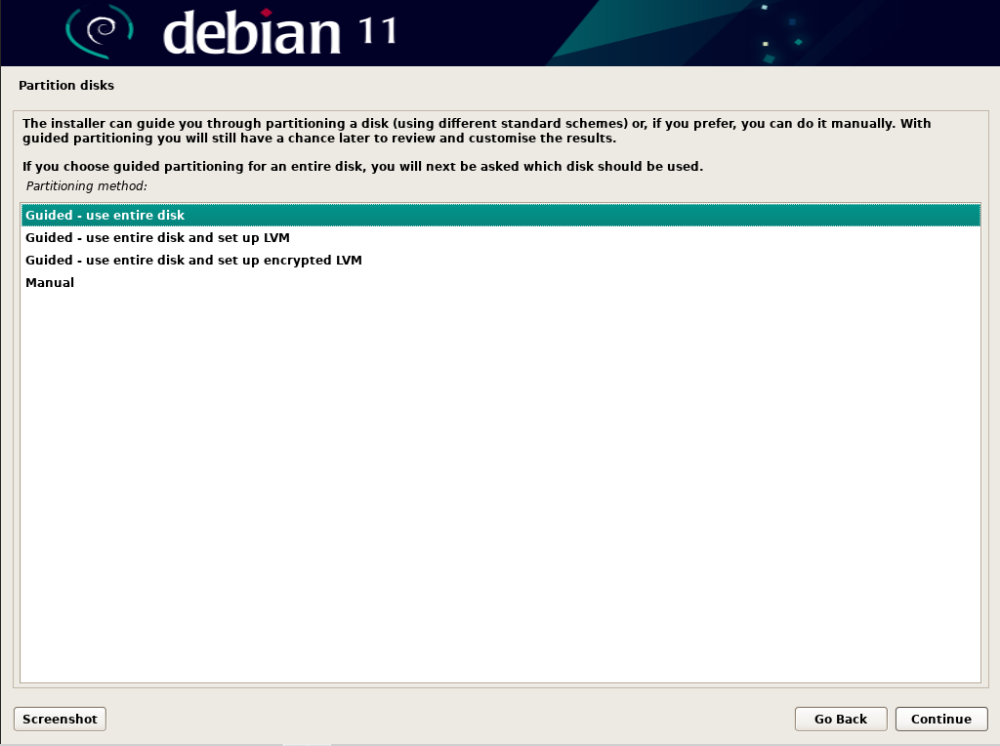
Start the VM to install Debian 11.
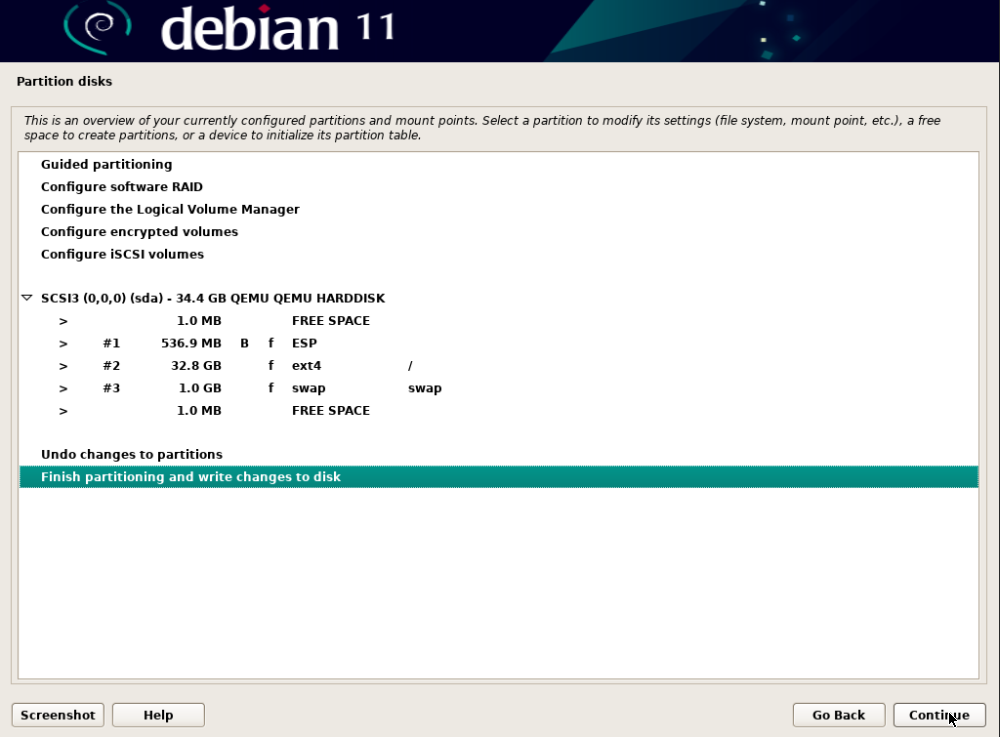
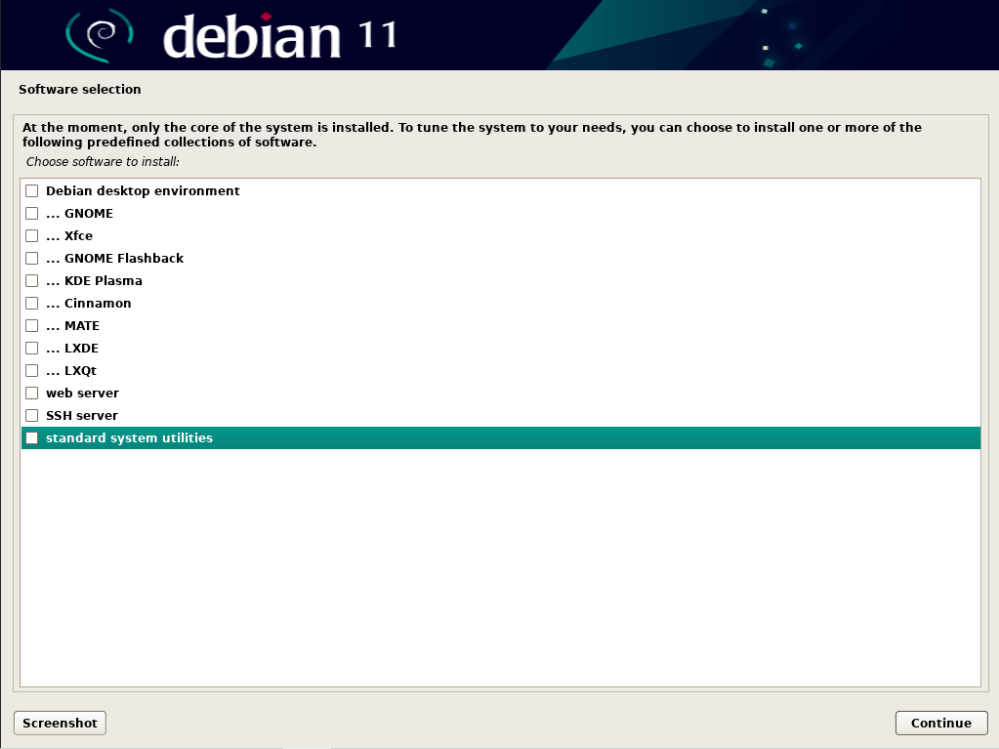
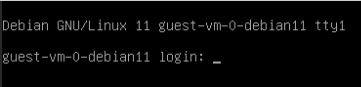
All done! Debian 11 server installed on VM.
Repeat the above CT & VM installation for the other two Nodes (pve-1 and pve-2).
Snapshots
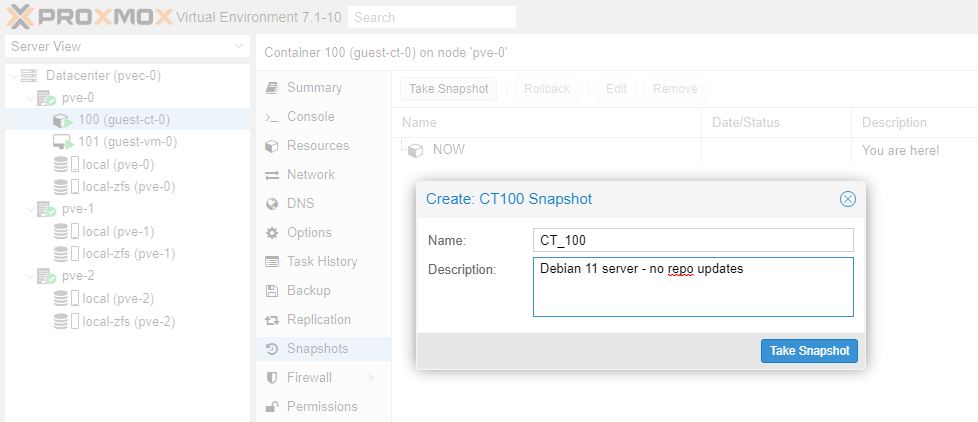
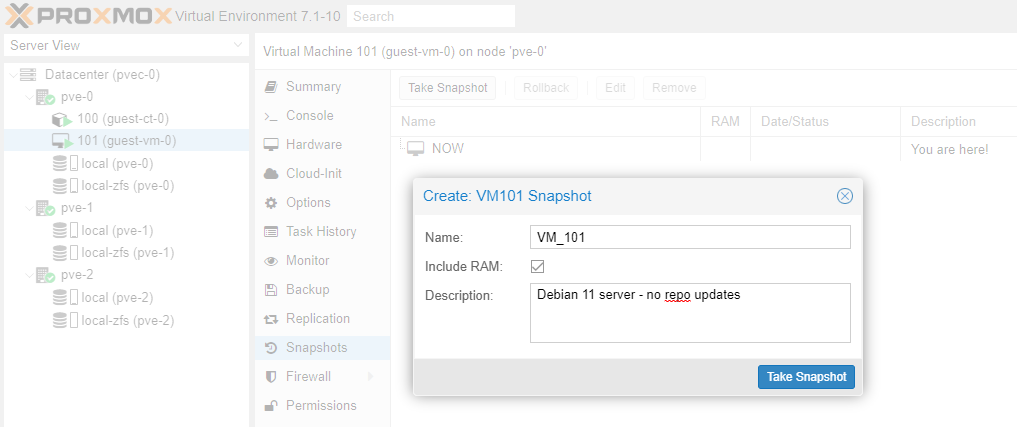
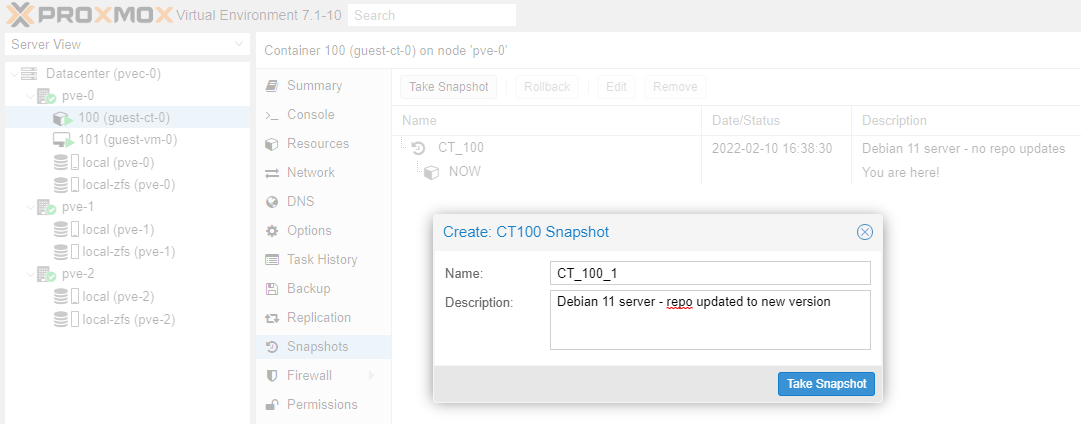
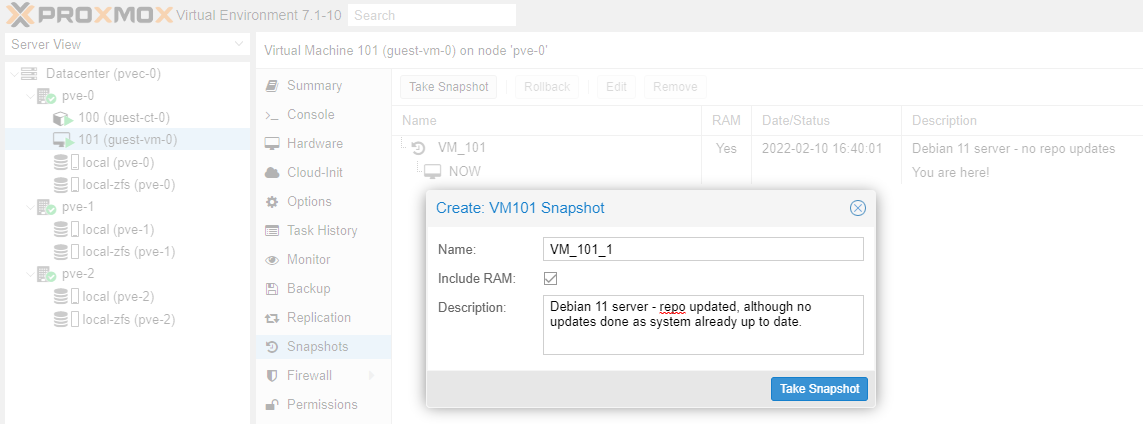
Let's create a snapshot for each of the Guests on Node pve-0.
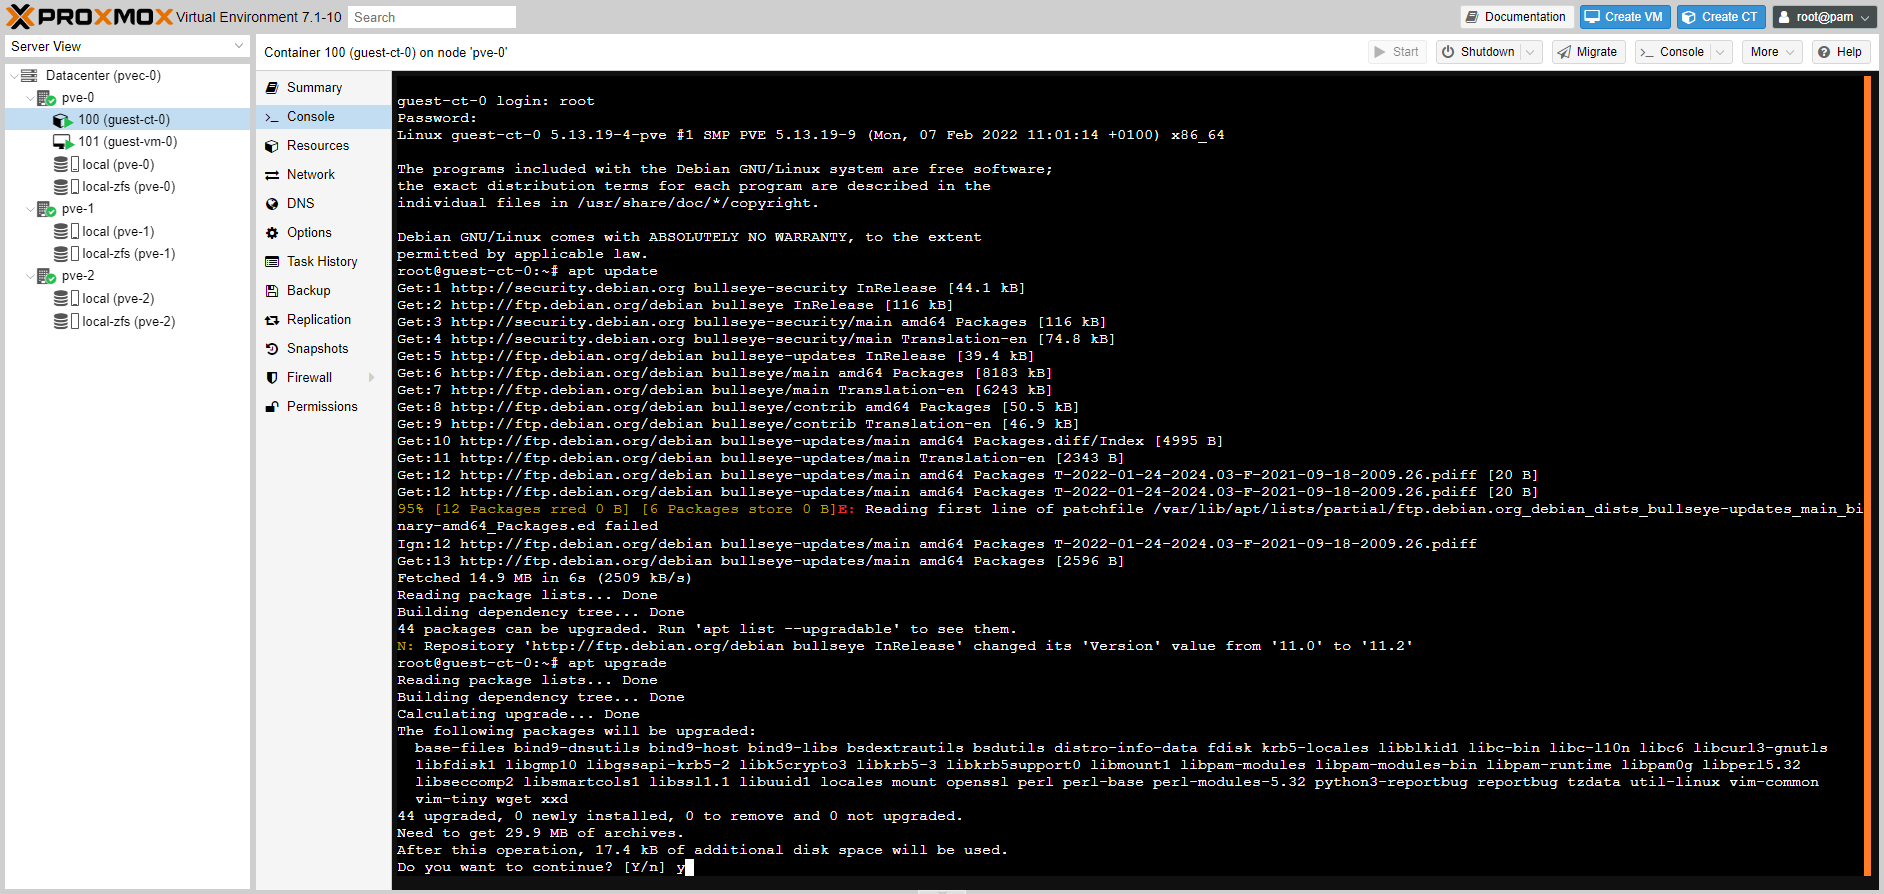
We will now update the Debian 11 repositories for both the CT and the VM and then upgrade Debian.
apt update
apt upgrade
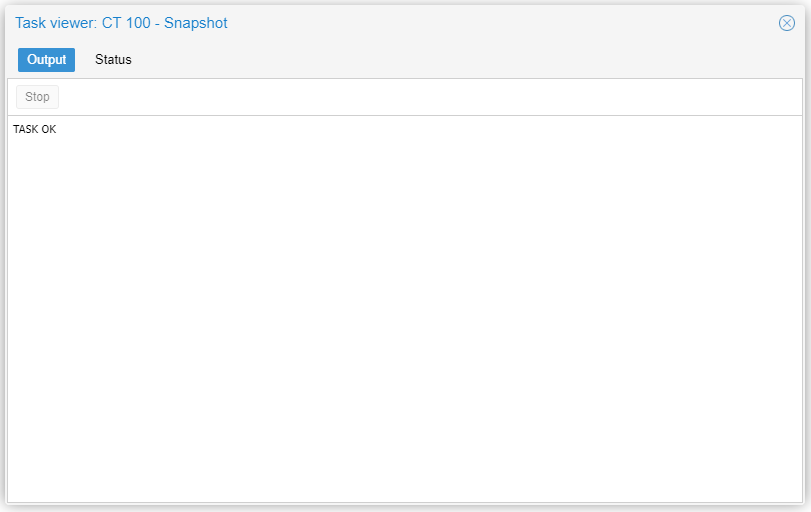
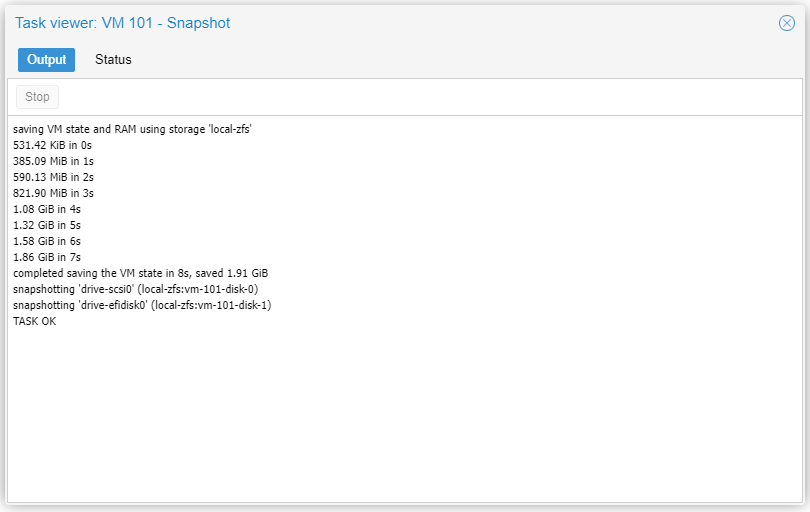
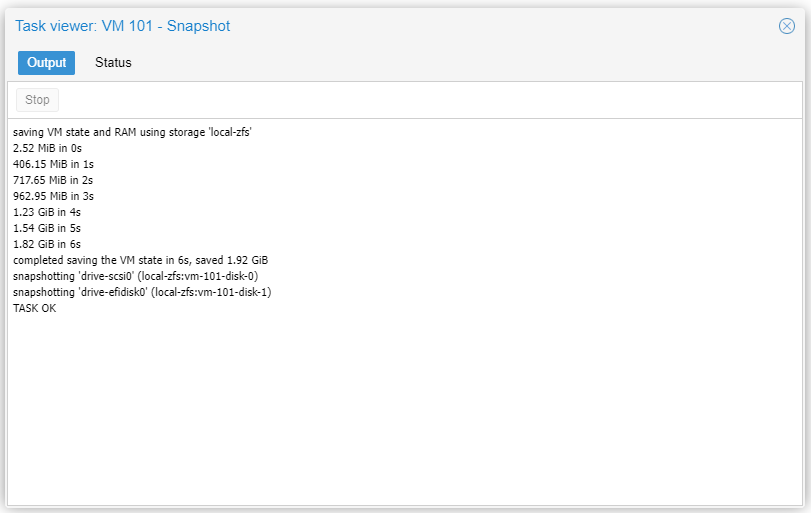
Now let's take another snapshot of the updated Guests (Debian 11 servers).
Note: the snapshot name must be a unique name.
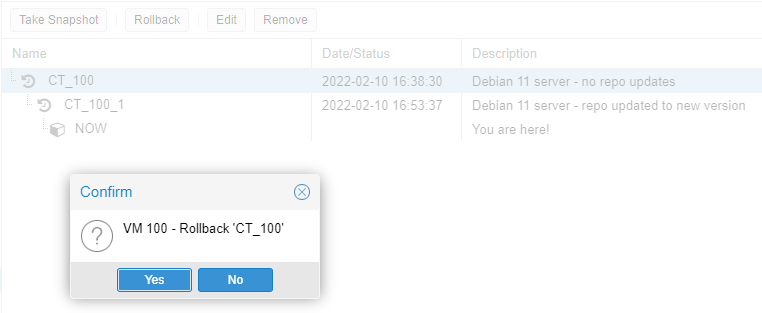
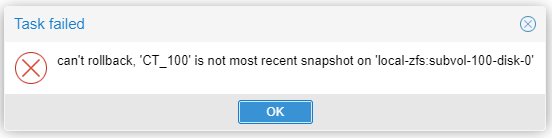
Can you use the CT snapshot to jump back in time? Unfortunately NOT. You can only go back to the last saved snapshot.
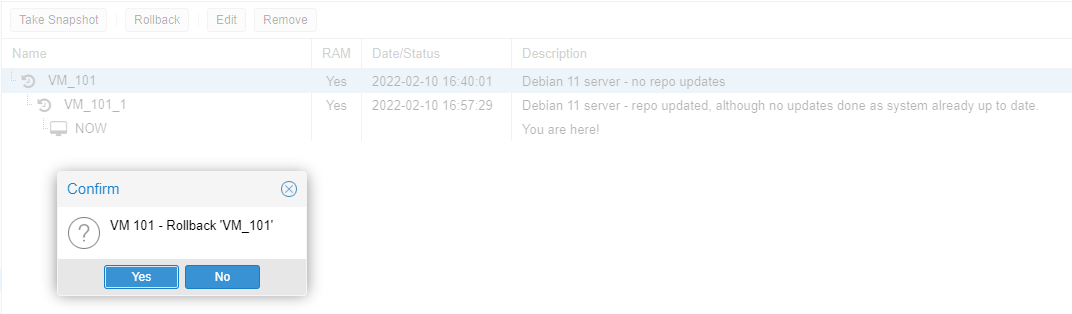
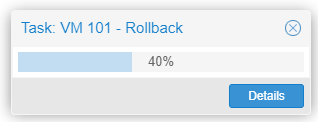
Let's try rollback on the VM. Same here, cannot rollback at any point in time, only at the last snapshot.
Try to install anything on either the CT or VM with apt install (e.g. apt install php). Once installed try php -v.
Now our VM running instance has been updated with PHP, while our last snapshot had no PHP installed. Let's see if we can rollback the running instance to our last snapshot.
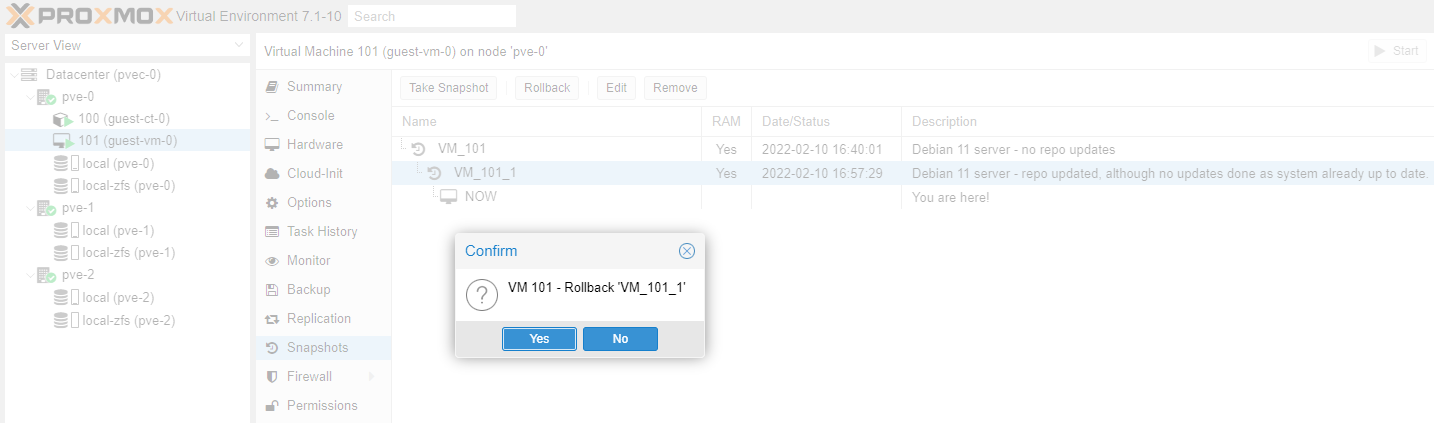
Hooray!!! Yes we can rollback. Try php -v on the running instance again.
Snapshots are especially useful, when we are testing or developing something (an OS, an application, an appliance, a piece of software, etc). A snapshot allows us to go back to the last known good running instance.
Clones
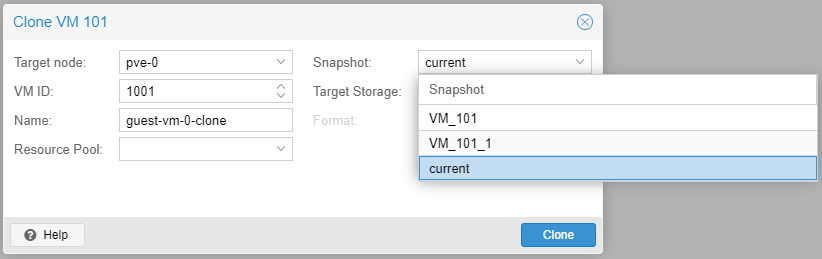
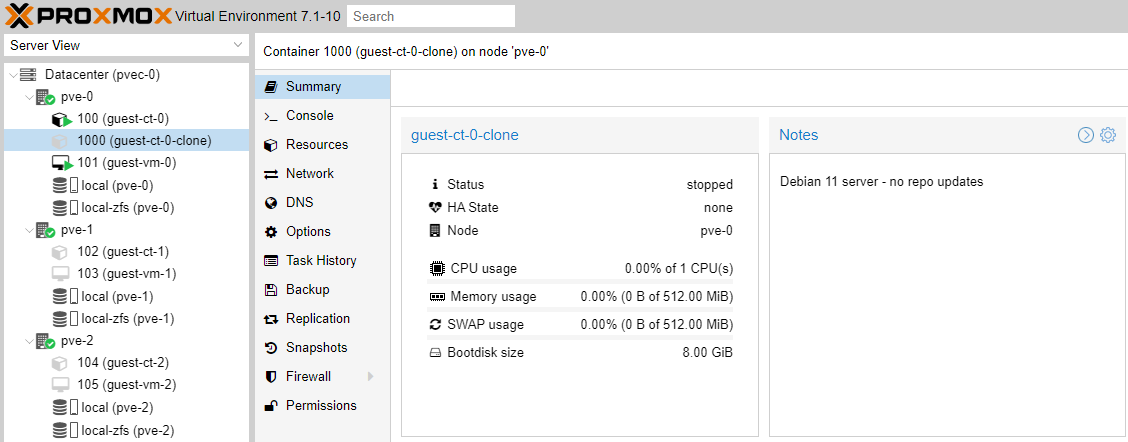
When developing, the most useful tool is cloning, which allows us to experiment with versioning. A cloned Guest can be spun up/down at will. A clone creates a new Guest instance with all dependencies and the tech stack exactly the same as the ancestor.

Clones and snapshots are very useful in development environments.
Note: There is a limitation when cloning a VM based on a snapshot, if the FS = zfs. Read this thread for more background information. CTs do not have this limitation and can be cloned from any snapshot.
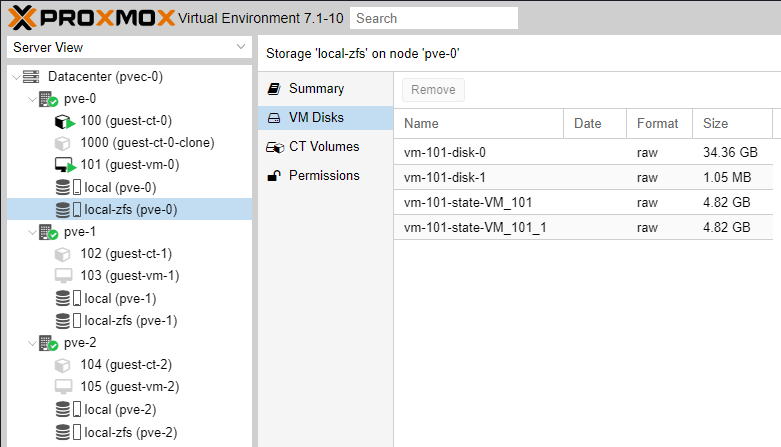
Snapshots in effect freeze the state of a Guest at a particular time, which we can then use with cloning to go back in time to that specific snapshot; it is like creating a milestone, which we can use to travel back in time.
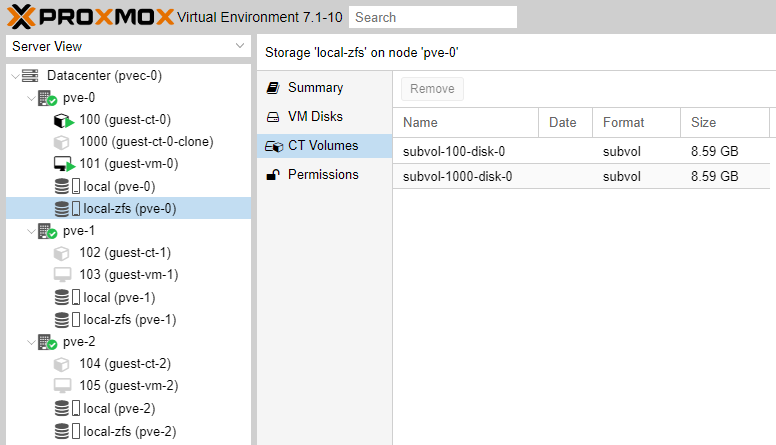
Cloning and Snapshoting creates volumes in the background, like in our example.
At this point we have covered most of the topics surrounding clustering. Our next article will be purely focused on automated failover, now that we have the necessary basic skills.
For those not afraid to dive deeper into things, here is one tip:
Guest configuration information is saved in text configuration files. These files are in the following locations:
/etc/pve/nodes (the root for all Node and Guest configs)
/etc/pve/nodes/pve-0 (node SSL certs)
/etc/pve/nodes/pve-0/lxc (.conf files for CTs)
/etc/pve/nodes/pve-0/qemu-server (.conf files for VMs)
Moving a Guest from node to node consists of actually moving the Guest
- volume, and
- config file
Please consider subscribing to my blog, as you will only ever get quality content; no time wasting, advertising, spamming or other unproductive activities/practices.
Please also consider visiting and subscribing to our YouTube channel; we have recently started posting videos.
We are committed to improving and enhancing over time.
If there is something you would like us to cover in a future topic/guide please let us know.